
This tutorial uses the first iteration of the Cuttlelola DotsPen (now discontinued) however its usage is very similar to the new Cuttlelola DotsPen 2.0.
 I drew out the basic shapes of the seascape in pencil, but didn’t go into details.
The DotsPen is a single button operation. Press once for slow speed, then double click for fast speed. Double click again to return to the slow speed, and finally one more click to turn off. There is an internal rechargeable battery that will last 30 to 40 minutes, but you can also use it while attached to the usb charging cable.
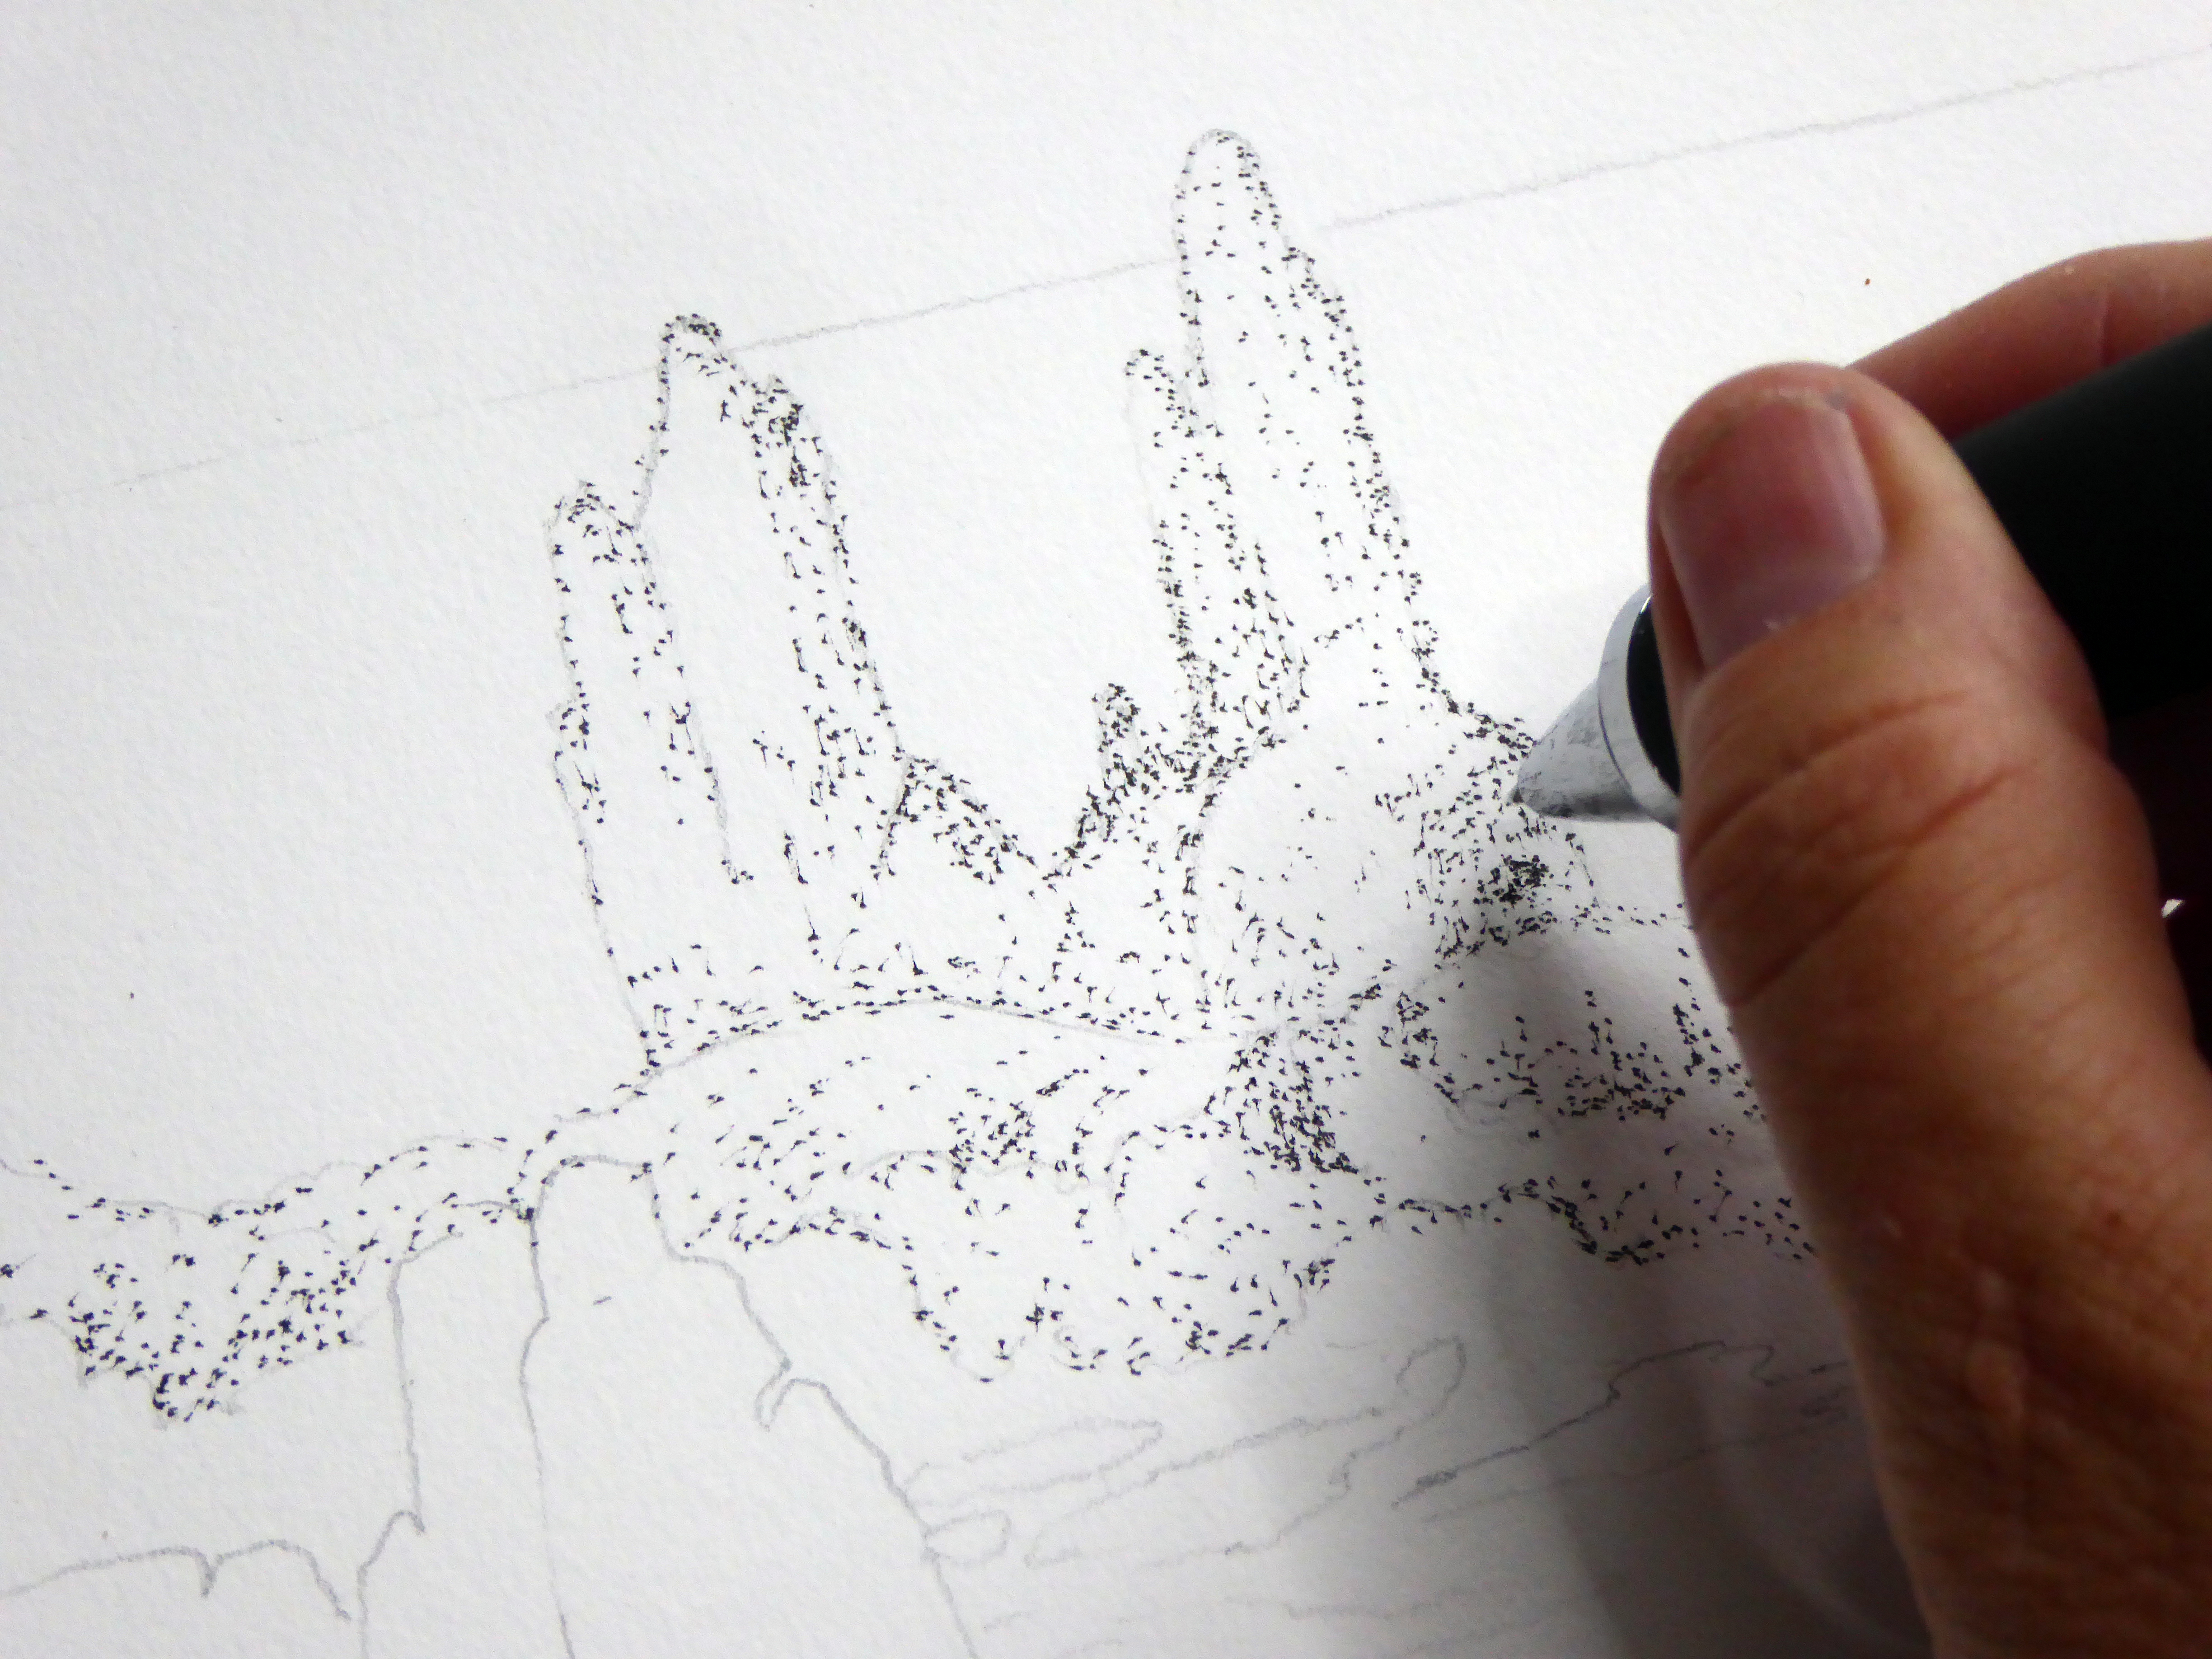 I always start with the slow speed. This allows me to get used the pen, and to have control until I get going. The pen works best when held vertically. You get neater dots this way. You also have to be careful you don’t hold the pen too close to the paper.
My first layer is always a rough layer with no detail. I will go back over the picture later once everything is blocked in. This allows me to get an idea of shading. Light is always about contrast. If I start with a rough layer it gives me more control over the tonal values in the piece. I can more easily build depth as I go along without making everything too dark. If you find you have added too much ink on your picture, there is a white ink cartridge that you can use to lighten an area.

 In this piece I started with the wooden structure in the sea. As the strongest element, this was an obvious starting point. I gradually worked around the foam and the sea. I was gradually building up the shading. I used a circular motion with the pen to get this effect. When it came to creating the distant waves, I used the pen in horizontal sweeps to suggest the ripples and waves.
Once I gone over the whole piece I could then go back in and detail. Again I went straight to the old wooden structure. The DotsPen is fantastic for shading, but also for adding detail. Just move the pen more slowly to get a really intense line. This is what I did to get the cracks and grain of the wood.
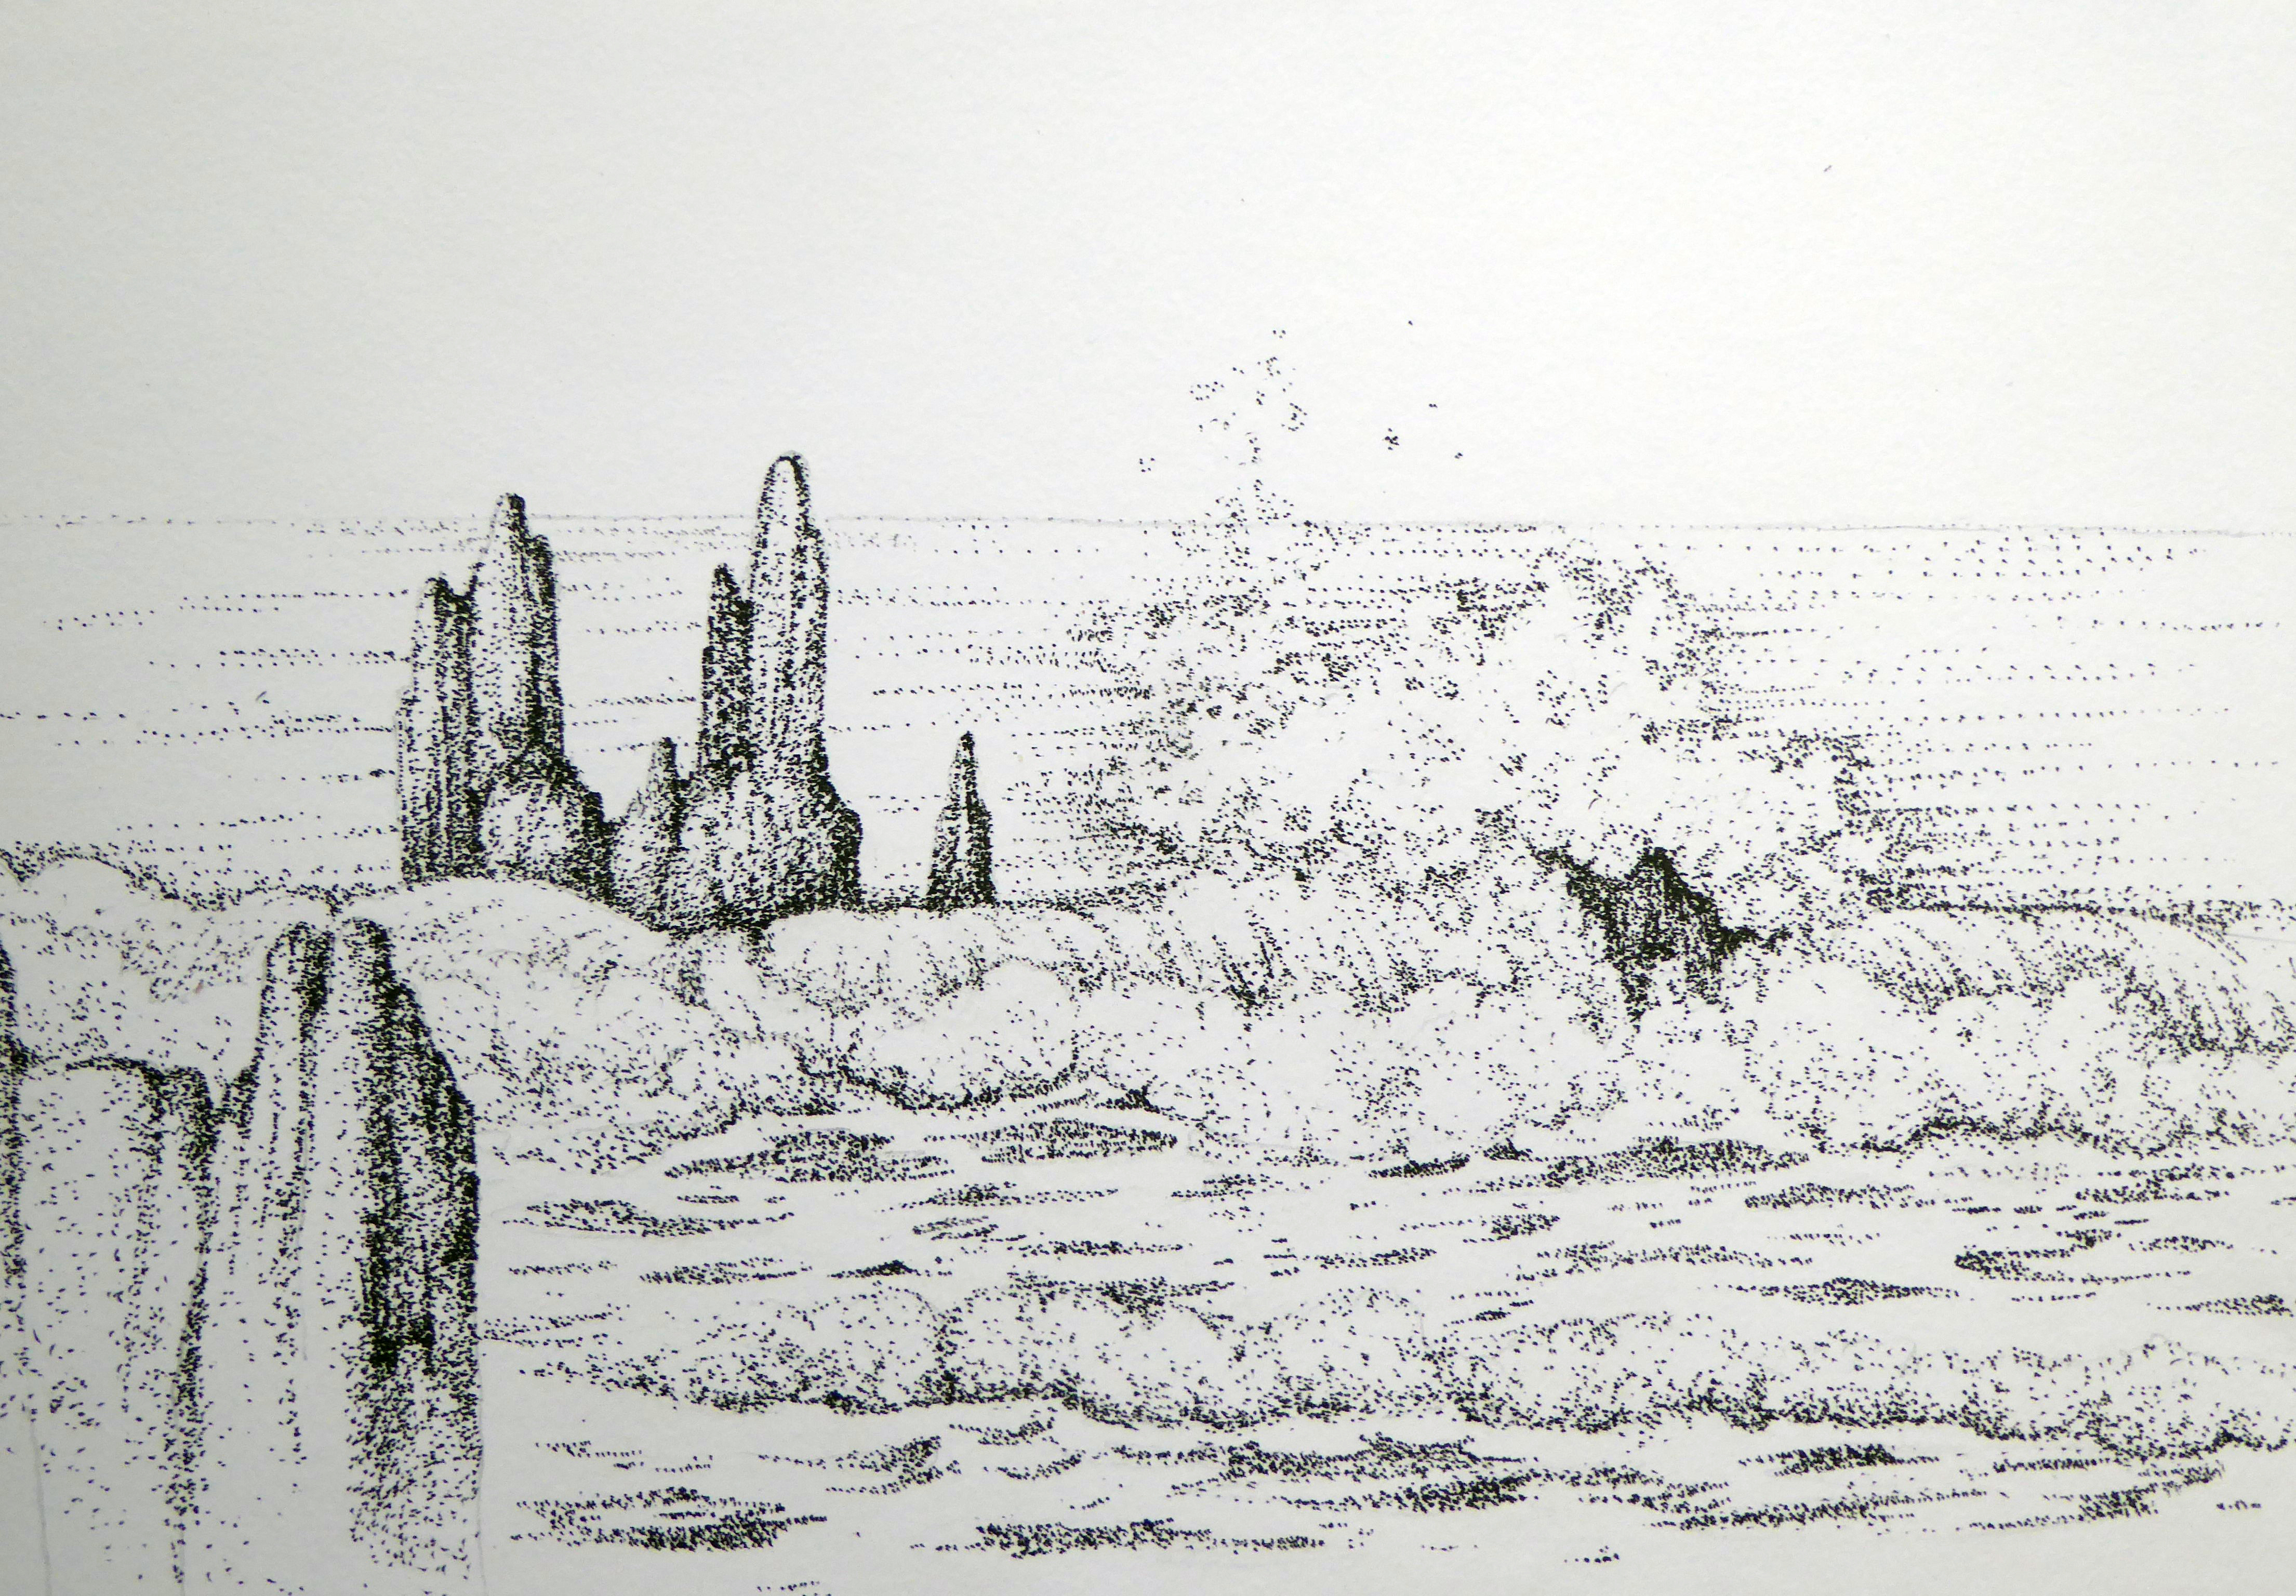 From here it is a case of going around the drawing and adding detail. Using a circular motion for the foam, a horizontal motion for the waves, and making sure the contrast was there. Behind the big splash, I made sure the water was dark enough for the splash to show up. The edges in the foreground are crisper and more defined than in the background.
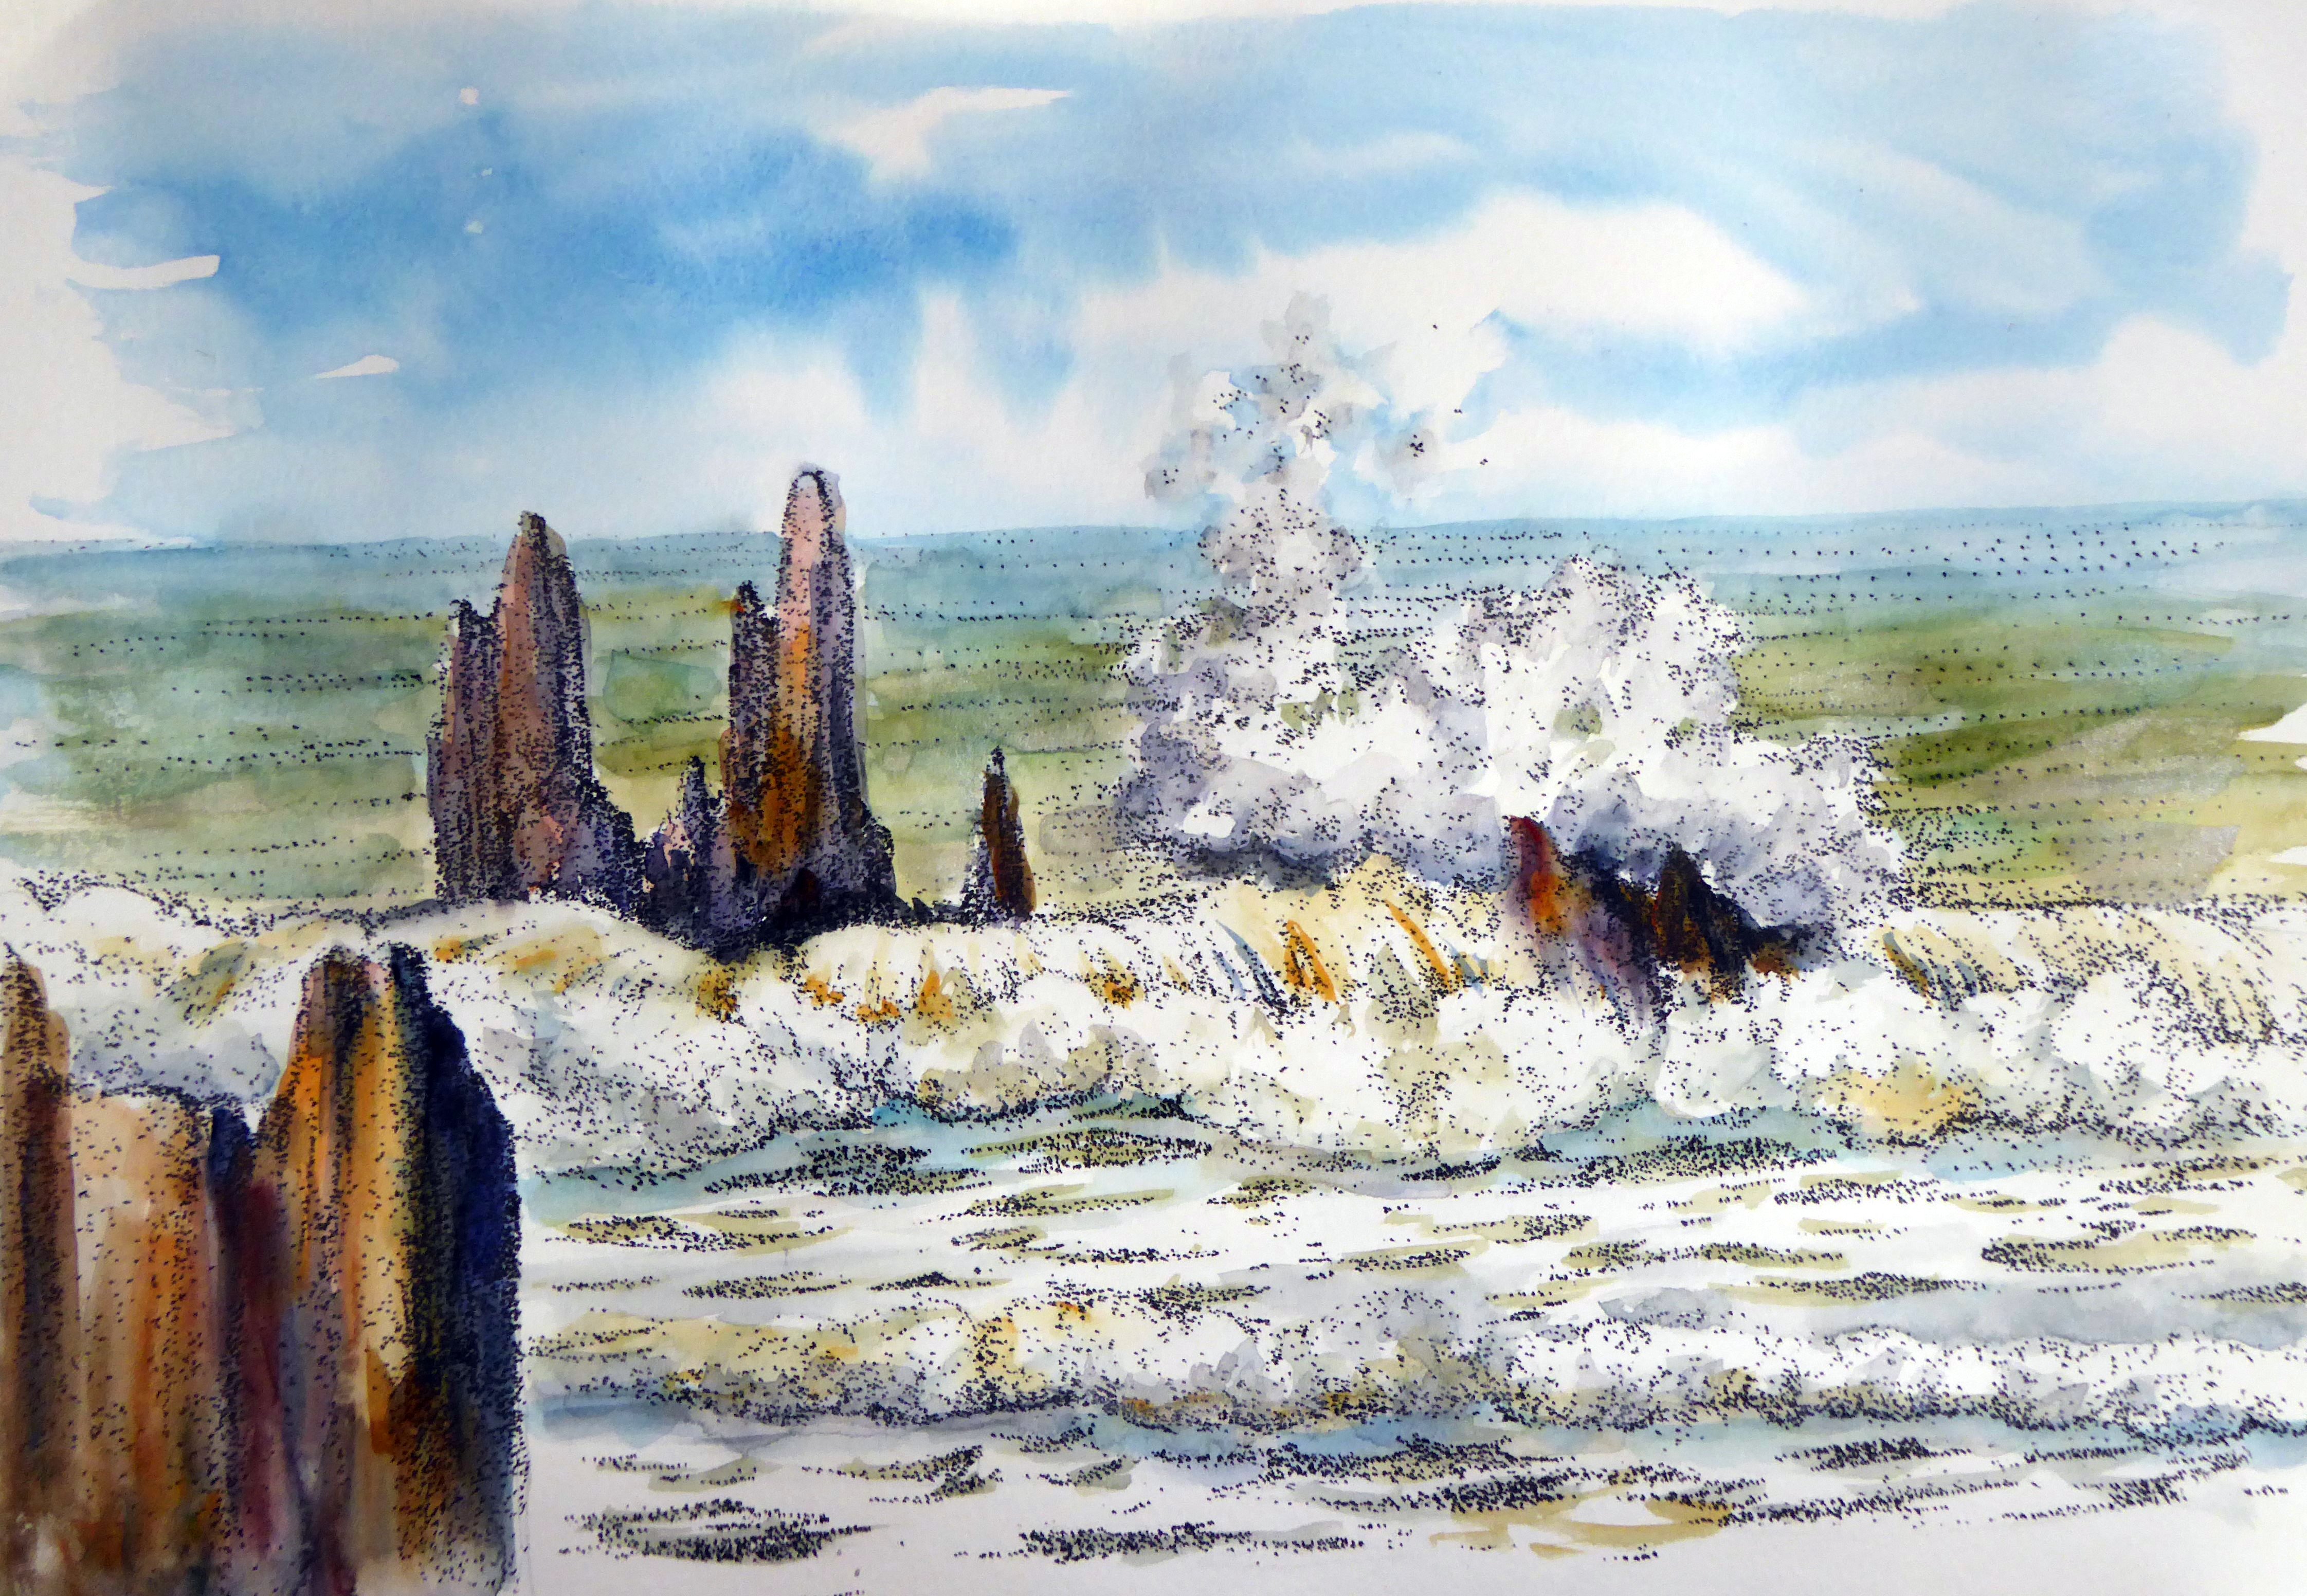 Once I was happy with this I added the watercolour wash. This was not a fully detailed painting over the top, just a colour wash to enhance the finished piece. I want to use the watercolour fairly transparently so the shading from the dots will still be visible.
