
I love colour and take every opportunity to incorporate sometimes unexpected and unusual patches of colour in my wildlife painting, often by creating random backgrounds with inks, to complement the colours in my subject.
Because making backgrounds this way is quite messy and time-consuming, I usually create three or four, then wait until the developing shapes and colours suggest a subject to sit with them. This one felt right for a wren: her brown colouring contrasts well with the bright background.
 I wet the taped-down paper by splashing clean water and spraying randomly, leaving parts wet, some damp, and patches dry. Then, I dripped coordinating inks onto the paper, selecting only a few colours that complement each other.
 Spraying the paper again, I tilted the board to allow the inks to run and blend where the water guides them. This is the enjoyable part, with minimal control over ink flow and the resulting colours. The finished effect partly influences the choice of subject for your painting.
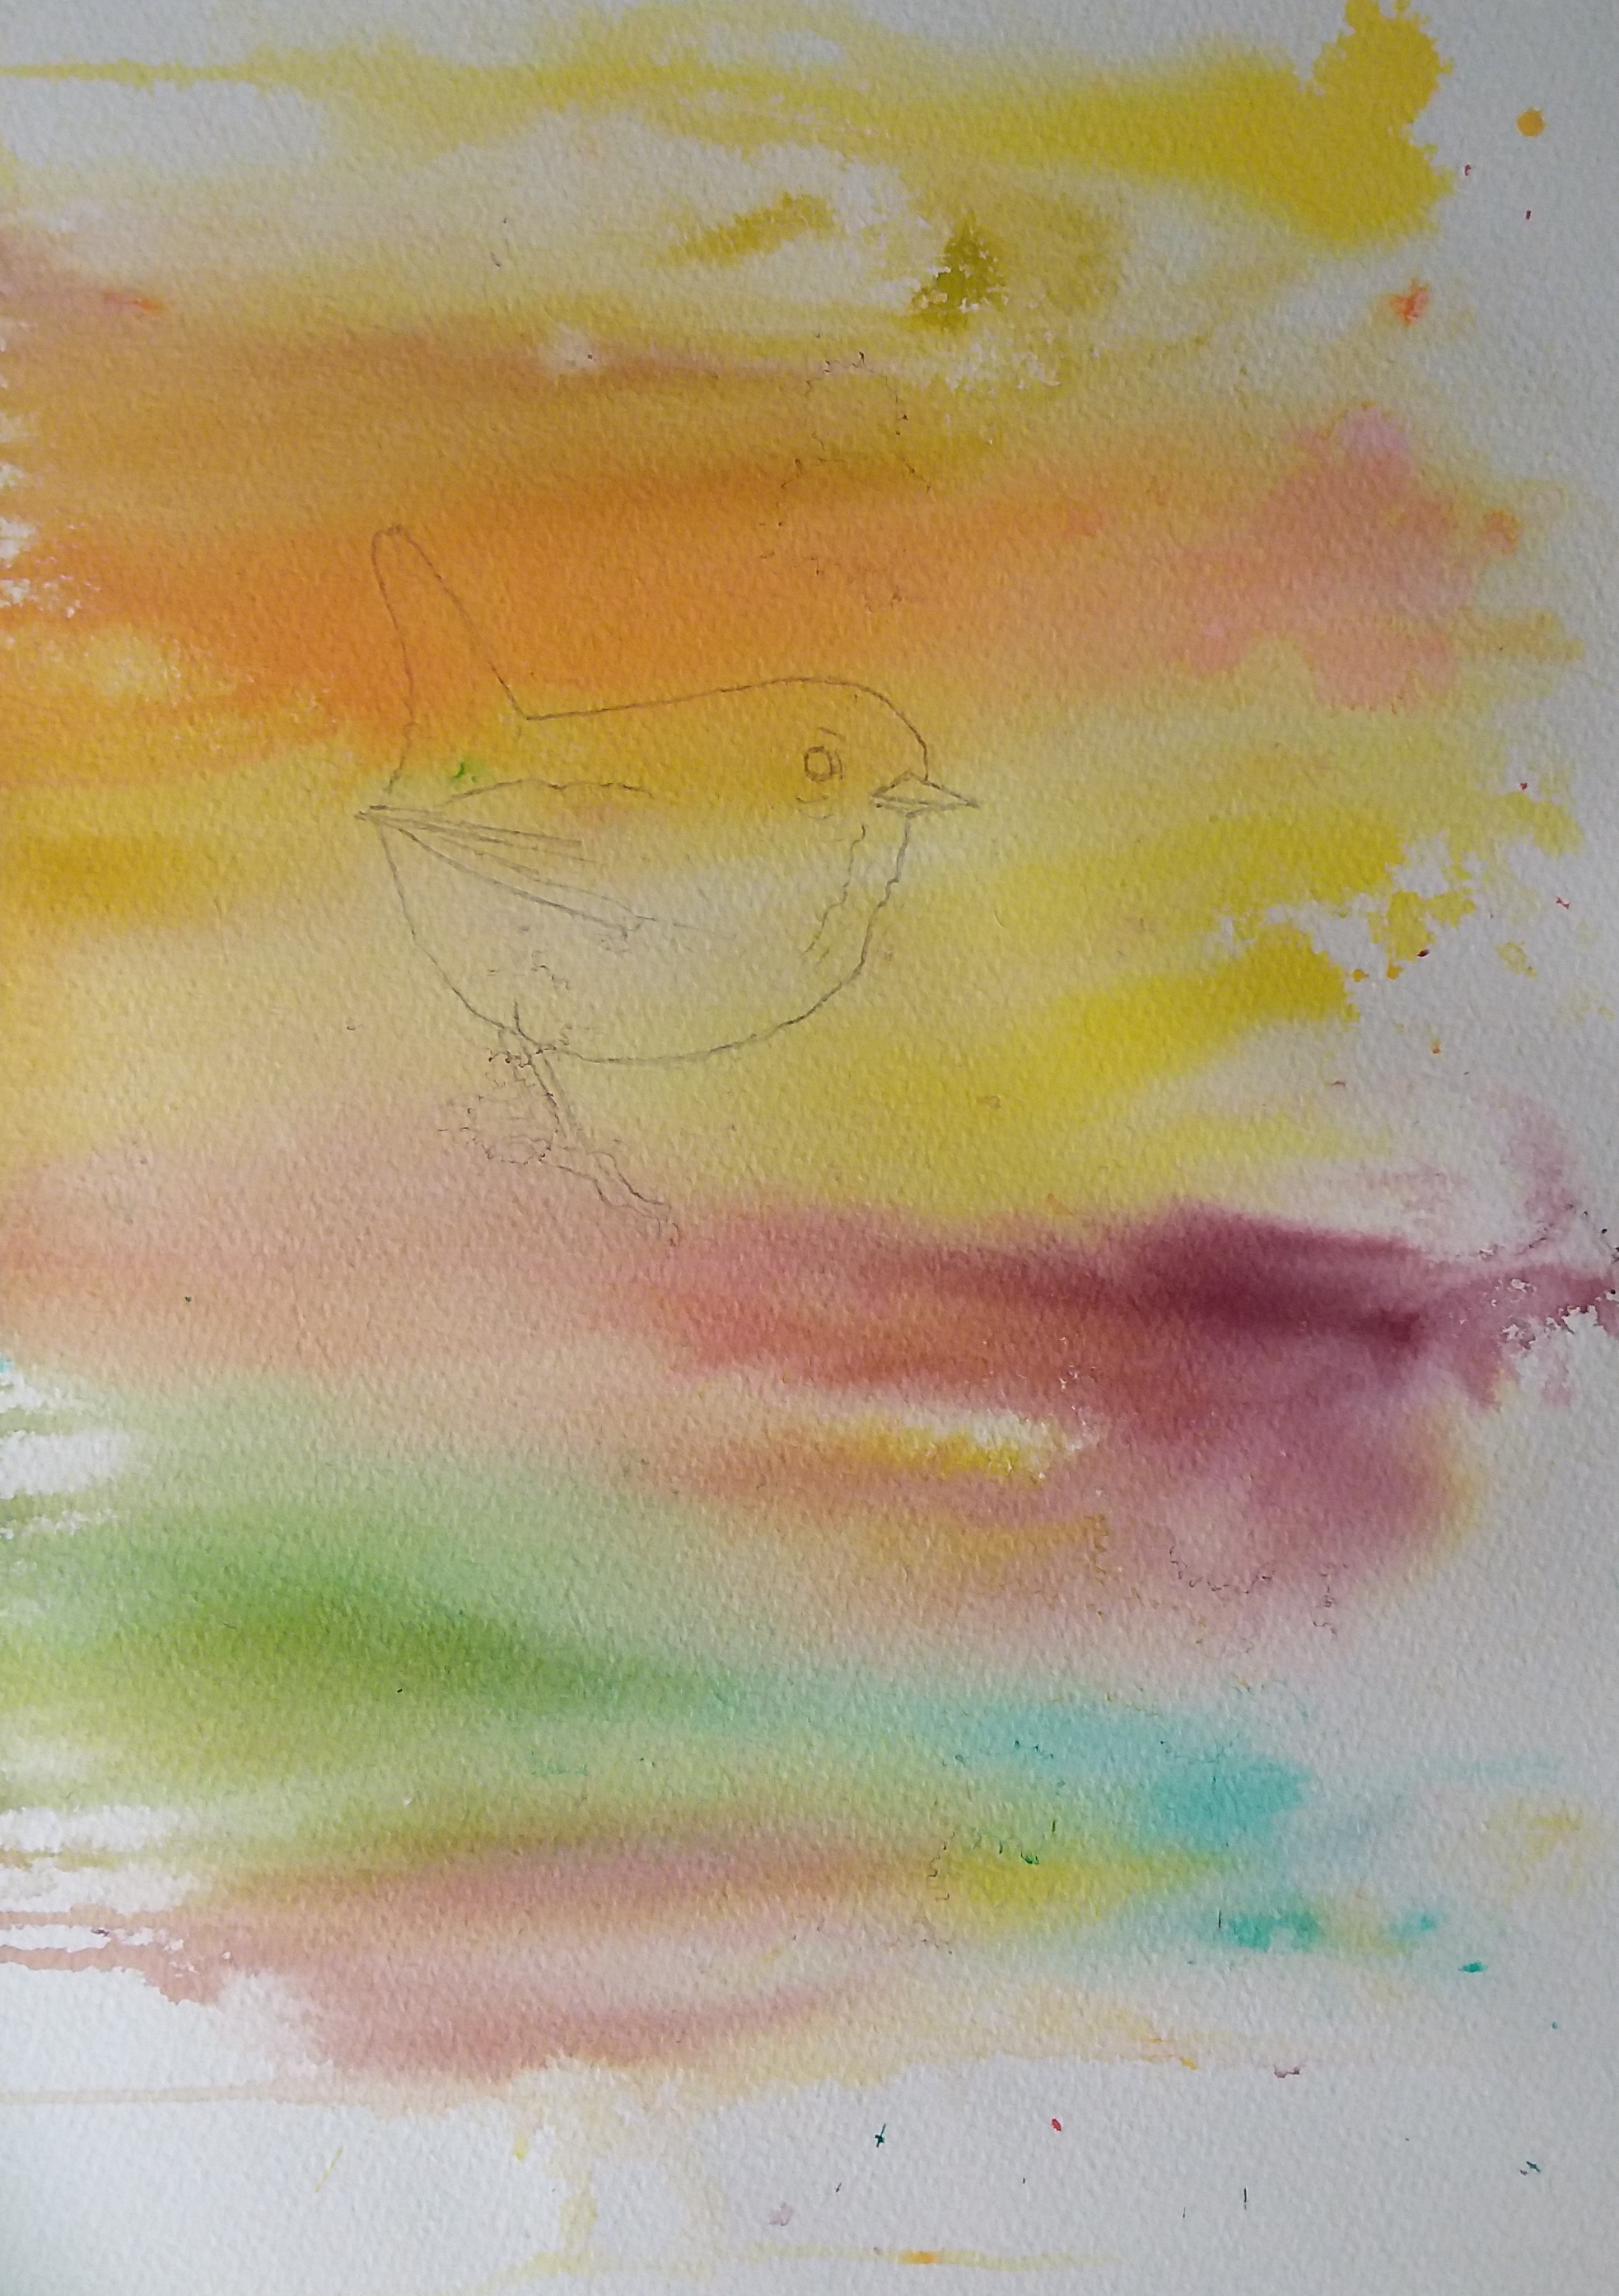 With the background completely dry, I turned it to 90o as I felt it read better. Next, I drew the little bird with an HB pencil within the shapes and patterns. I placed it in the upper section, and slightly at an angle, as the patterns created suggested where the wren would sit best.
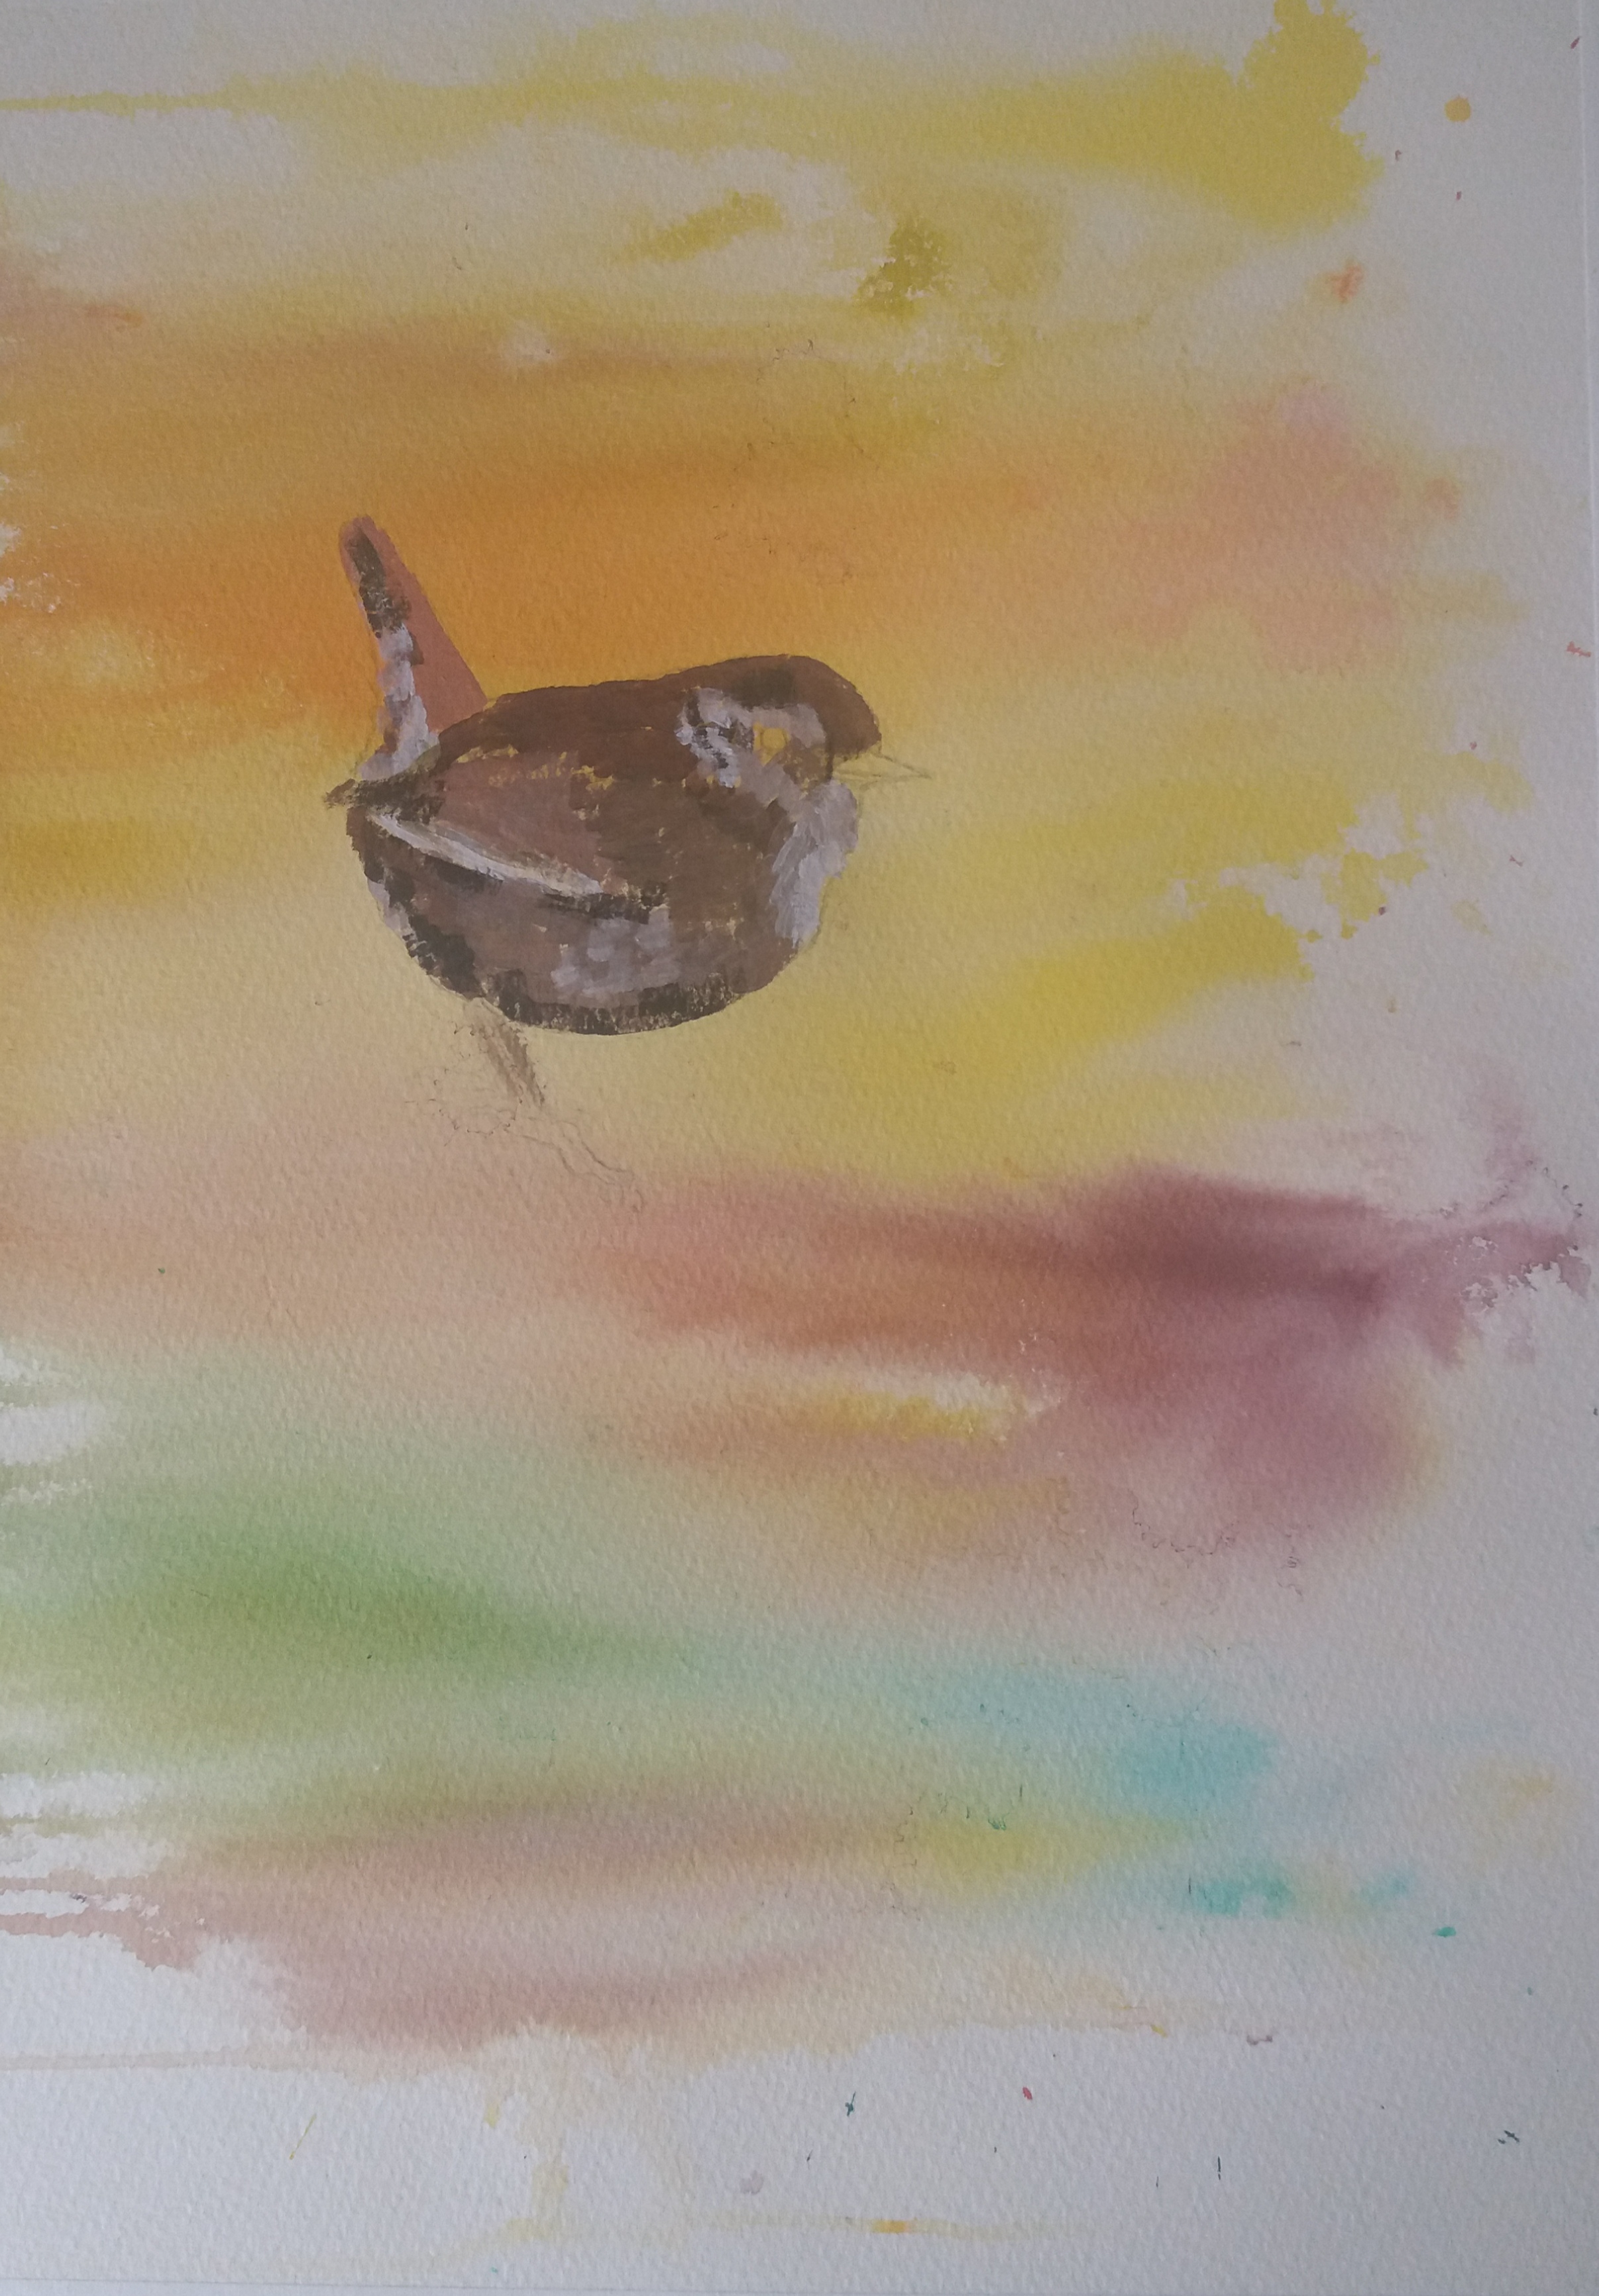 The following step involved blocking in the wren using acrylic. I utilized a blend of browns to outline tonal areas, adding depth and indicating the overall shape. Employing a Flat brush prevents getting too immersed in details at this point.
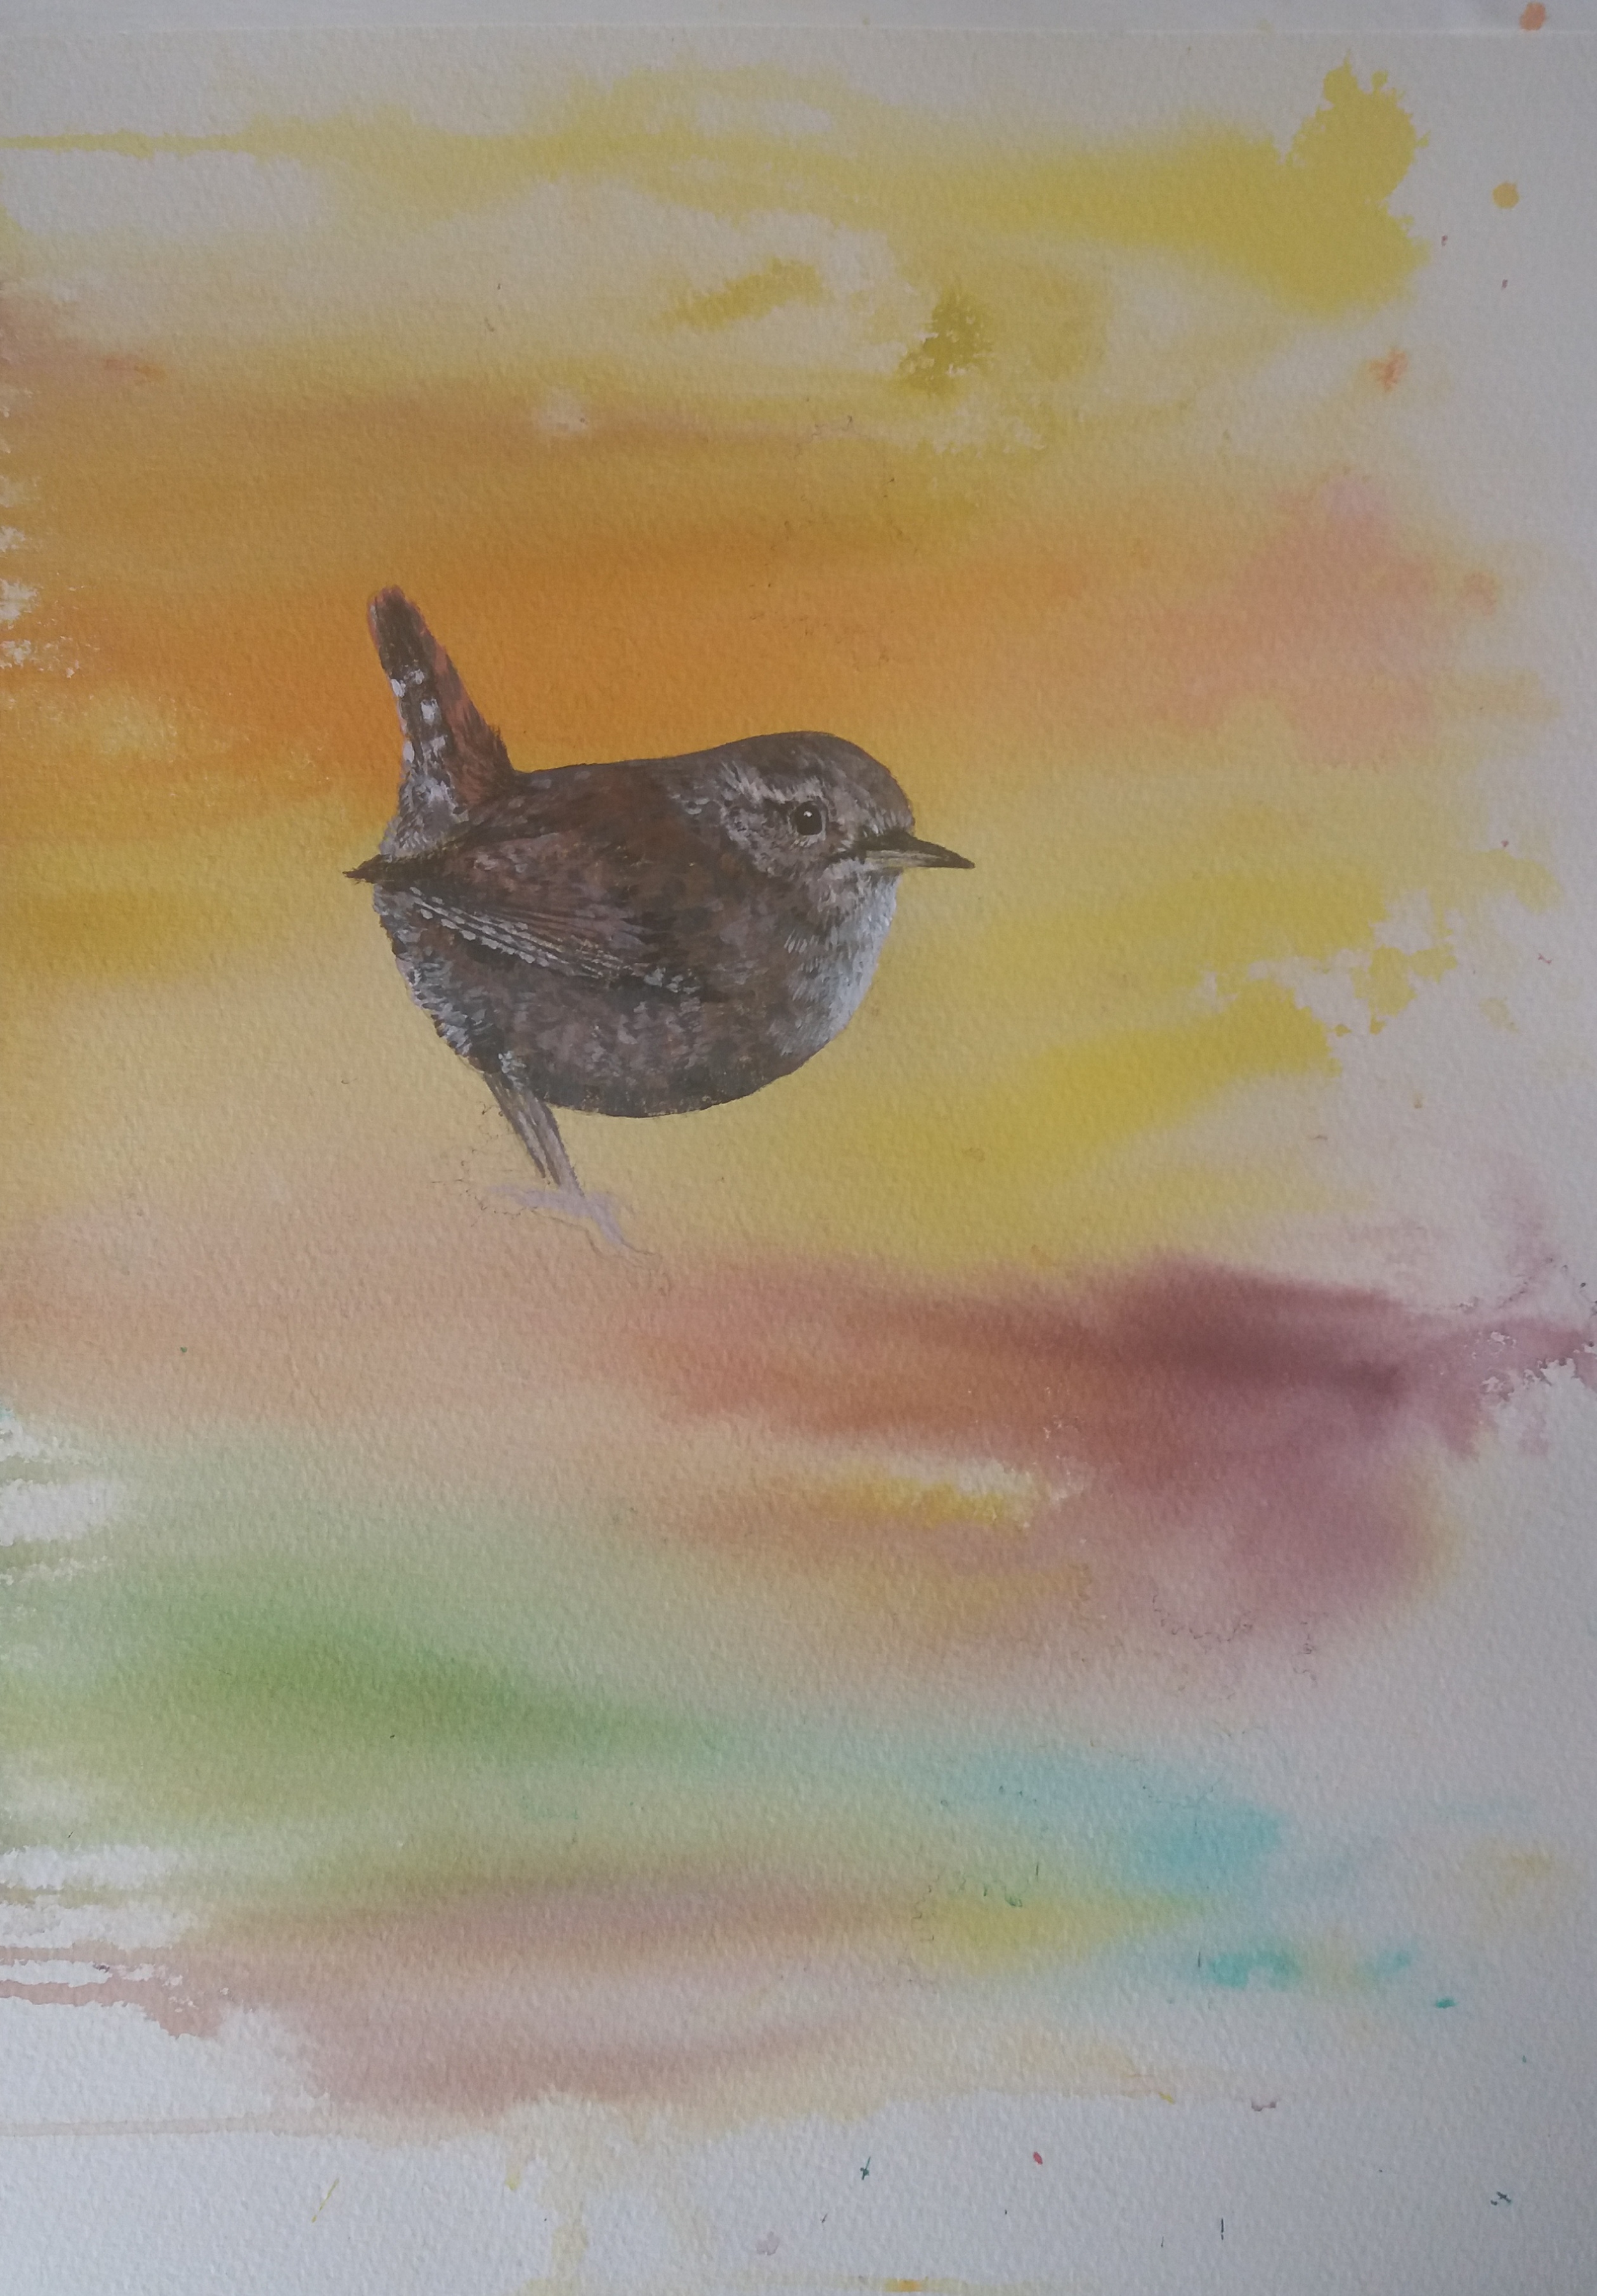 The next step is where you can develop the details. The eyes, beak and tail are some of the first things by which you recognise a wildlife painting of a bird. Concentrate on these areas. I then added the details of feathers, wings and the position of the legs.
 The wildlife painting was finished off by grounding the wren. I gave her the suggestion of a little post to stand on and ended by adjusting the darker tones and adding highlights.
For more information on Vivienne and her work, visit her Facebook page.