
 The past few years have involved amazing travelling experience and gathering of exciting photographs and ideas to paint. Hardly ever at home living and teaching from a suitcase, Japan, Vietnam, Singapore, Taiwan, Hong Kong, Morocco, Brazil, Uruguay, to name a few in the last 12 months.
Plans that I had been contemplating for about 5 years: Bringing my tuition into the 21st century just never happened, I have been thinking about subscription, offering a tier system of membership with real time teaching. This was the plan, I just never had long enough in my studio, I was always travelling teaching. Suddenly, our world has changed, how was I going to bring this into place and quickly too? I love a challenge. This was not only a painting challenge, but a bigger challenge was getting myself up to speed with technology. How would I achieve this? I learnt about different ways of making this work, some good, some very expensive. Money is the one thing I didn’t have, as you all know artists work of teaching, demonstrating travelling all stopped overnight. 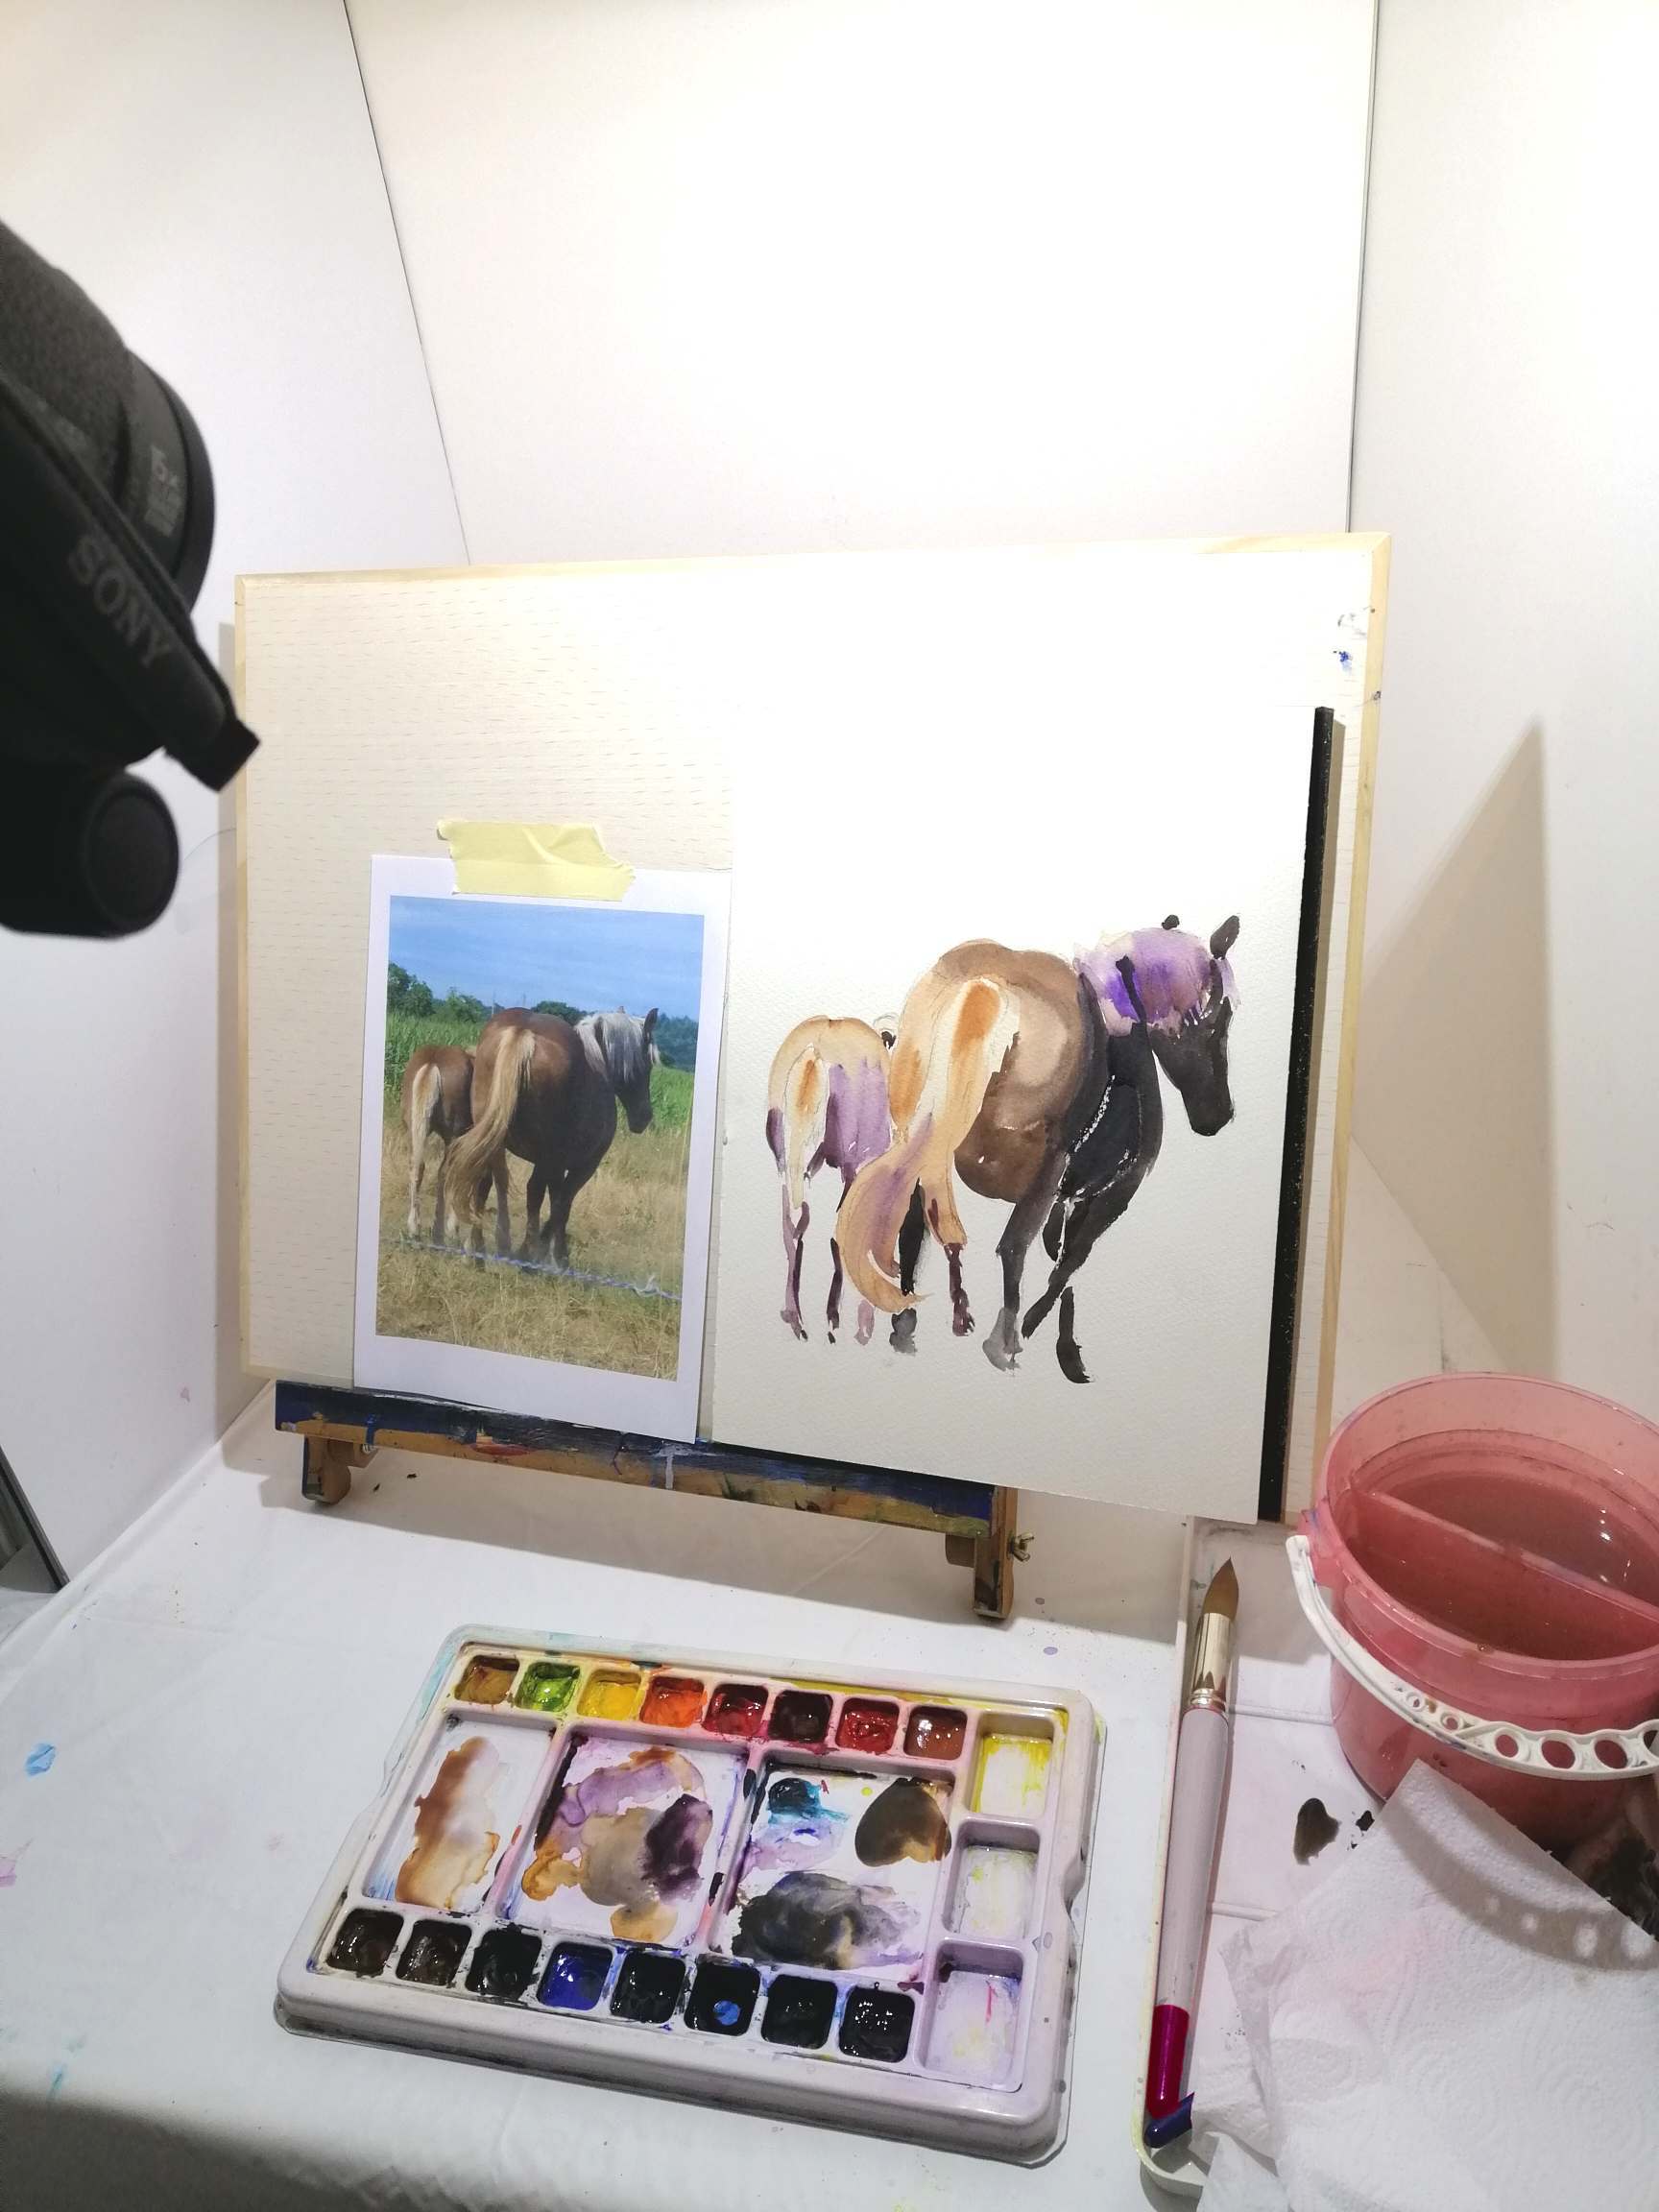 So, I also had to be very diligent on how I set this up. A homemade light box type studio was made from an existing display board. Lights were experimented with so quality was good and I invested in the best camera that I could run too. From day one I have been working flat out to bring this into place – so no time to slow down – in fact, the opposite, starting something new takes more time and more energy. Now I don’t have enough hours in a day. Working out various tuitions, filming, editing, promoting. It’s very exciting and I’m very pleased to have exercised my brain to make it happen at last. Hoping it will bring motivation to many people at this time. It will also work all over the world. What a great classroom to have?
I’m learning about demonstrating and running workshops live online and this will be my next project. I must admit that wasn’t something I had thought about before. These are times where surviving means adapting. I roped in family and we are testing this out, so a great way to meet up each week for all 5 families at once. Will be so good to have that interaction of a demonstration or a class again. Another positive.
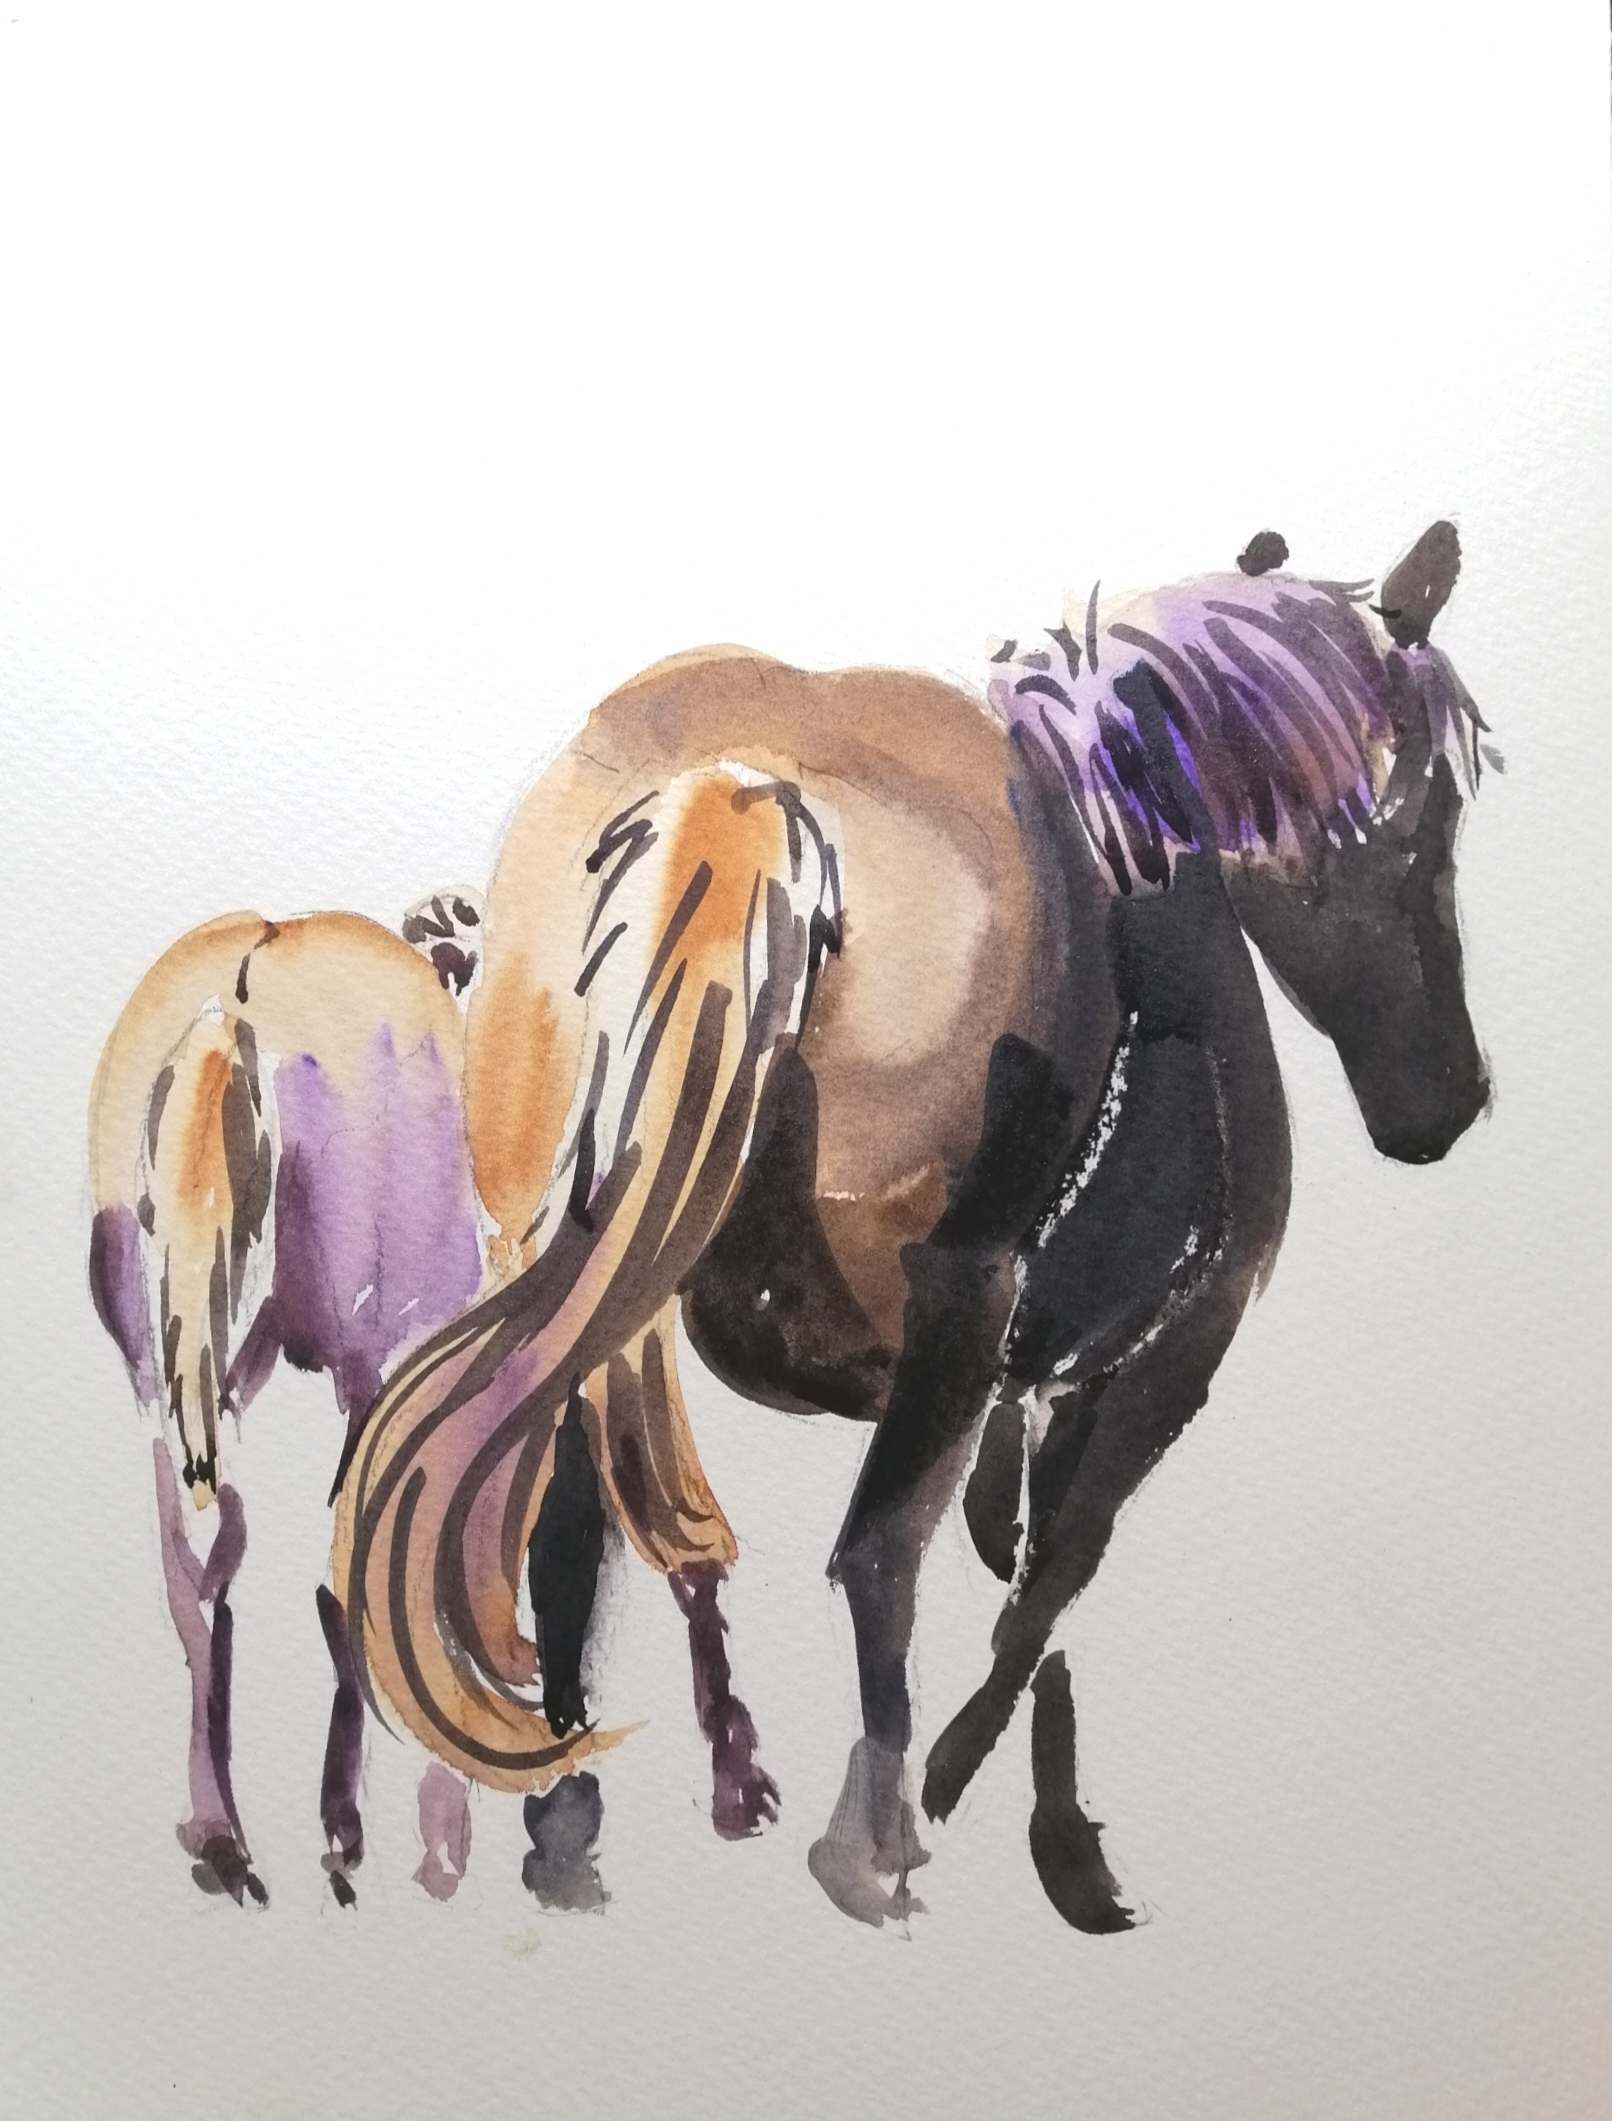
I am, of course, spoilt in my working farm studio and spending so much time there is an absolute joy. My daily view is of horses and cows and lots of wildlife. How could you not feel good and inspired? It will, of course, be even better when I slow down and can enjoy a glass of wine and the views. I thought it would be apt to show this easy watercolour of two horses, so you too can enjoy my view.
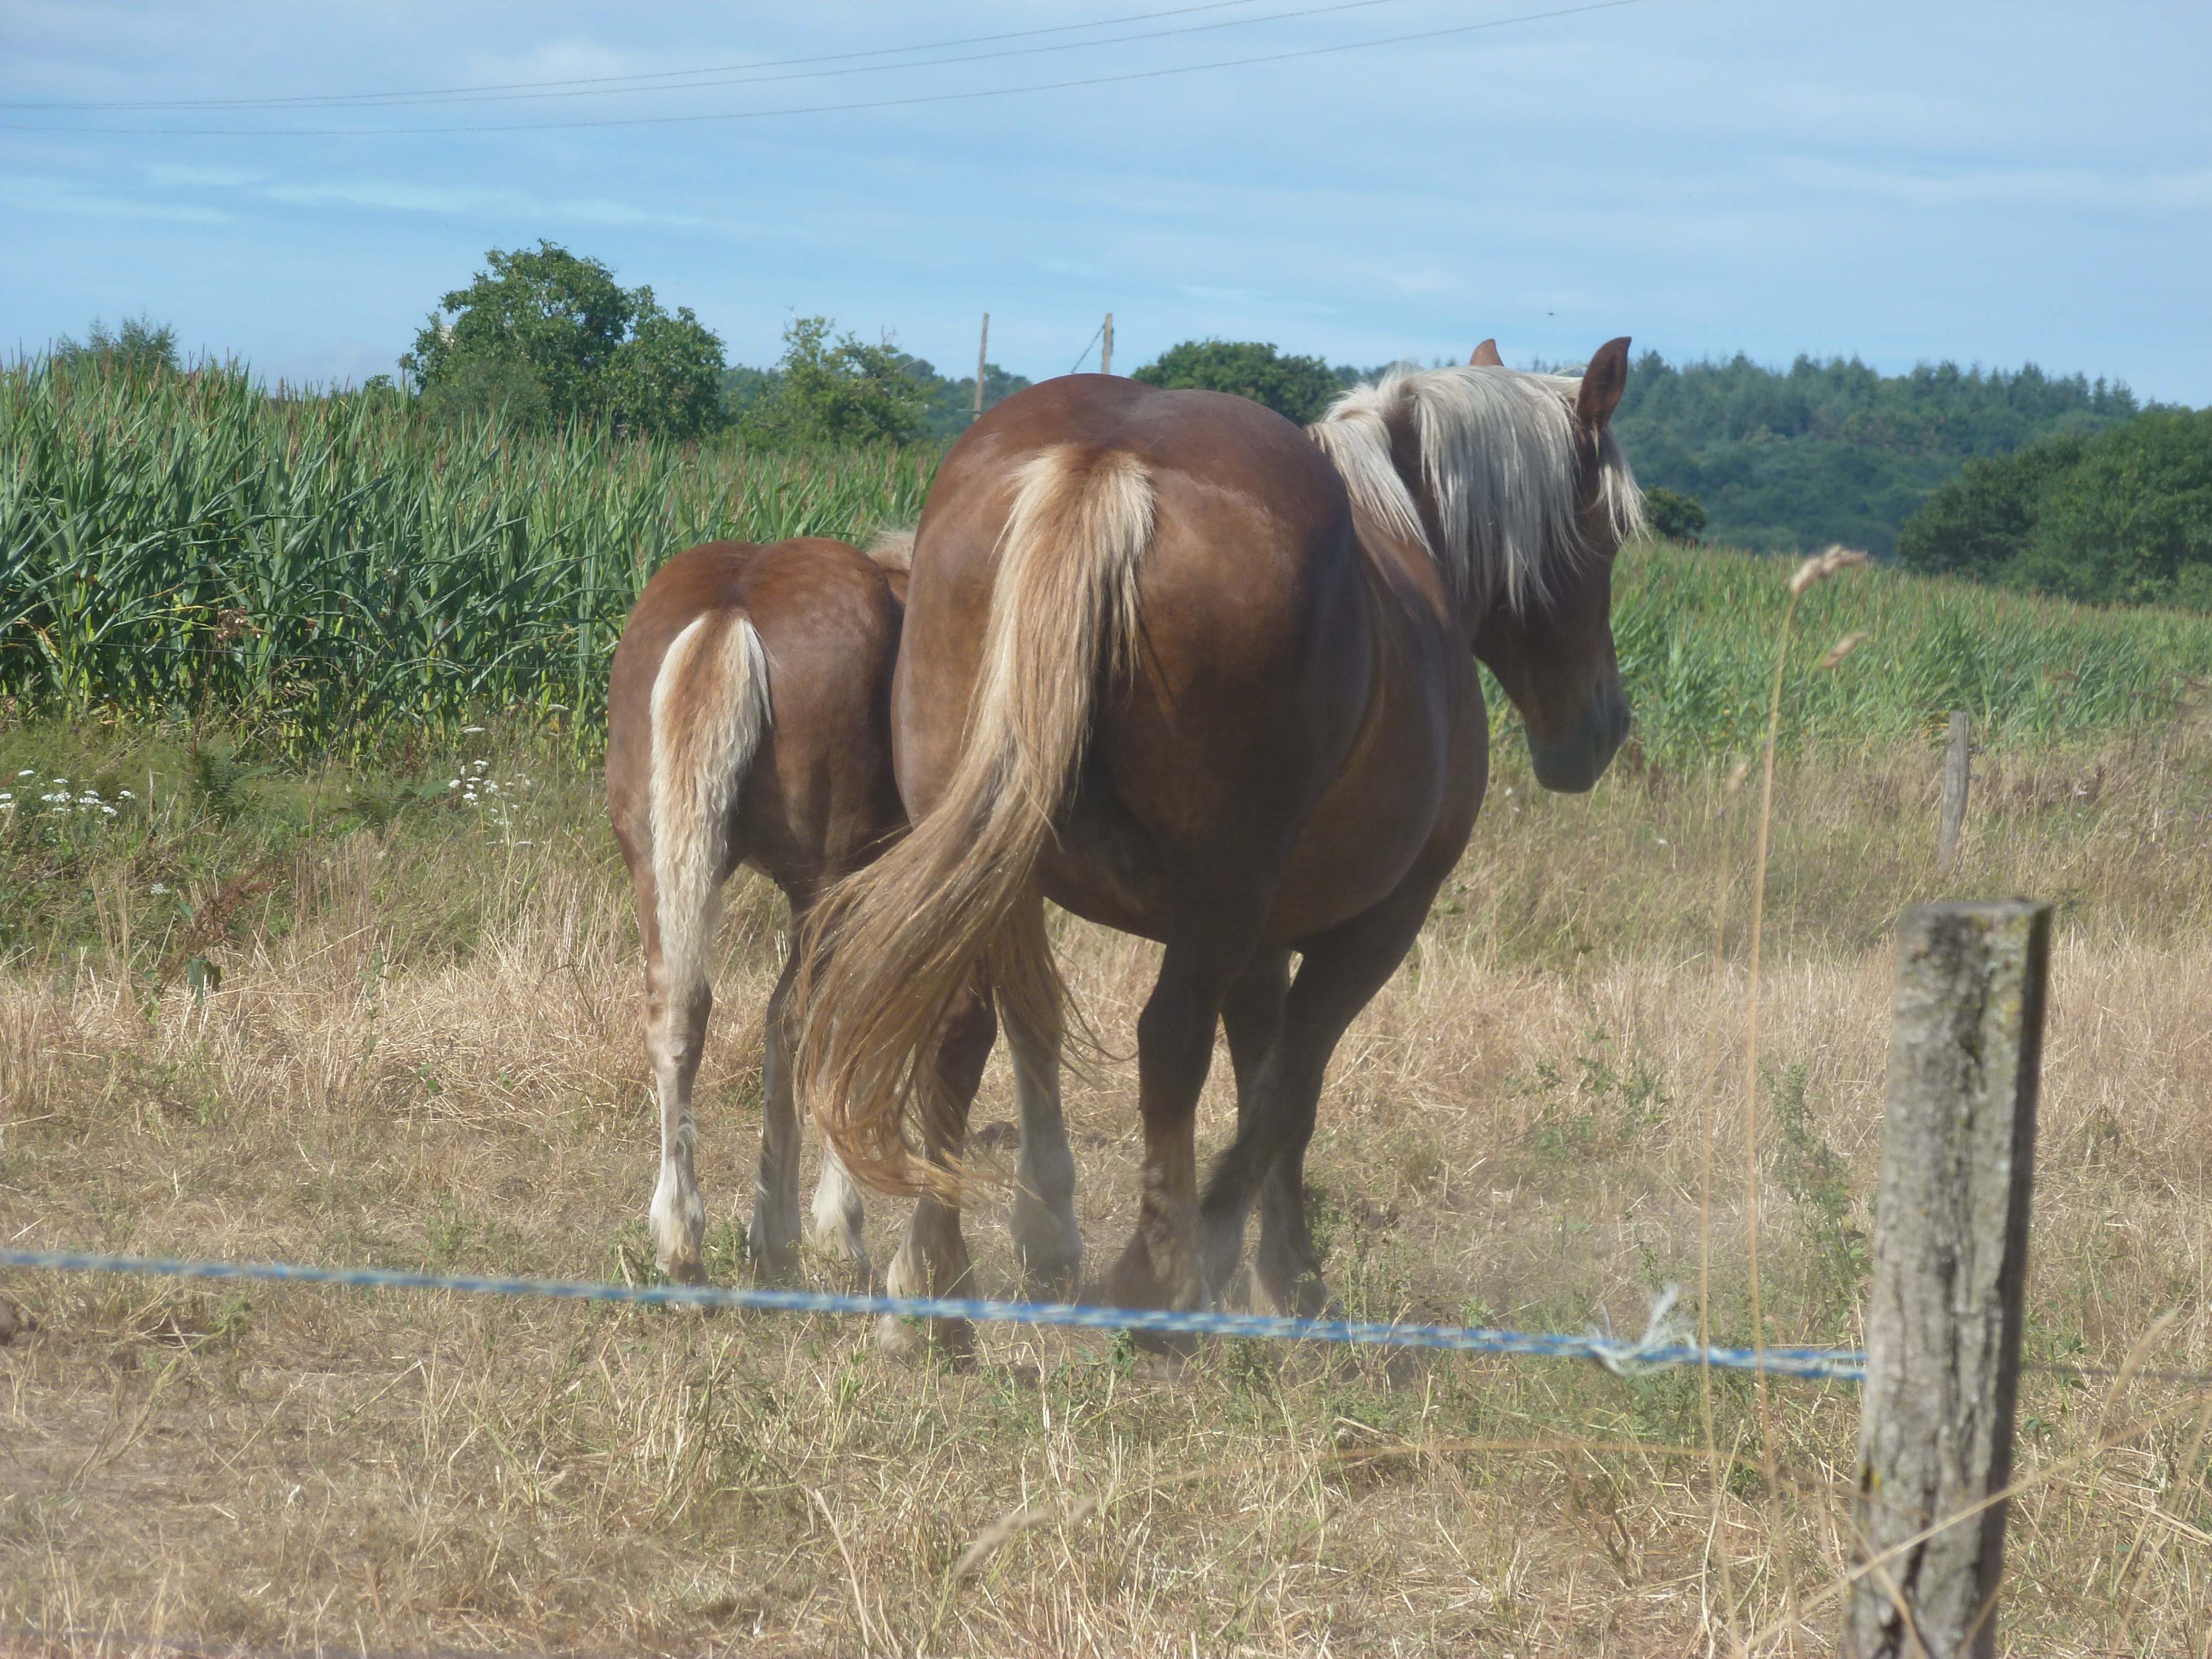 These are very inspiring, and I was attracted to how light their backs were against their heads and front, because of the light. We know it was the same colour, shockingly so different in tone. Firstly, I drew the horses, not in detail but looking at the light and the dark shapes.
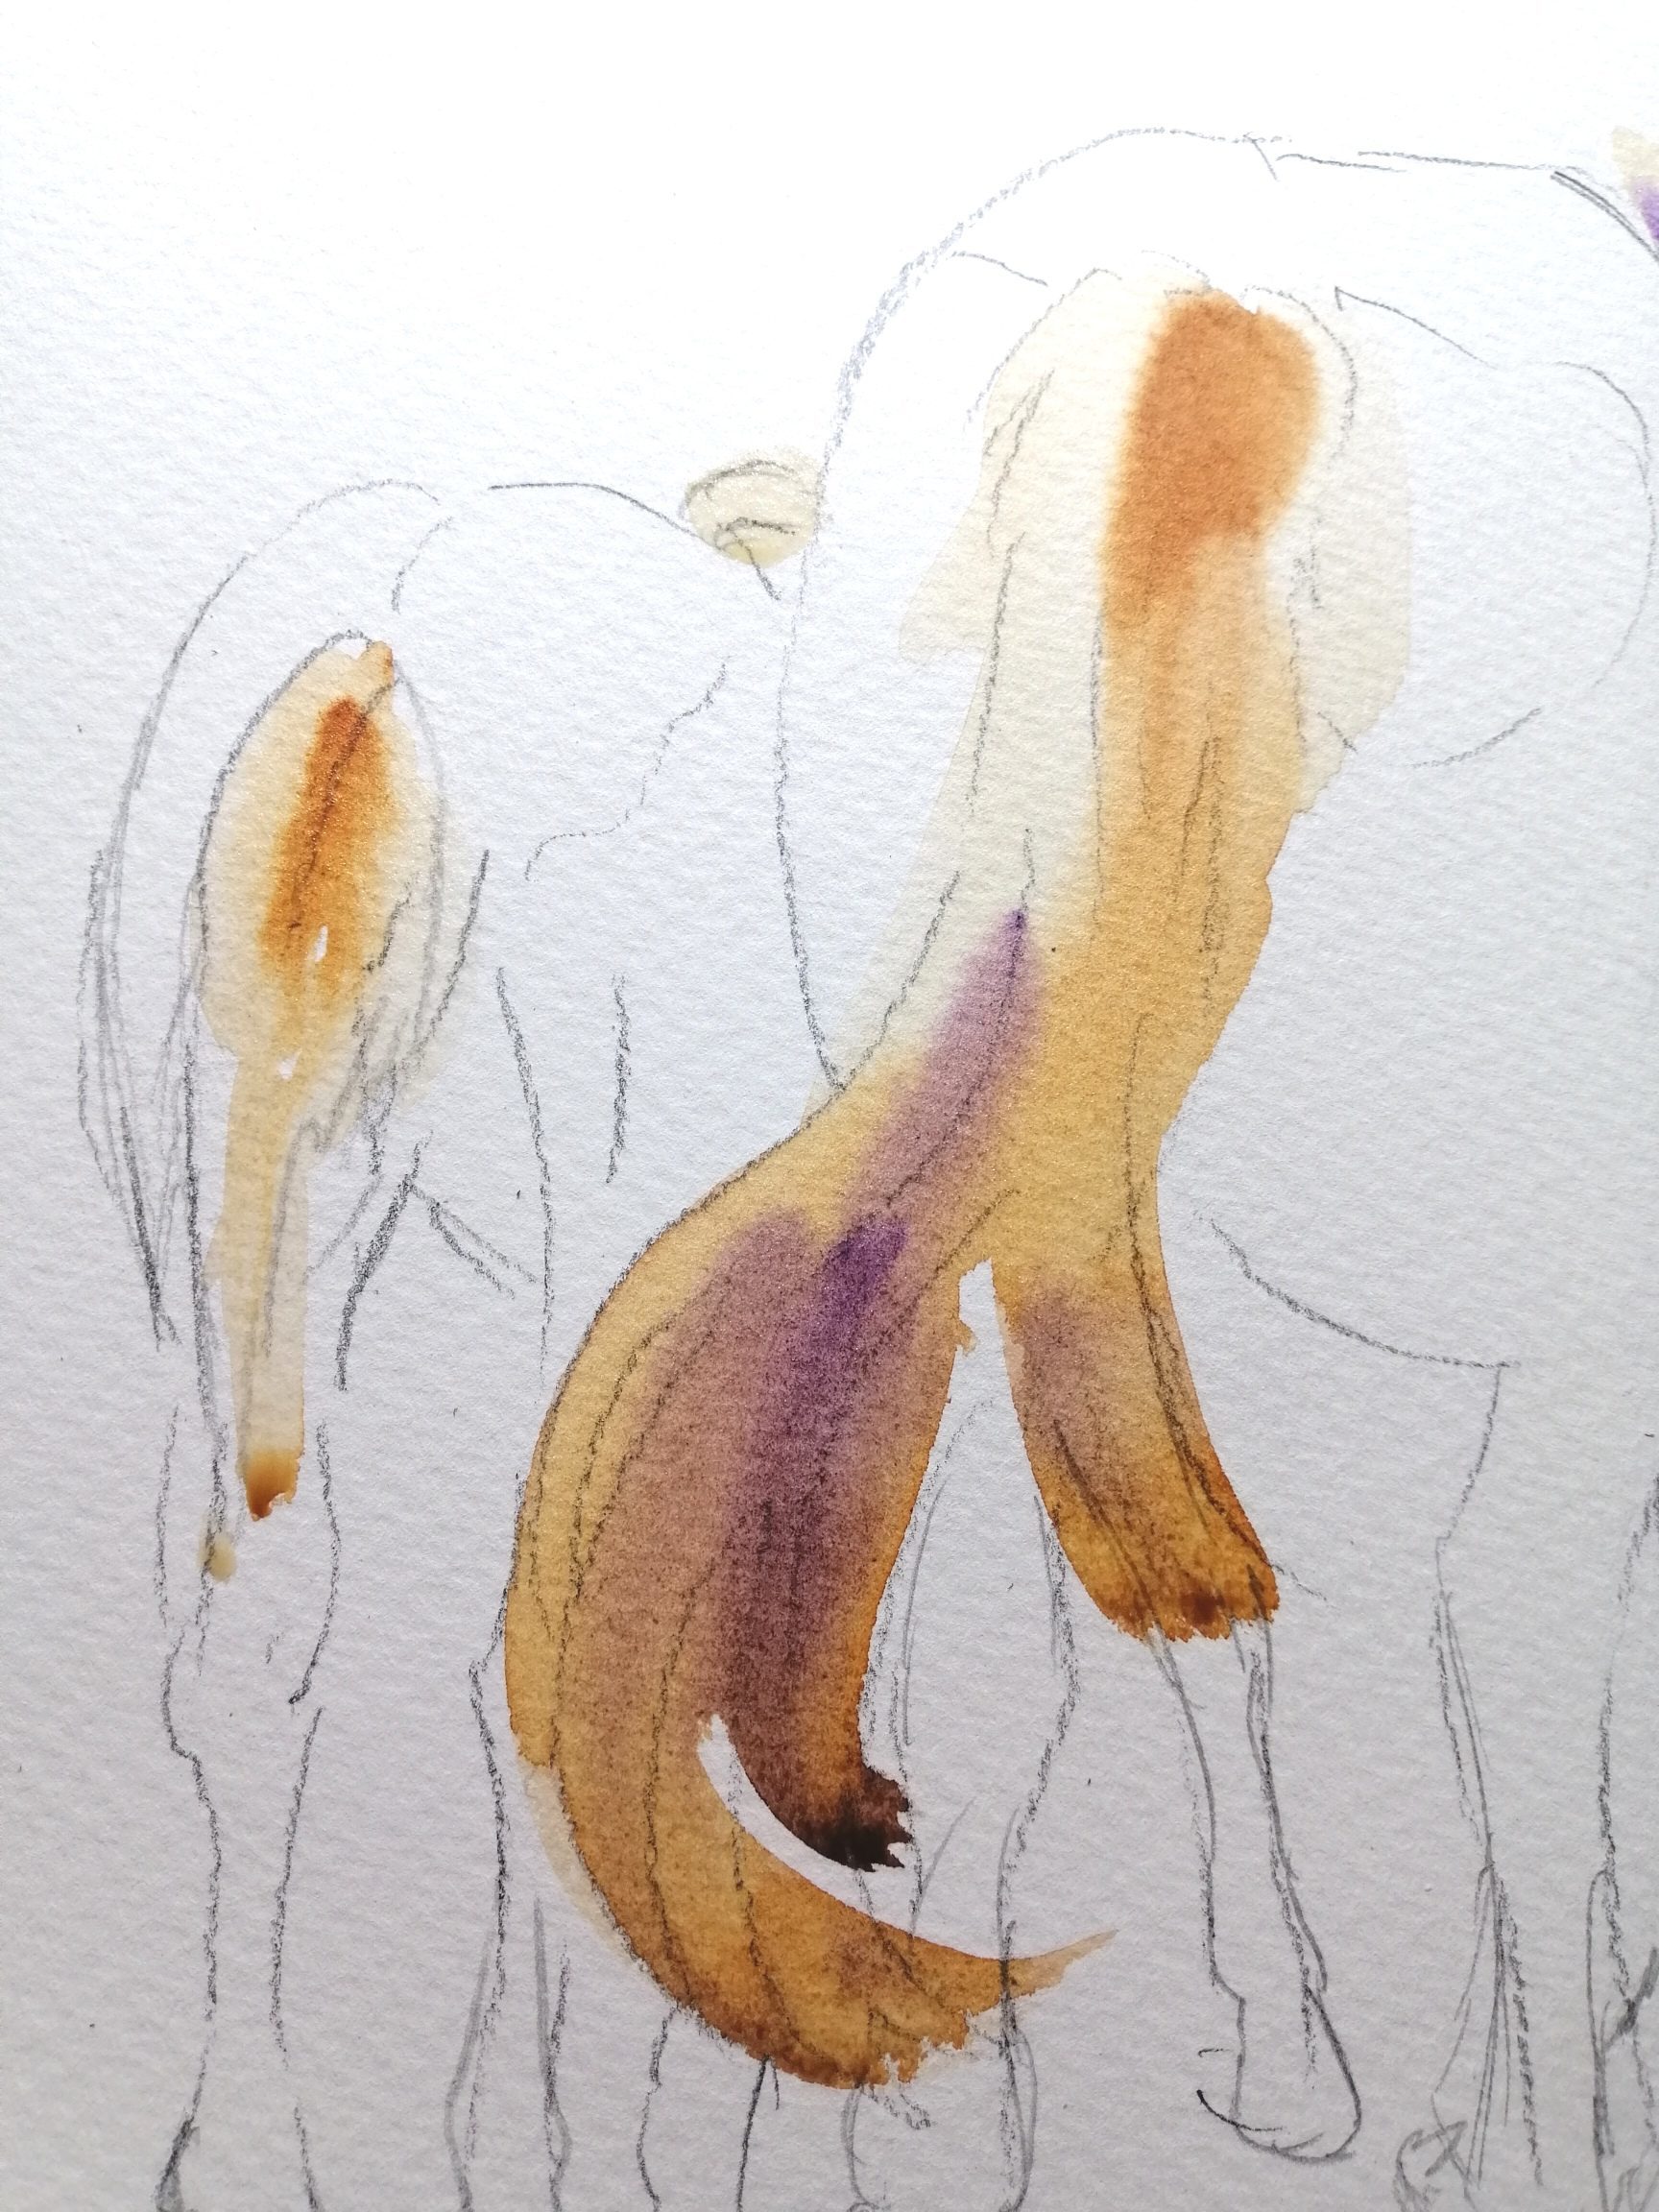 Firstly, I rubbed a little bit of wax crayon along the two lines that showed the horses beautiful shape. This will act as a resist later. Starting with their beautiful tails, working very quickly I used a very watered down Burnt Sienna, just enough to give a little bit of a watermark on the paper and into that I brushed in some thicker Burnt Sienna. Finally, some thick Intense Violet in the shadow areas. This looks messy and that what we want at this stage.
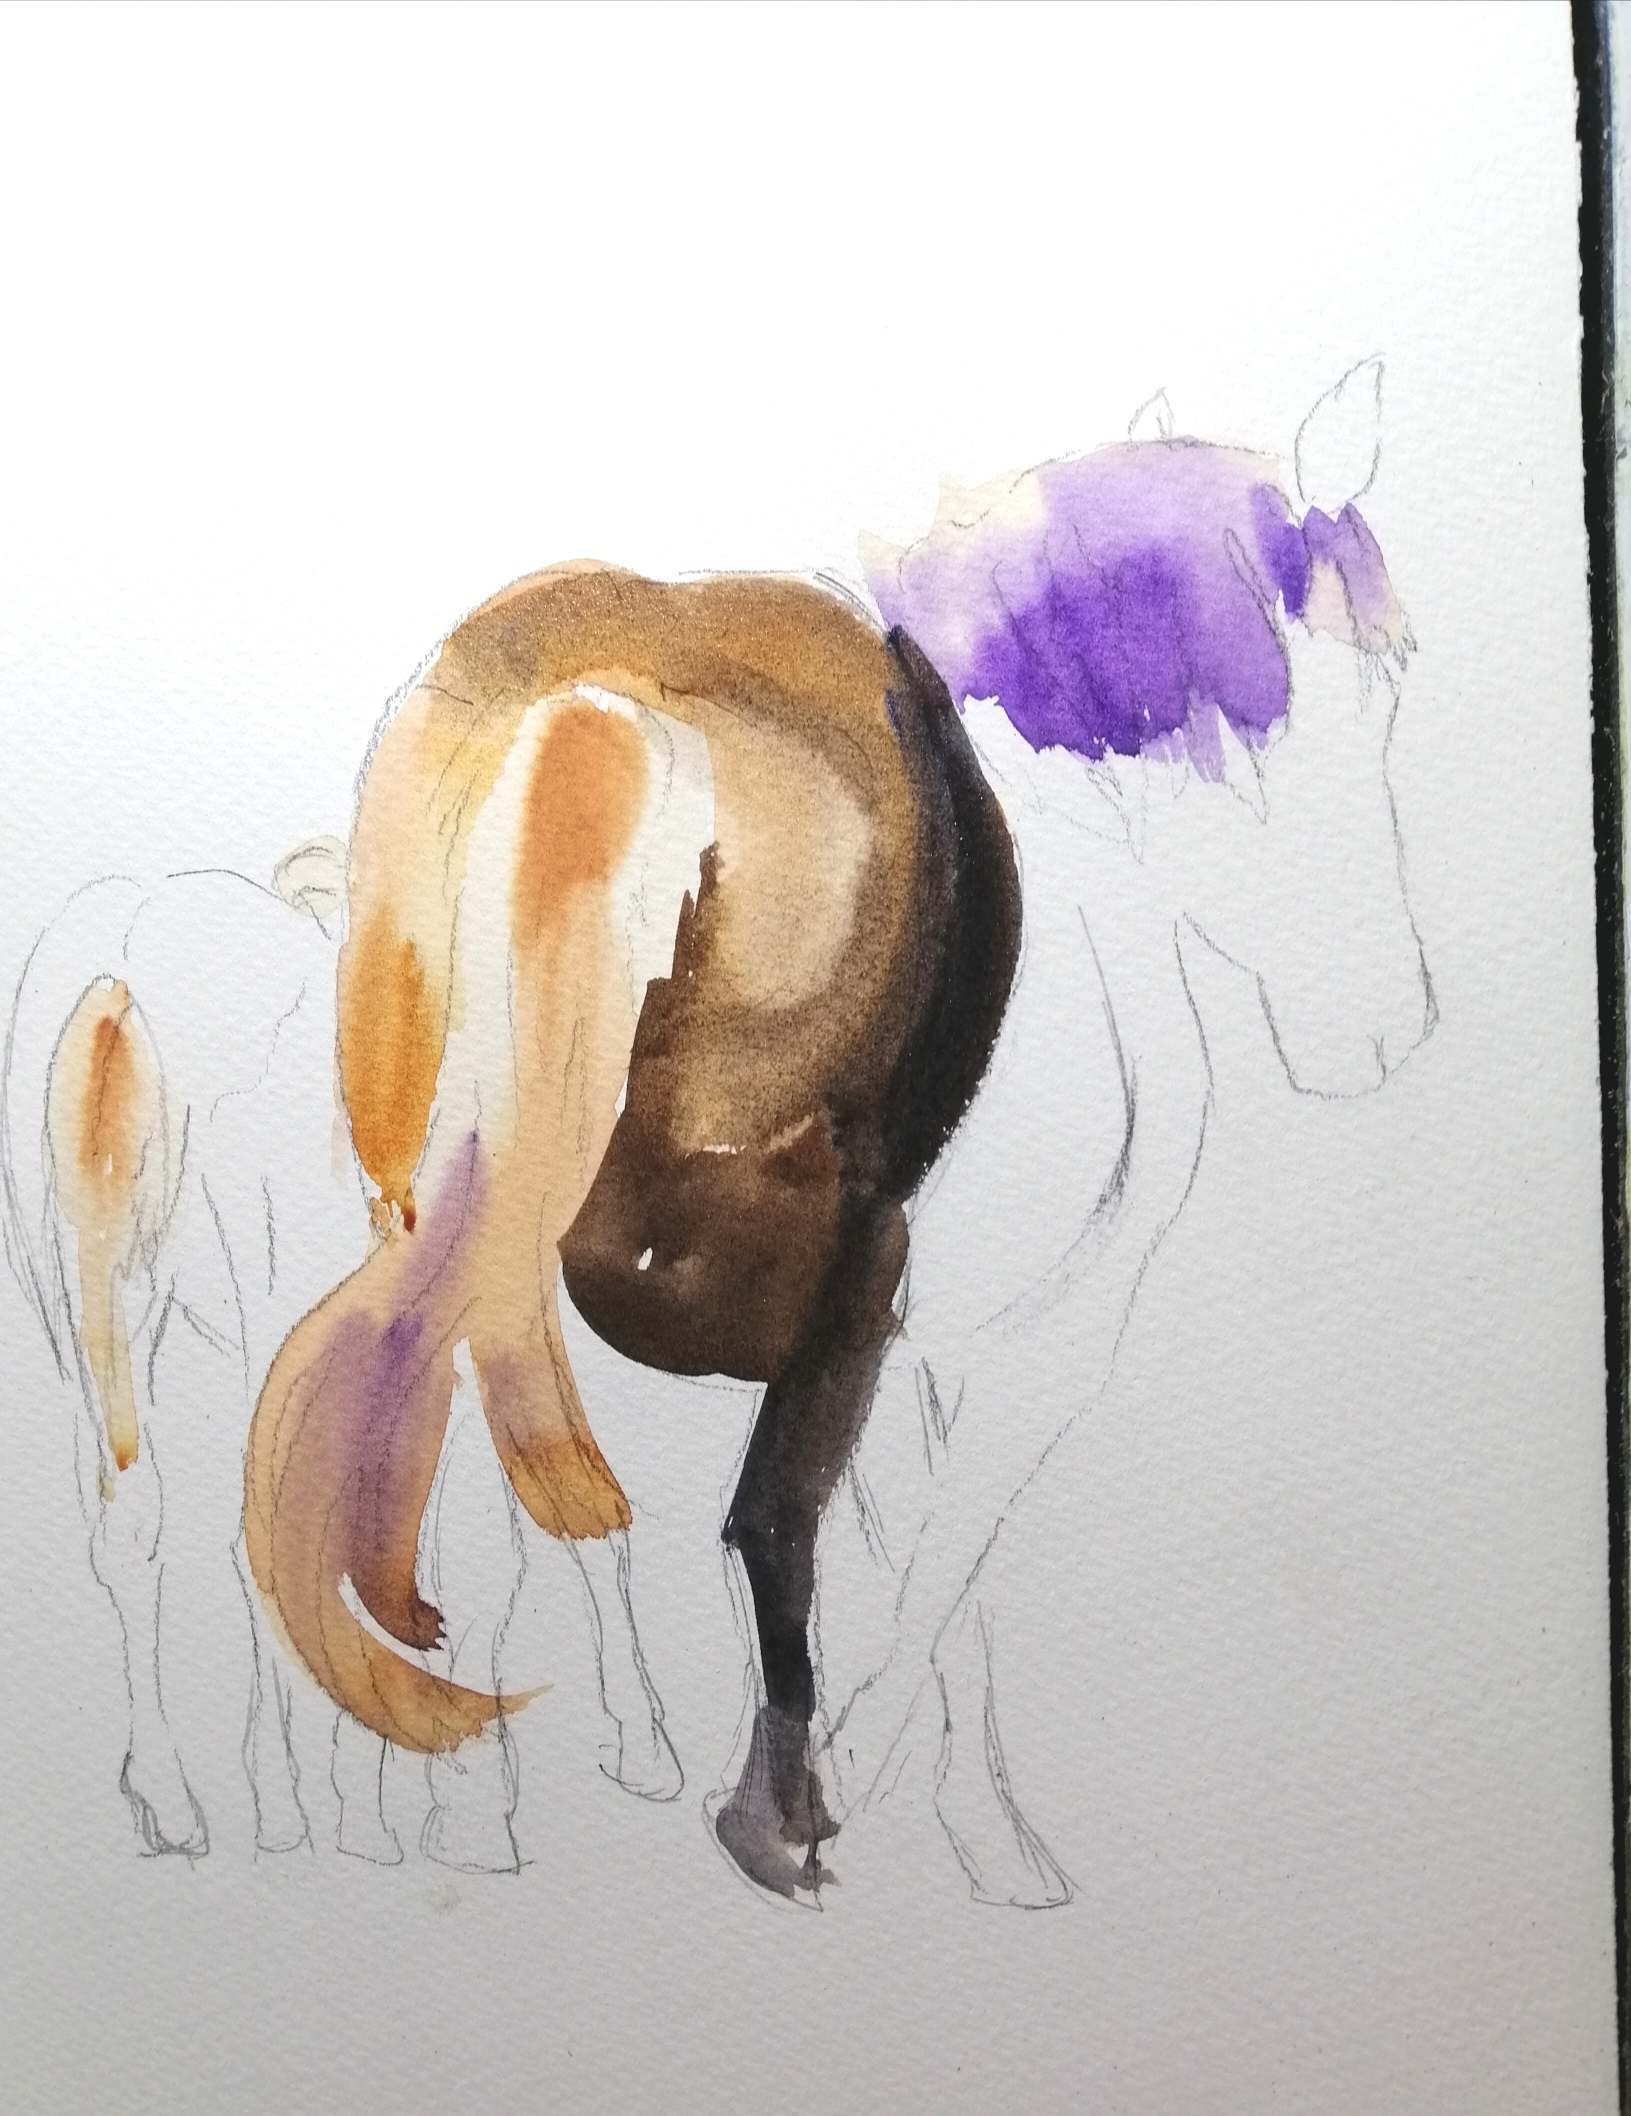 Continuing quickly, to not fiddle. I used awash of watered down Burnt Sienna on the large horses’ bottom adding more pigment as it got lower and on the top of her bottom. To get the very darks underneath I mixed Burnt Umber and French Ultramarine Blue together, lots of pigment and very little water. To the main I added a watery Burnt Sienna and added a thicker mix of Intense Violet.
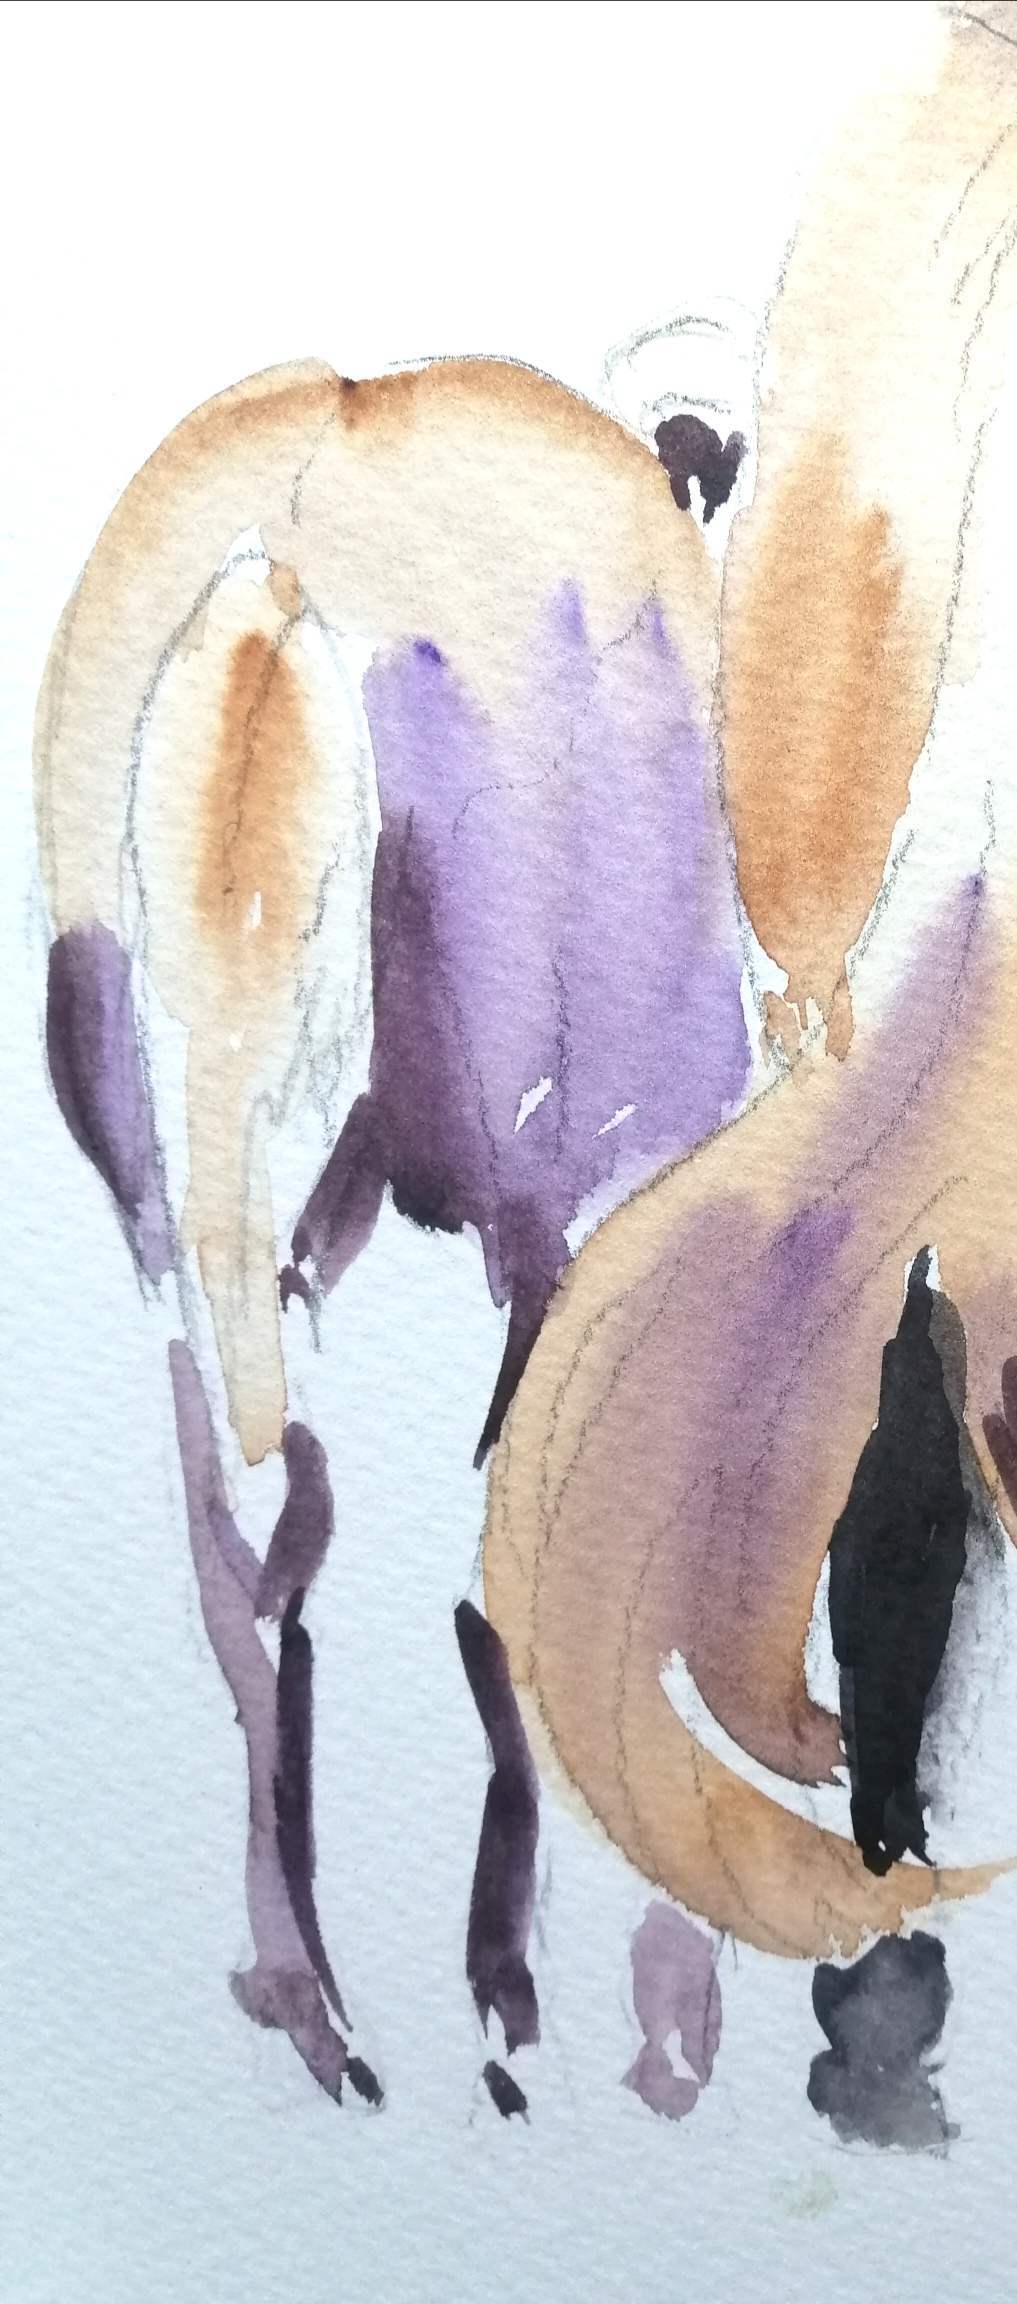 The little horse I worked in the same way very quickly and loosely The back where the light is hitting it is Burnt Sienna watered down, then running in some Intense Violet and finally the darks are French Ultramarine Blue and Burnt Umber mixed together.
 Using the same dark thick mix of French Ultramarine Blue and Burnt Umber, paint the larger horses front and head. See how the wax resist comes into its own.
 I still use the same size 16 brush, but just with the point, and using your thick mix of French Ultramarine Blue and Burnt Umber, pick out some of the detail of the tails and mane. Be careful not to overdo this, less is more. Finally using some of the Intense Violet and a small amount Burnt Umber I have anchored them to the ground with a shadow.
How lucky am I working in this beautiful studio, so much inspiration on my doorstep? Maybe at some point I will have time finish work and indulge in a little experimenting. I certainly won’t be bored.