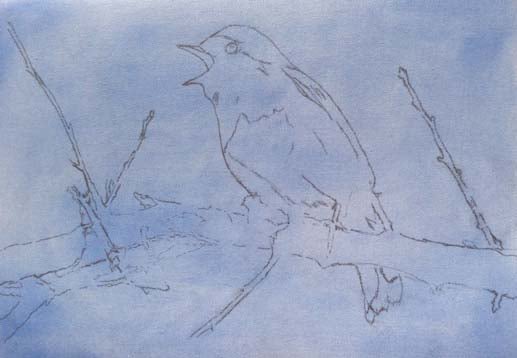
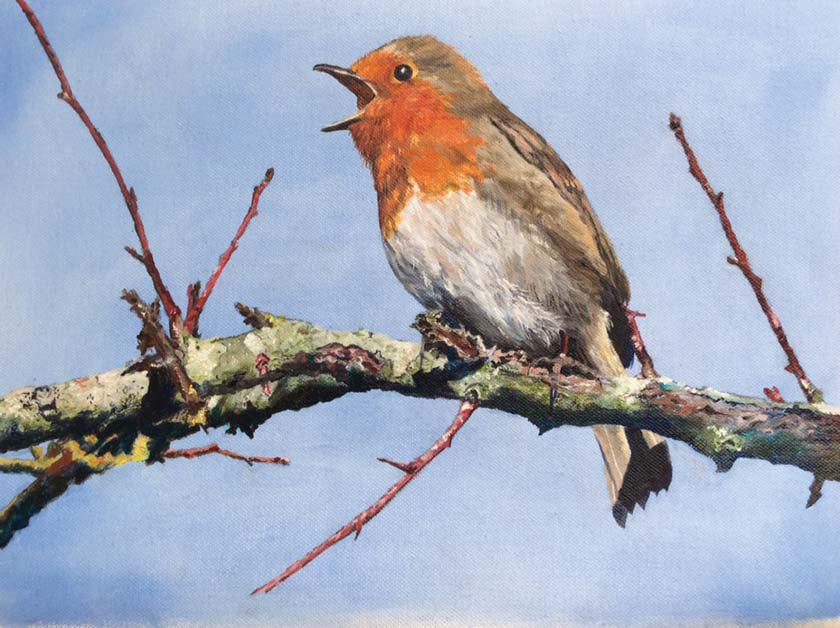
 I covered the surface with a thin mix of French Ultramarine, Titanium White and Liquin. Once touch-dry I sketched the outline of the bird and branch, using a fine felt-tip pen.
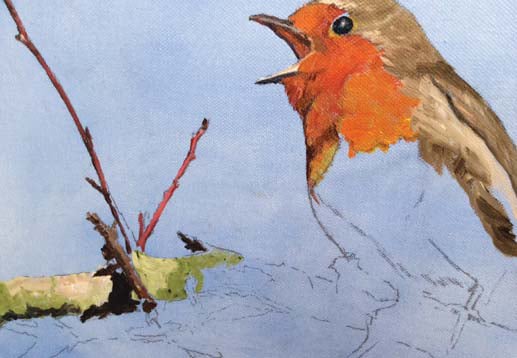 Using a medium sized synthetic angled brush I began the underpainting (loosely), at the left top working down to the bottom right, blocking in the mid-tones. I then painted the eye, using Ultramarine, Burnt Umber and a little Black. I radiated out from here blocking in the reddish colour around the eye and down to the chest, picking up various colours, unmixed onto a medium-sized Flat brush; Light Red, Cadmium Red, Lemon Yellow, Cadmium Orange, Alizarin Crimson and Raw Umber. I always leave the lightest lights, darkest darks and fine detail to the last stages of the painting. I then moved on to the far left and tackled the twig using the narrow face of the angled brush, then on to the main branch where I applied Sap Green, White, Raw Umber and touches of Alizarin, echoing the colour of the twig; the under-shadow was done with Raw Umber and Ultramarine.
 Next I returned to the head and back using a smaller Angled synthetic brush and again picked up an assortment of Raw Umber, White and Cadmium Orange. I went back into the twig and branch, also with a smaller angled brush, using the same colours as before.
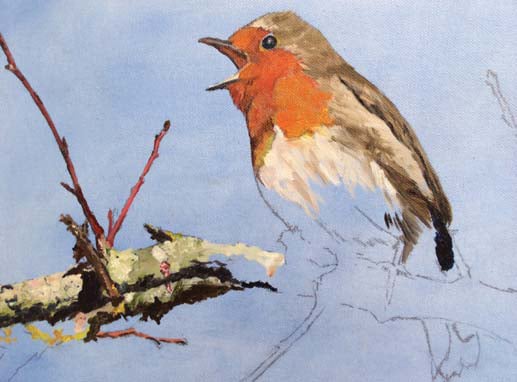
 Although I try to work from top to bottom and left to right, I do dot around, especially if my concentration is waning! At this stage of the painting the focus is on shapes rather than specifics but as the shapes get smaller I change to a size 0 Round synthetic brush and swap Liquin for Artists’ Painting Medium.
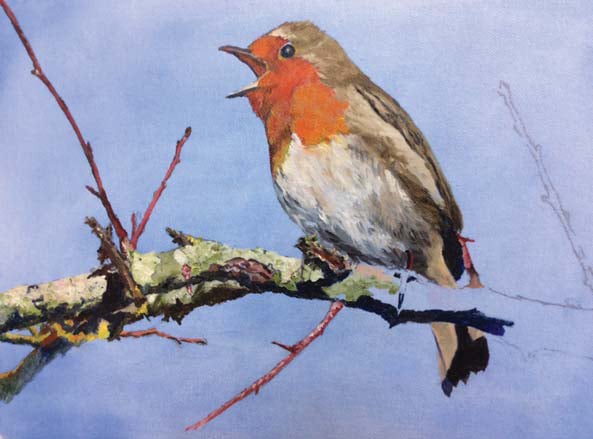
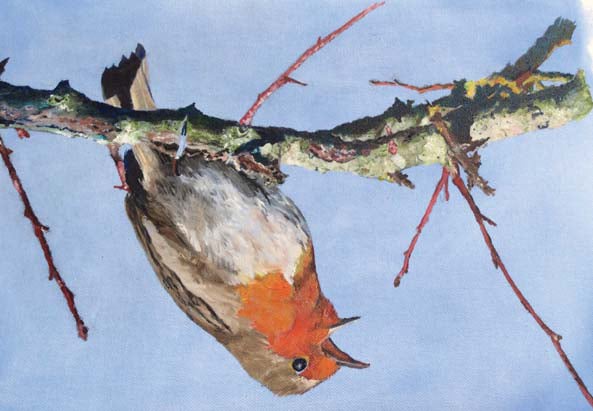 After allowing my painting to dry for two days, I wanted to start fresh so I turned my work upside down, I do this with every painting so that I can ensure that I am painting what I see and not what I THINK I see. I continued until the picture was completed in its rough form.
 With my picture the right way up again, I began the exciting bit, putting in the highlights, lowlights and detail using my Rigger. I started with the eye and surround, then the robin’s body and then the twigs and branch. Finally I took my diamond-shaped paint knife and scraped rings around the bird’s foot and talon and the small twigs.