I am often asked how you can develop your own style. I believe it’s about being inspired by other artists and then trying out new techniques, materials, colours and subjects. Be open to new ideas and experimenting. Take risks and don’t worry about making mistakes. Serendipity is the key to evolving as an artist. This is why I love mixed media: it’s a very freeing experience!
I chose to paint this splendid great spotted woodpecker after spending two weeks in Cornwall and watching him visit every day. Personally, I love colour and texture which is how I have developed this particular style. I am using a variety of techniques which are exciting and fun for experimenting, together with a rich autumn colour palette. If you fancy having a go, make sure you give a couple of days to the project, as you need to allow drying time. I hope you enjoy it.
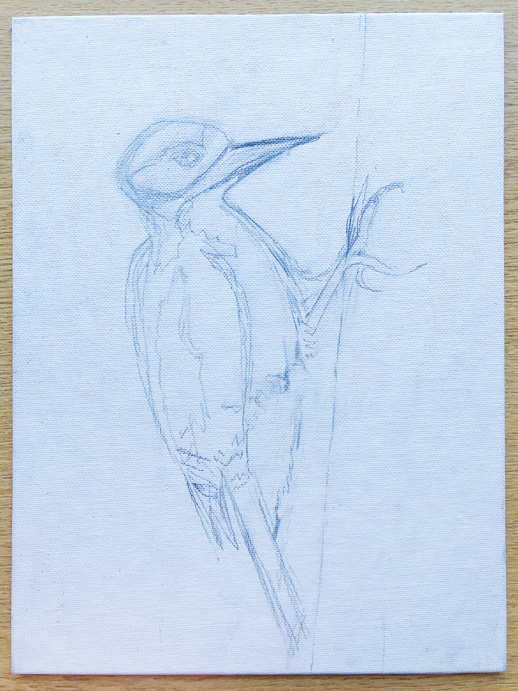 Draw the woodpecker and tree onto a rigid support. This is very important if using the crackle paste.
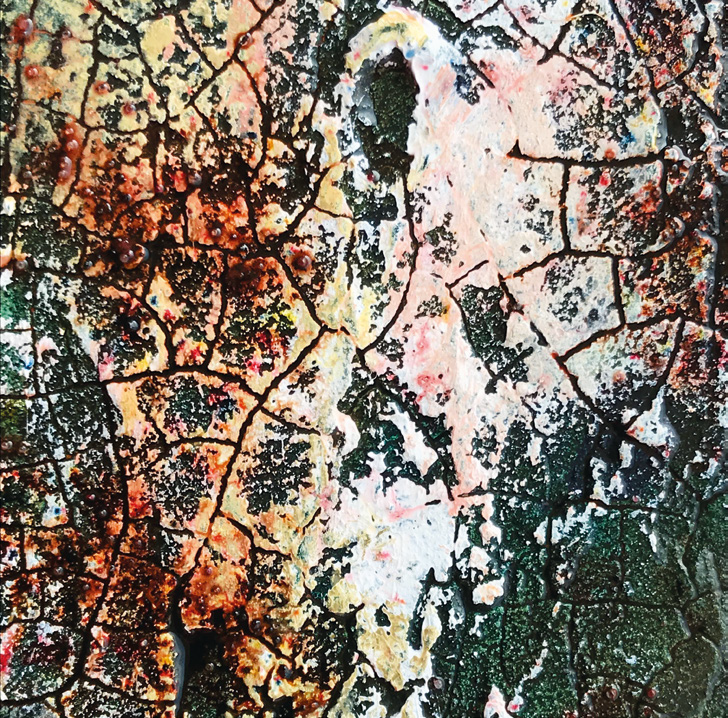
 Add the crackle paste, using a palette knife. Note: the thicker you apply it, the more cracks you will get. Important: Leave to cure for 24 hours.
 Use textured wallpapers to make a collage. You can get these from most DIY stores. Choose papers that reflect the patterns and shapes of the woodpecker.
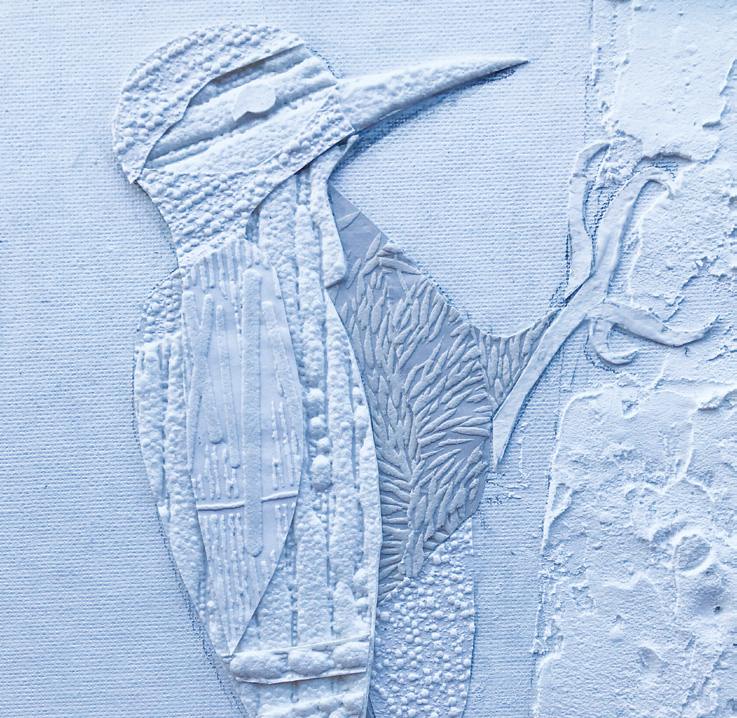 Once you’ve cut them out, add to the board with PVA glue. This can be done while the crackle paste is curing.
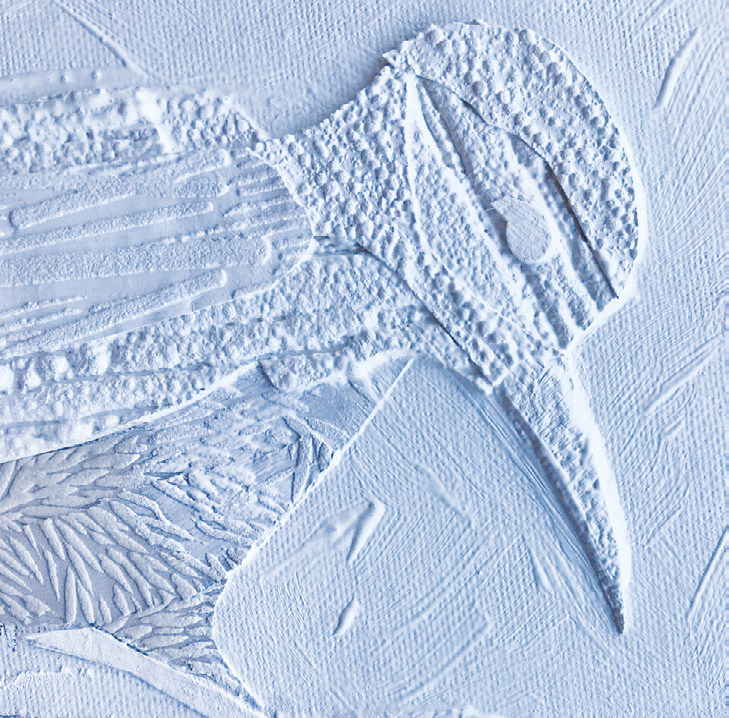 Add white Gesso. Take care when applying to the crackle paste by using a stiff brush and skimming over the top so you don’t lose the cracks. If you add the Gesso with a Hog brush, you can also add brush marks to the background. It’s important to do this as the crackle paste, and some papers, are very absorbent and this will help the paints and inks to adhere.
Paint over the crackle paste with Sepia and Prussian Blue inks. Stipple the brush so that the ink goes into the cracks.
 Paint the background with a mixture of Sepia, Prussian Blue and Raw Sienna inks. Spray with water for interesting effects. Leave to dry (this shouldn’t take long).
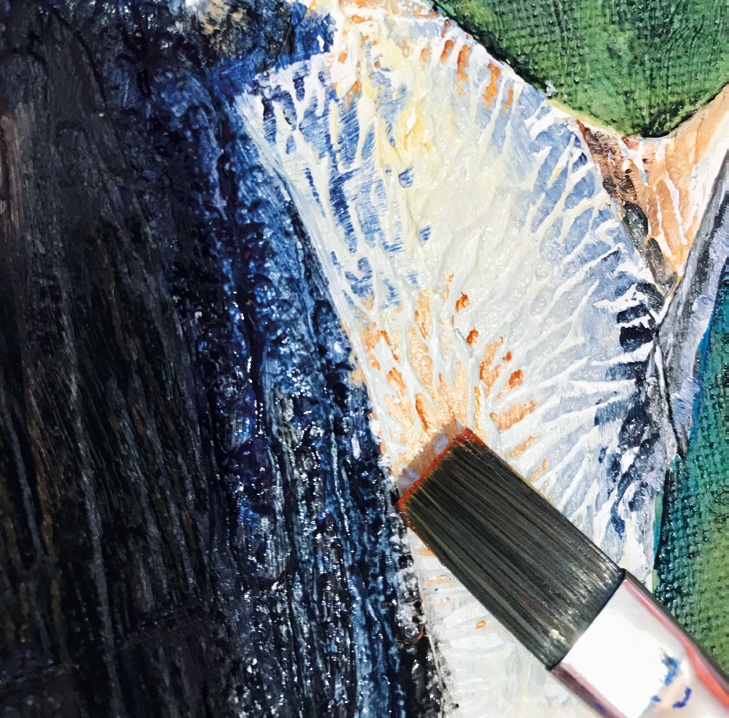 Next paint with the acrylic. Mix your Ultramarine and Burnt Sienna to make ‘black’ in your palette and use this to paint the dark bits of the woodpecker. Paint the white and the red areas, too. Once this is dry, start adding colour on top to highlight the textures and patterns of the collage, by using a thin amount of paint onto the Flat brush (get rid of any excess on your paper towel) and painting flat, and gently, across the collage. Paint dark over light and light over dark. Mix White into your colours to make them lighter. If it doesn’t work the first time, let it dry, paint over it and try again.
 Add the Brusho by sprinkling it dry, and very gently – because a little goes a long way! Then spray gently with water. Watch the magic! I added the Brusho to the background, the top and bottom of the tree, and a tiny bit on the woodpecker itself.
 Add details such as the highlight in the eye using a wooden skewer and create feathers using an old, cut up credit card. Lastly, I added a splattering of white acrylic ink, using a toothbrush, to add some movement and more texture to the background.