
 Explore Caroline Strong’s journey rediscovering coloured pencils. Dive into the intricate process of creating a detailed red squirrel drawing, blending, layering, and adding depth. Discover the secrets behind the vibrant watercolour background, including a unique salt technique. Uncover tips for adjusting and enhancing the artwork for a stunning, unpredictable result.
I have always loved drawing and just before lockdown I rediscovered coloured pencils. During lockdown, I also realised I’m still learning the many techniques that can be used with dry and water-soluble coloured pencils.
There are many ways to achieve backgrounds and I tried using watercolour, with great success, because the wax and oil content of the coloured pencils repels the watercolour. The watercolour is blendable and stays wet for longer on PastelMat, which allows more time to splash on water and add salt, which is great fun!
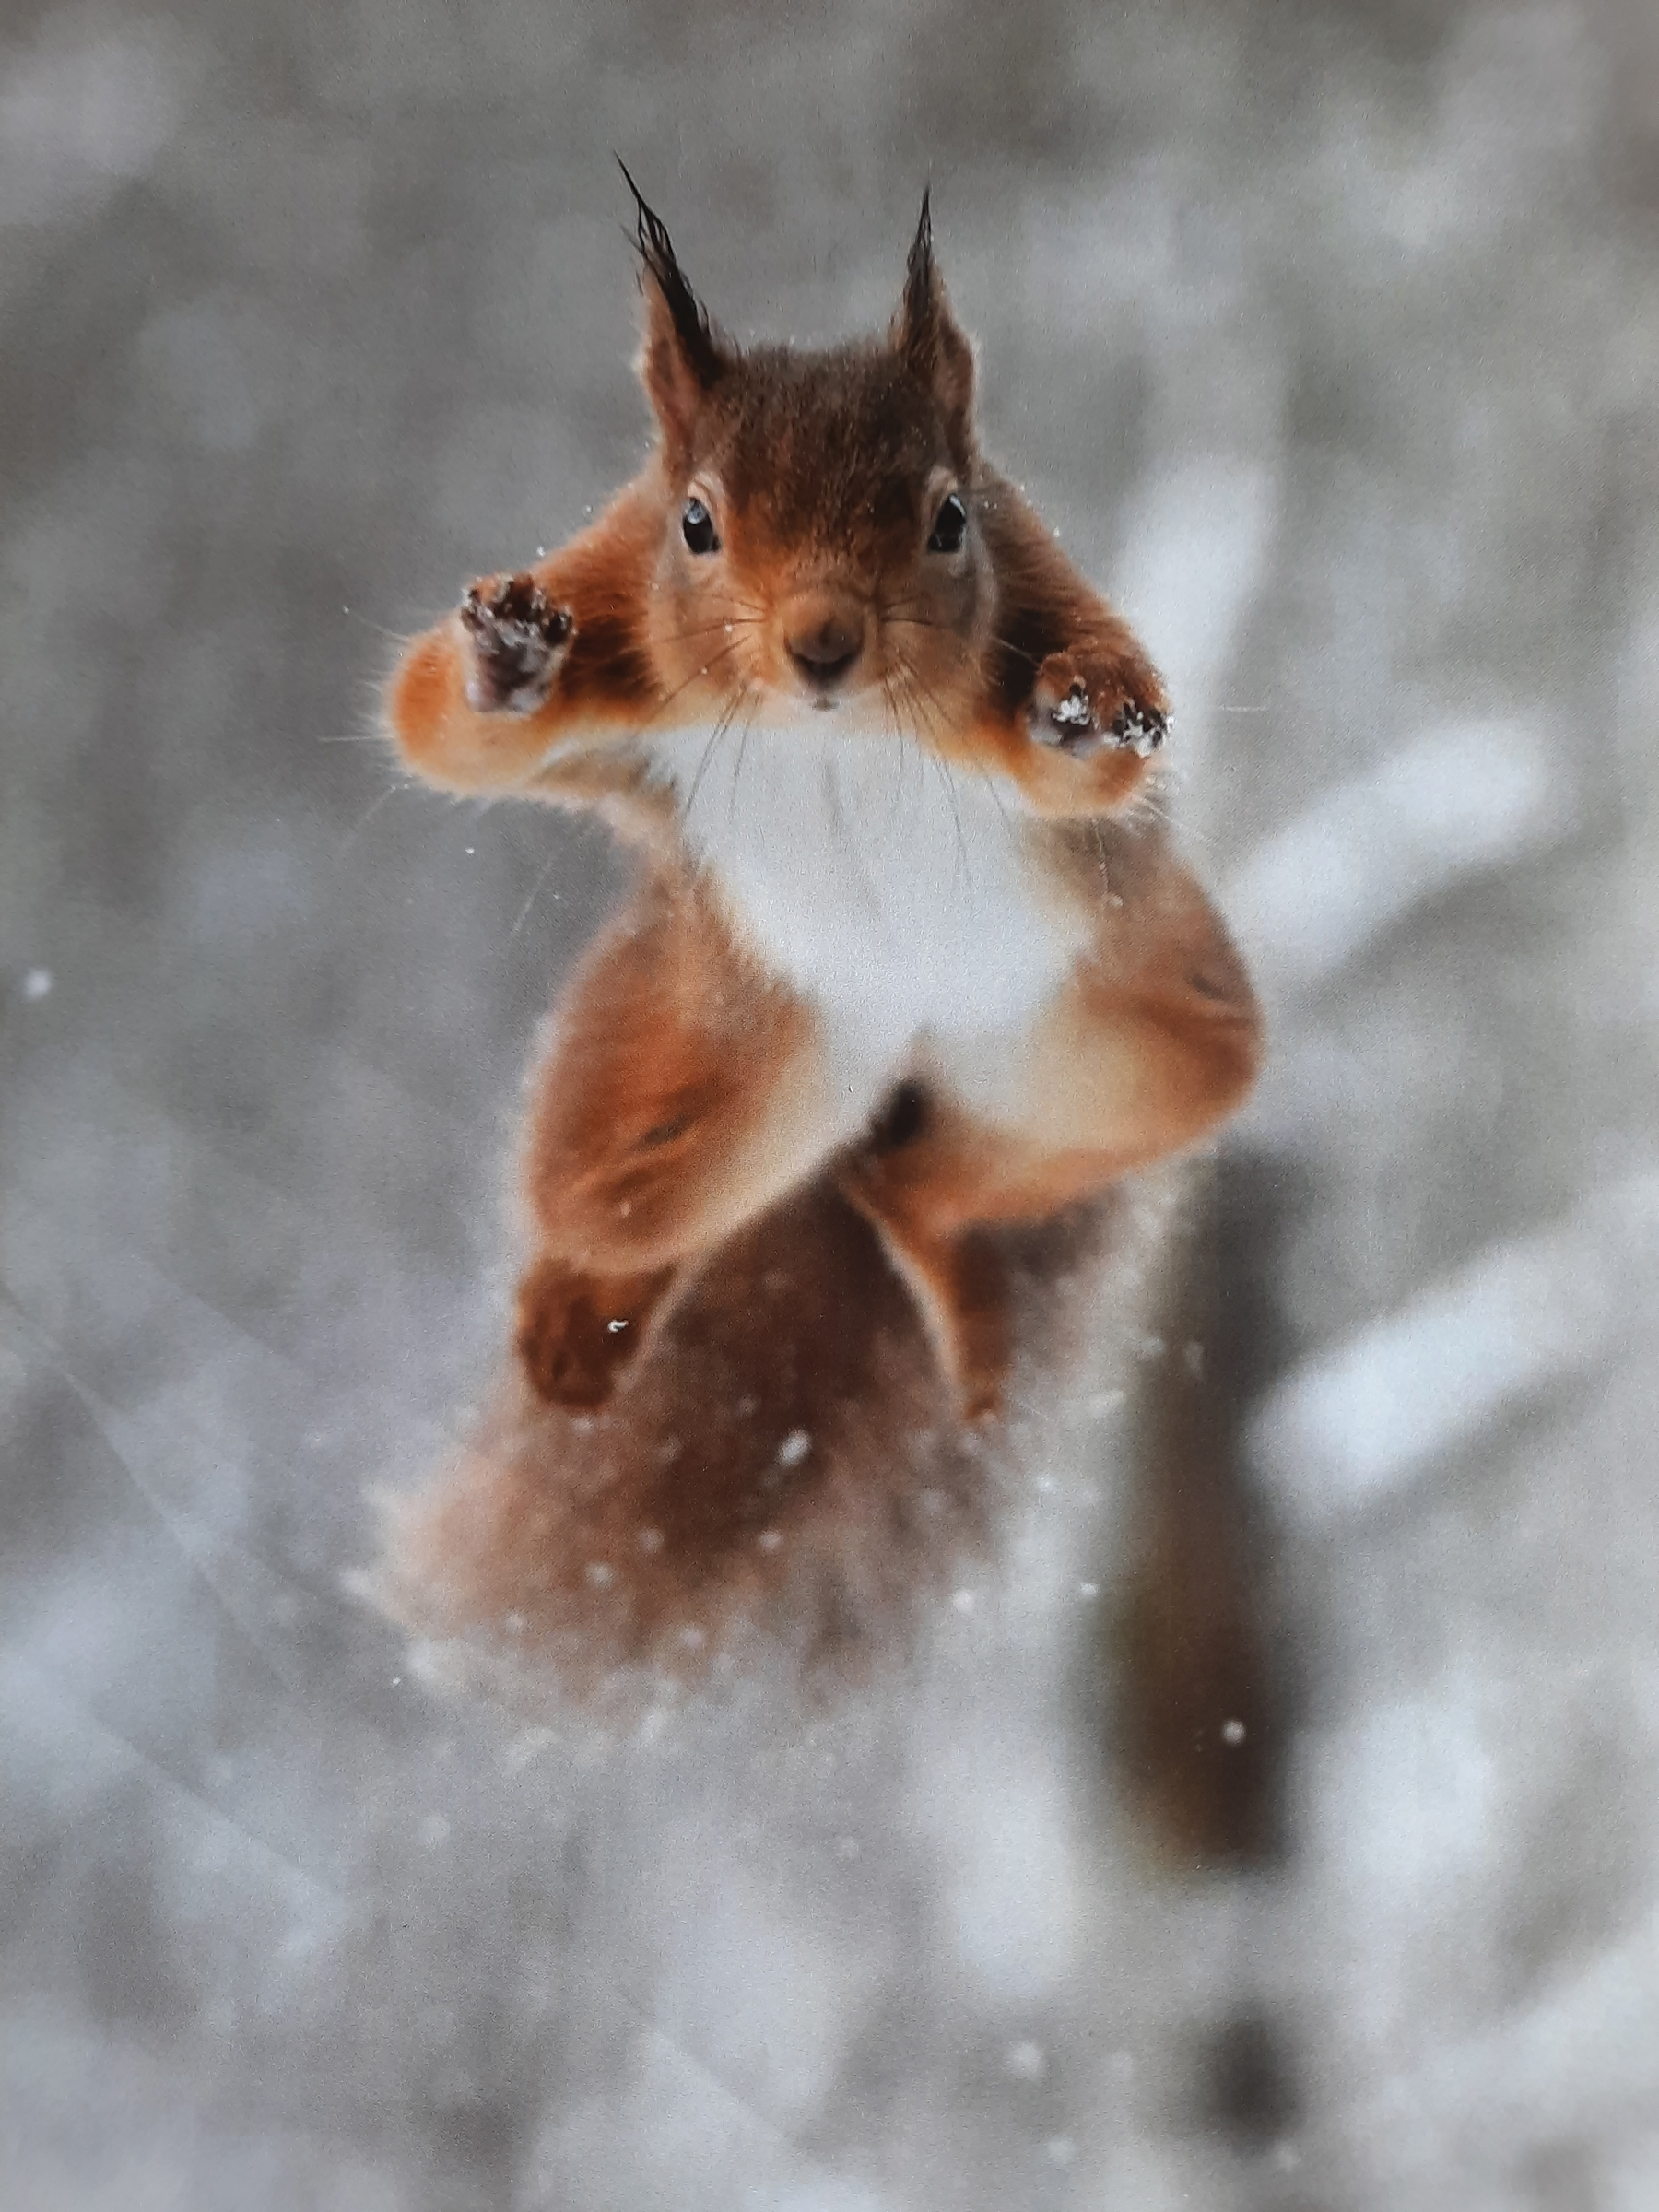
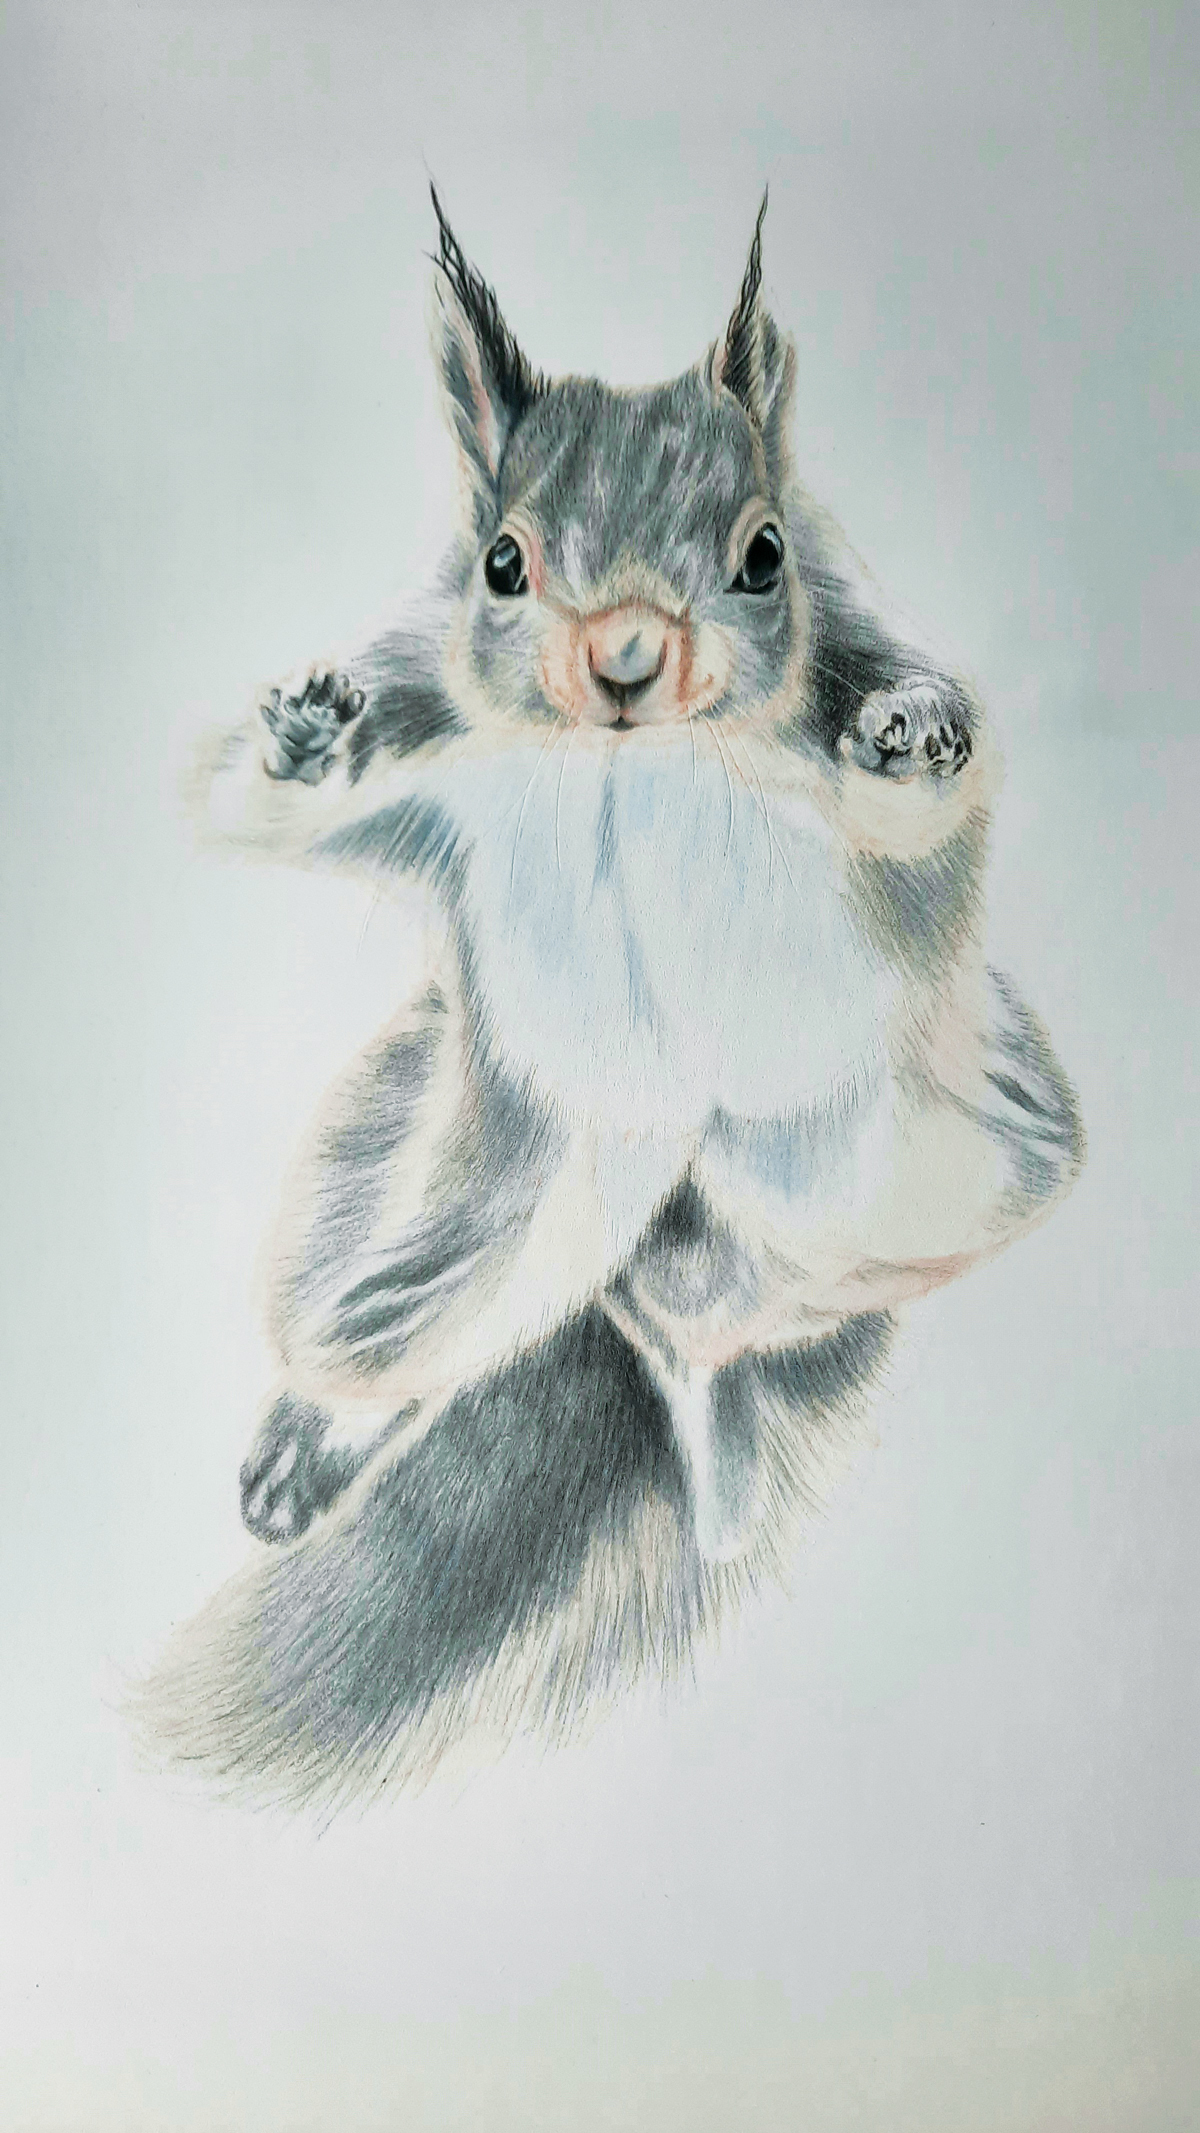 I drew the red squirrel freehand, but you can use your preferred method whatever gives you the confidence to proceed. When you start using the coloured pencils, every stroke is light and done in the direction – and to the length of the squirrel’s fur. Use lighter colours over darker to soften and blend and alternate these several times to achieve the depth of fur and to create a recession. Add Derwent Lightfast Arctic White (a cold white) to the white areas of the squirrel, layered and feathered with cold greys to add shading, then use Polychromos White to soften and blend the marks. For the whiskers, use an embossing tool to indent: make sure they are curved and push harder to make them thicker nearer the face. The whiskers then stay white when other colours are placed on top.
Use shades of black for the darker areas and add Polychromos Ivory to soften and blend these. Also, add Polychromos Ivory for the light, non-white areas on the arms and legs. The eyes are the focal point so need the most contrast. Pushing slightly harder with a sharpened black pencil, use small circular strokes reserving the whitest glint in the eye, which can be enhanced with Derwent Drawing White.
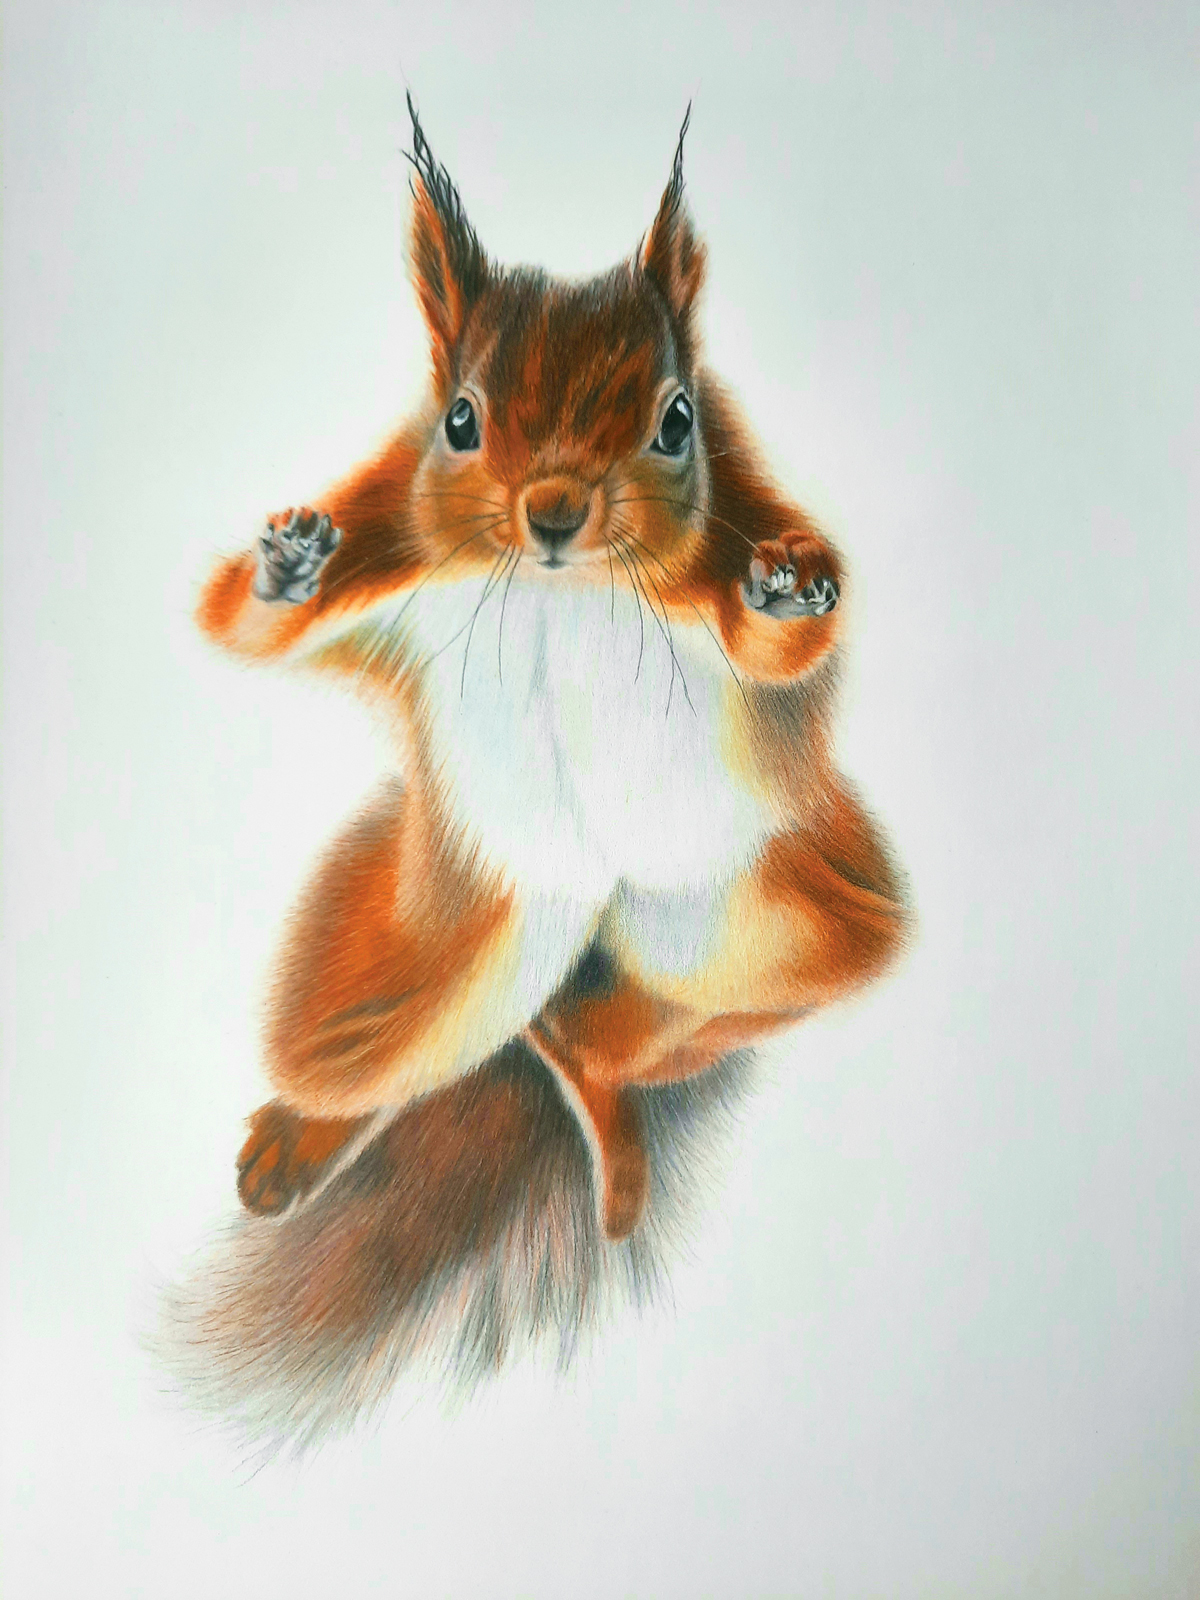 Use various shades of colour from ivory, pink, orange, Burnt Sienna, and various browns to Dark Sepia and black, in many layers.Use whatever colours you see, as it’s not the colours but the tonal values that matter.
PastelMat accepts at least 30 layers if you use light pressure. Feather and layer to create depth and reality. The deepest, most intense colours of orange, Burnt Sienna, brown and black are used for the top layers of the squirrel’s face and front legs, so they jump out of the painting. With a sharp Polychromos Dark Sepia, I followed the whisker indentations. I blended some from dark sepia to ivory, as in the photo.
 You’re now ready for the exciting bit: the background!
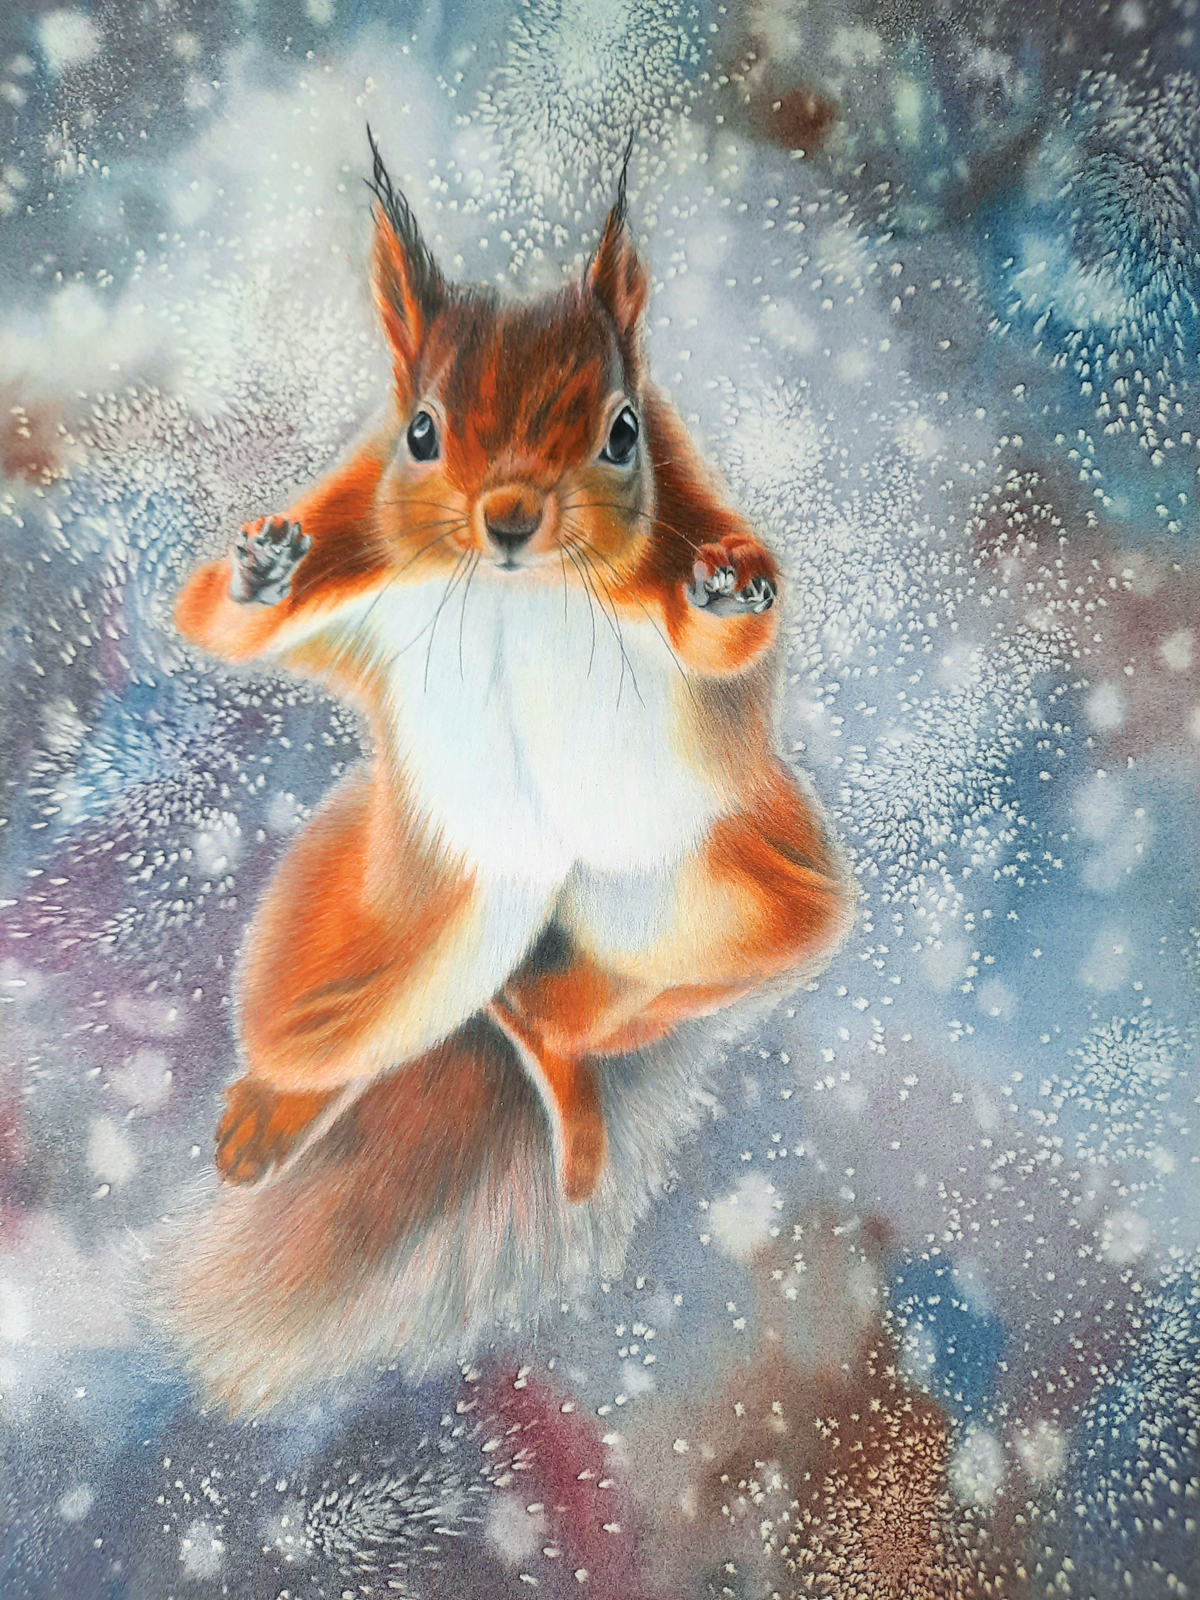
I used three watercolour mixes:
• A dark blue/black: mostly Winsor Blue Red Shade (careful it’s very strong) with a little Permanent Rose and even less Indian Yellow.
• A deep dull purple: Winsor Blue Red Shade and Permanent Rose with a small amount of Indian Yellow to dull and darken the purple.
• A yellowish-brown: Indian Yellow with some Permanent Rose and a little Winsor Blue Red Shade to make the yellow-orange turn brown.Mix plenty of each to a single cream consistency. Using the Size 10 Round brush, place various colours over the background, thinning them on the PastelMat with water, especially near the squirrel. Overlap some of the thinned watercolour over the edges of the squirrel to make sure it goes into the feathered fur.Once the whole background is covered, use a kitchen roll to sweep excess watercolour away from the inside to the outside of the squirrel. Next, flick some water onto the background by banging the brush against your hand – though not too much! Using the Size 3 Round brush, place some droplets of water randomly. Next, pick up a little table salt, between thumb and forefinger, and sprinkle it over the background. It takes up to ten minutes to work, but wow, what an effect! I love the unpredictable results of this background, especially after all the precise pencil work.
 If you like the result, then leave it to dry. I decided that my background was too vibrant, and the salt had worked too well. So, before it had dried, I blended some of the colours into the salt marks with my finger, then used a thin layer of the deep blue/black watercolour mix to darken the dull purples and the yellow/brown areas and deepen the already blue/black areas. When completely dry, use Derwent Drawing White to add an opaque furry edge around the squirrel to create backlighting. Lastly, add white snowflakes on the squirrel and enhance some of the pale spots in the background.
This article was originally published in Paint & Create, the magazine of the SAA, one of the many benefits of SAA Membership.
For more information about Caroline and her work please click here.
