
Professional artist Vivien Walters finds the rich, vibrant colours of Derwent’s pastel pencil range ideal for painting this glowing sunflower. For this project my intention was to give an impression of a bold and fiery sunflower in the heat of the day, and to help me to achieve this I kept my palette mainly to a variety of warm colours. I found that Derwent’s pastel pencils lent themselves perfectly to the wet and dry techniques used for this painting, while the Rubber Shaper and Stippling Brush from Derwent’s Essential Drawing Tools Set proved invaluable when it came to blending the pastel. The sharpening stand and knife also helped me to achieve the sharp points needed to paint the smaller details.
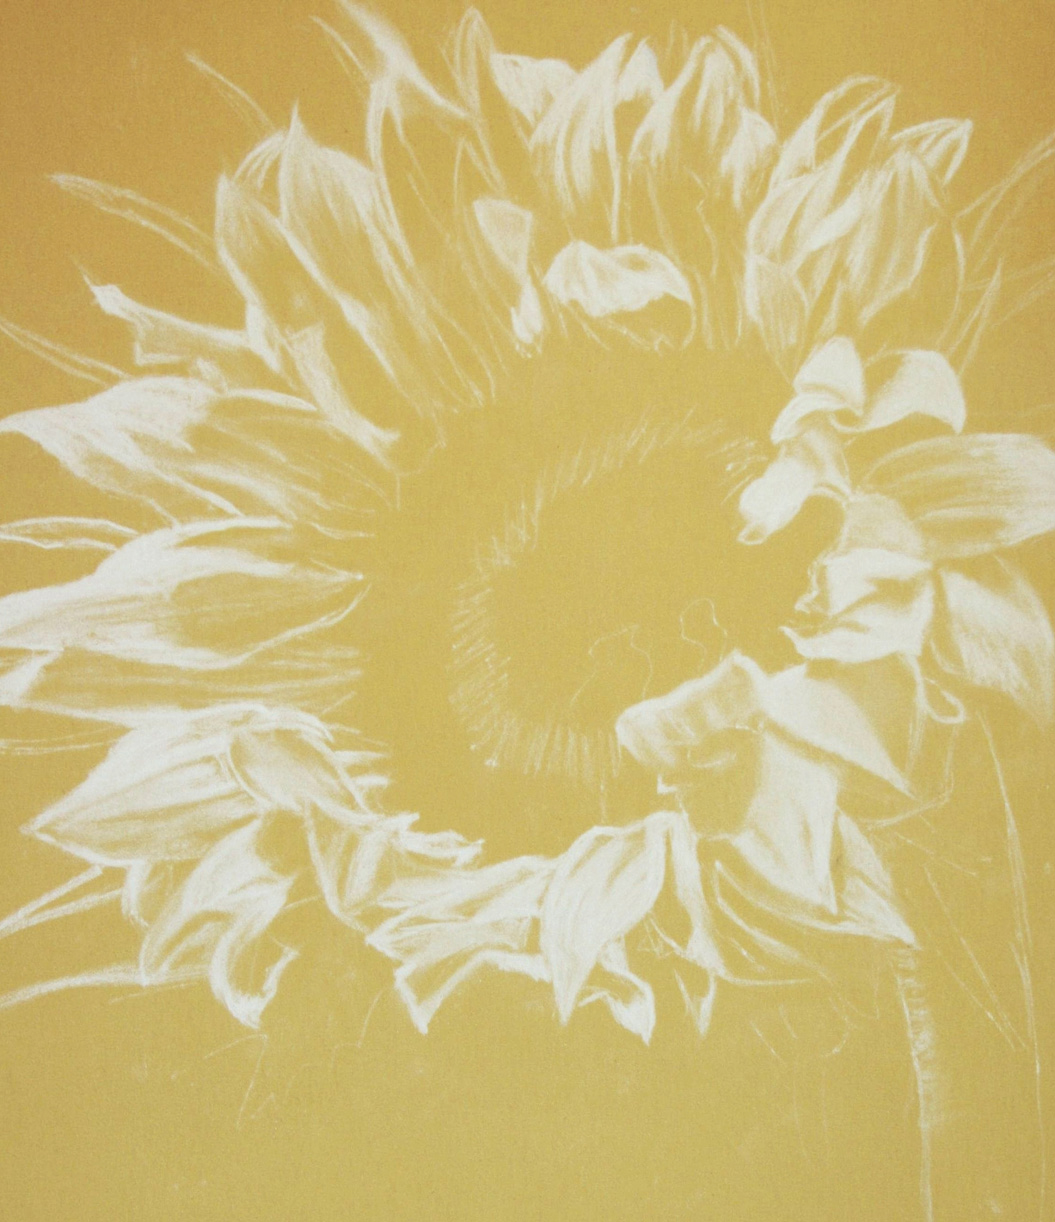 A white line drawing on Buttercup PastelMat was the starting point for this sunflower. Having completed the line drawing I began at the top right of the sunflower, carefully identifying each petal and picking out the lighter areas with White. I stroked the pencil on in an outwards direction towards the edge of each petal, varying the amount of white depending on how much light I needed to show. Once this was finished the design of the petals was easier to read even though quite a lot of the paper remained untouched at this stage.
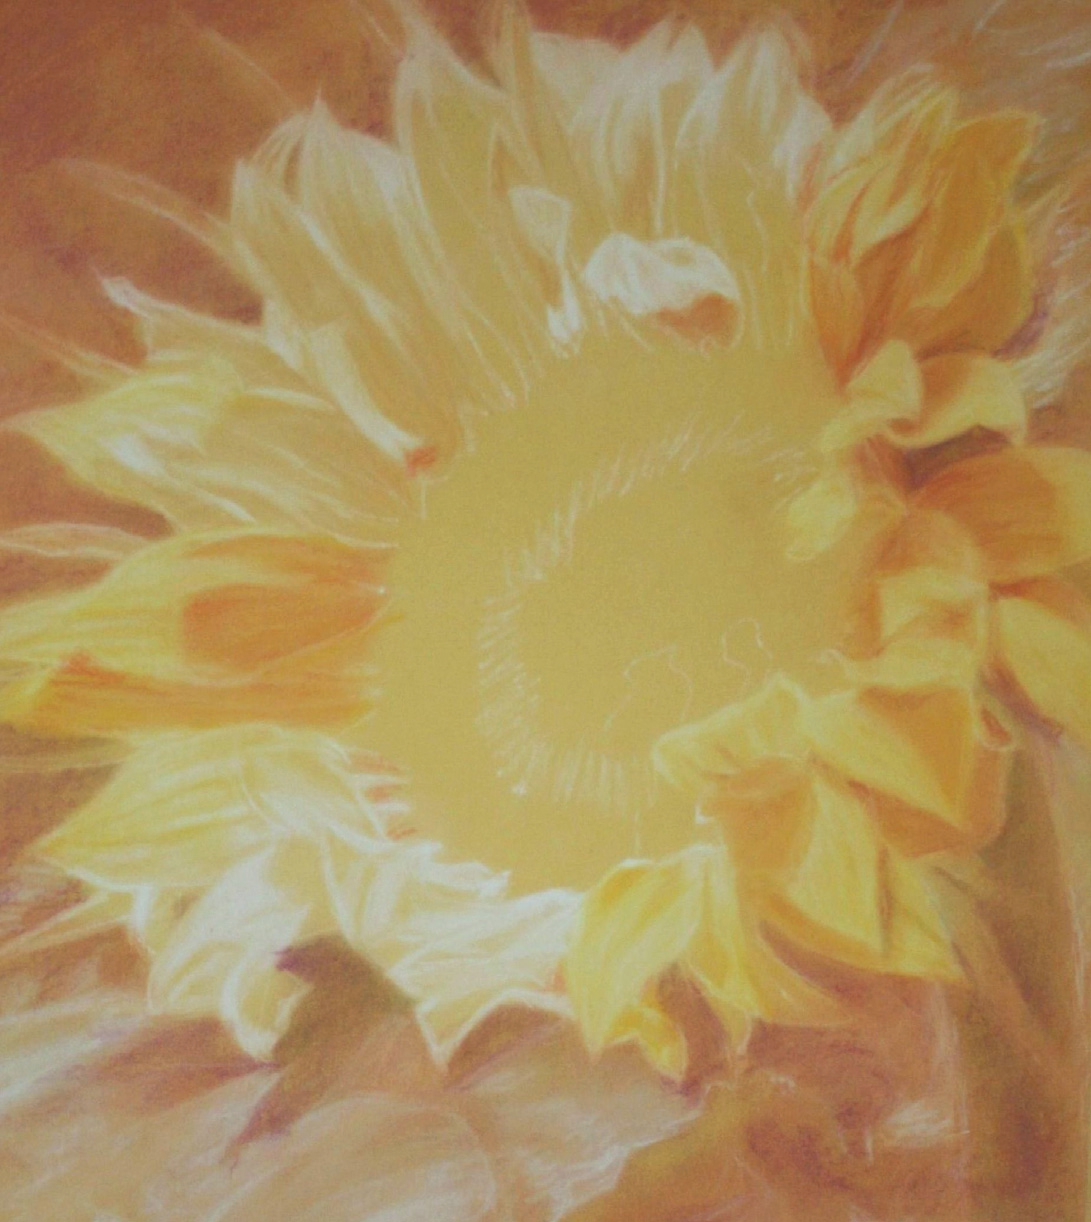 I decided that the colour scheme would probably benefit from some warmth in the background area so I began by gently hatching on some Terracotta. I then blended this using the Stippling Brush before using White to draw and suggest some tone in the leaves, blending again as already described. I went on to add touches of Soft Violet over the Terracotta in the top left corner of the background area and echoed this colour in other areas of background including the darker areas of the leaves and the stem of the sunflower itself. Working on a few petals at a time I lightly worked over the petals with Marigold allowing this colour to lightly go over the white which I had already applied. Where the petals went into warm shade I stroked on some Tangerine and Terracotta.
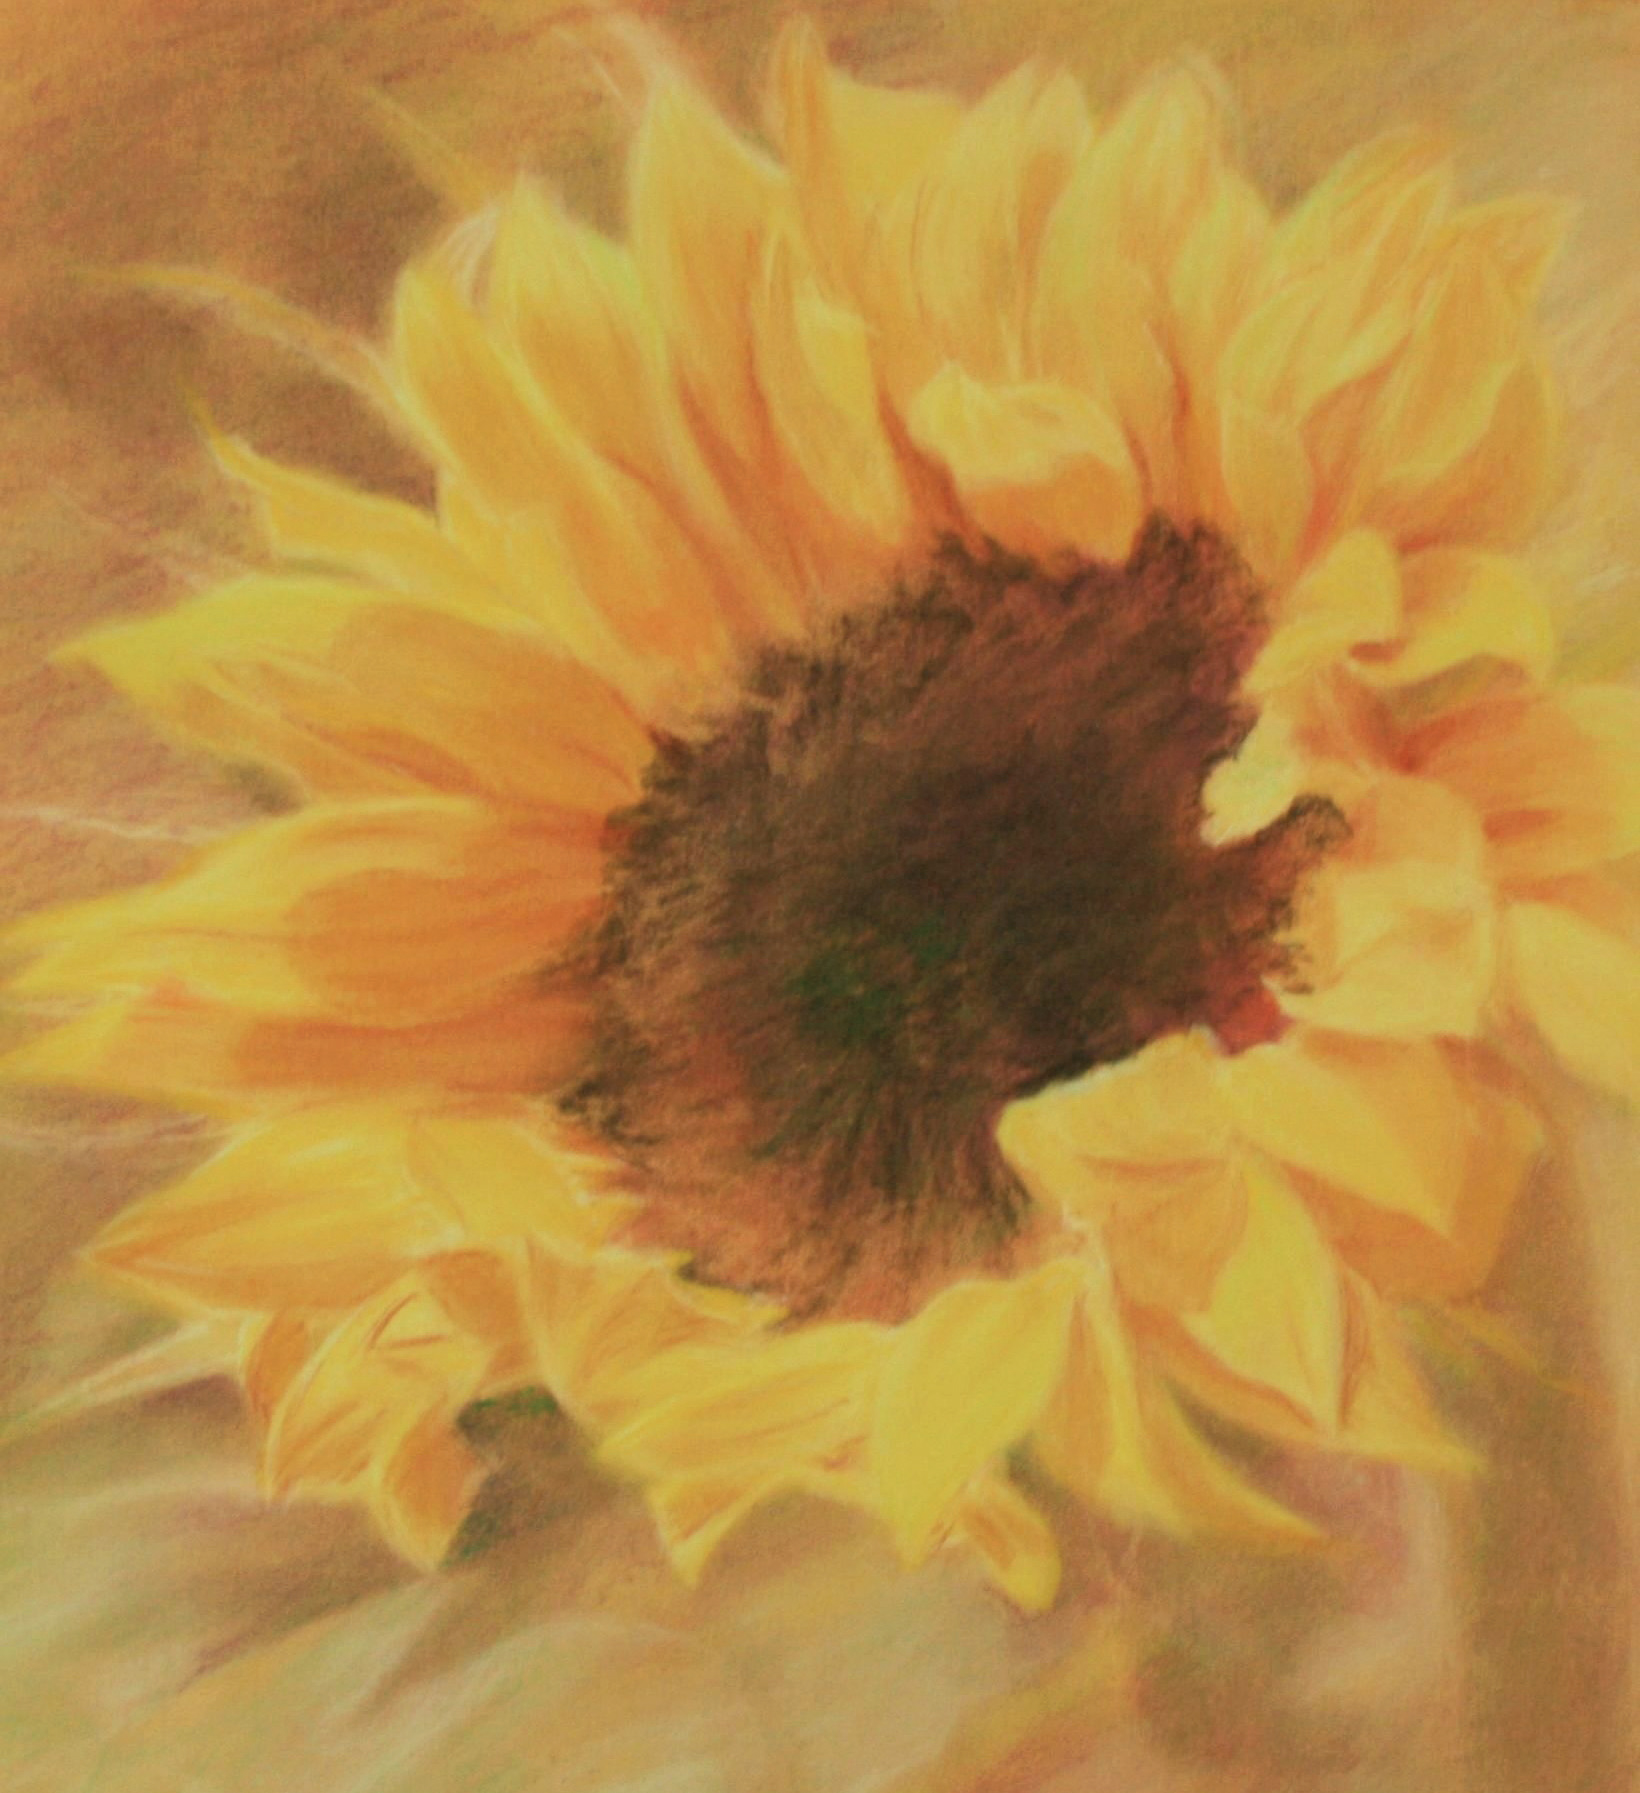 I carried on using Marigold, Terracotta and Tangerine on the petals, working a few at a time until I had worked on all the petals on the sunflower, using the Rubber Shaper in the smaller areas and the Stippling Brush to blend the pastel where necessary. I very lightly shaded on Emerald Green over the leaves below the sunflower and also the stem. I used the Stippling Brush to blend and soften the green into the underlying colours. The centre of the sunflower was now looking a little left behind, so to give this area some depth I scribbled on some Soft Violet in the darker central areas, then using the Stippling Brush dampened with water I pushed the pastel outwards towards the petals, dampening the brush several times so that the colour became more diluted towards the bottom and left of centre. I was careful not to use too much water as this would make it difficult to control the colour. Once dry I scribbled on Chocolate and a touch of Emerald Green to the centre and created the mottled effect near the edges of the centre by dabbing the pastel with a soft putty rubber. In the lighter areas of the background itself I scribbled on some White and blended this using the Stippling Brush. I began to add some accents and detail to the petals using a Terracotta pencil which I first dipped into a little water, this had the effect of making the colour darker and stronger. Once dried I softened these touches where necessary using the Rubber Shaper.
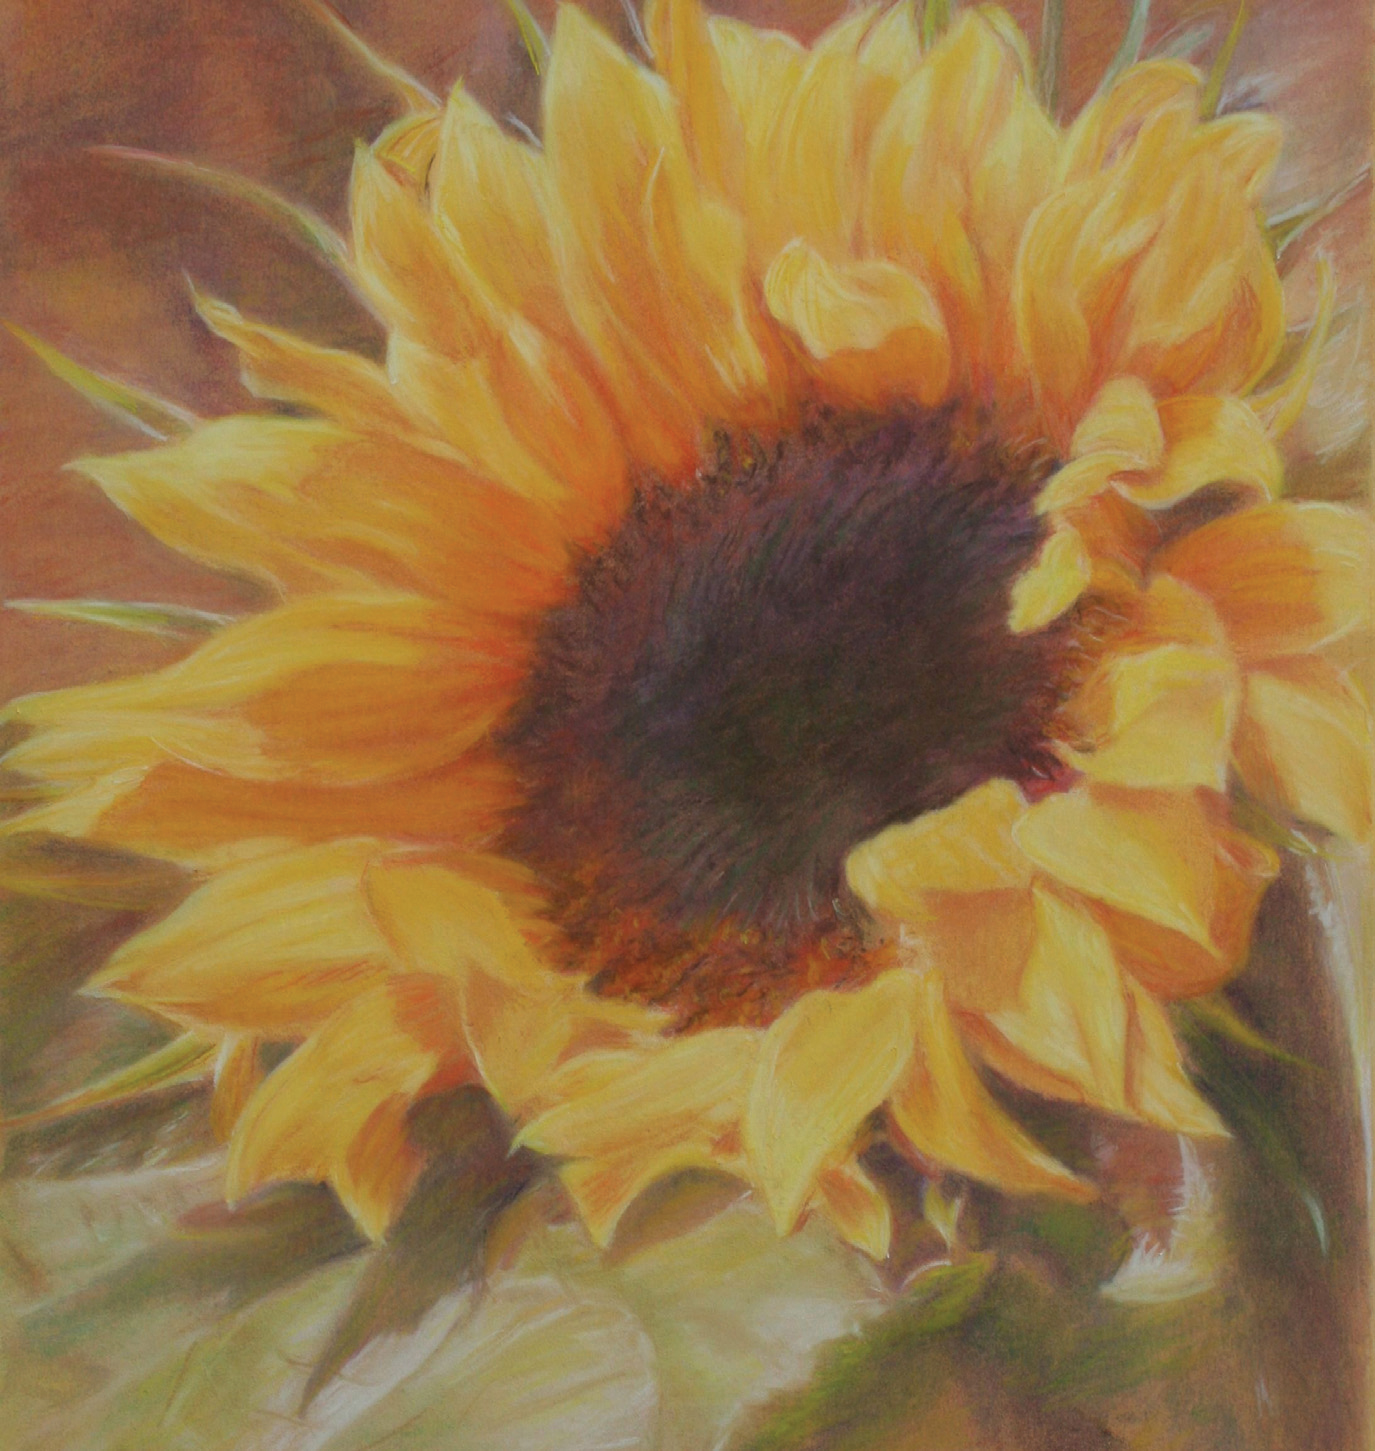 Using the Stippling Brush lightly dampened with water I began this stage by dampening the pastel in the background area above and to the left of the sunflower, also in some of the shadows and darker areas on the leaves and stem below the sunflower. This would give me a good base to build up the darks when over-painted with pastel. While the background was drying I strengthened the White on the large leaves below the sunflower, then using the Rubber Shaper to draw with I lifted out one or two suggestions of veins in the leaves. Next I used touches of White to pick out the highlights on the petals and gently worked over this with Process Yellow. I strengthened the colours of the petals towards the centre of the sunflower with Terracotta and Tangerine and I also strengthened the Terracotta in the background area above and to the left of the sunflower and added touches of Violet to form shadows. The stem and shadows on the leaves were then darkened using Violet and Emerald Green. I used Tangerine on the lighter areas of the centre of the flower and touches of Purple, and for a final touch I added a hint of Zinc Yellow to the background leaves in the bottom right corner.
Where possible let the original paper colour show through your painting in places to allow the paper to do some of the work for you.
