
I have watched these roses start to bloom and offer a wonderful aroma during a leisurely stroll around our local lake.
I could not help but take photos each time I passed. I just loved the beautiful purple violet colours and all the buds ready to sprout into bloom around the flower.
Inspired by this here is a step by step demonstration using the Winsor & Newton Professional Watercolours to show off this inspiring bloom. The Winsor & Newton Professional Watercolours are made from the finest pigments in the highest concentrations possible which means that you only need a little to make vibrant colours.
Shop Winsor & Newton Watercolour
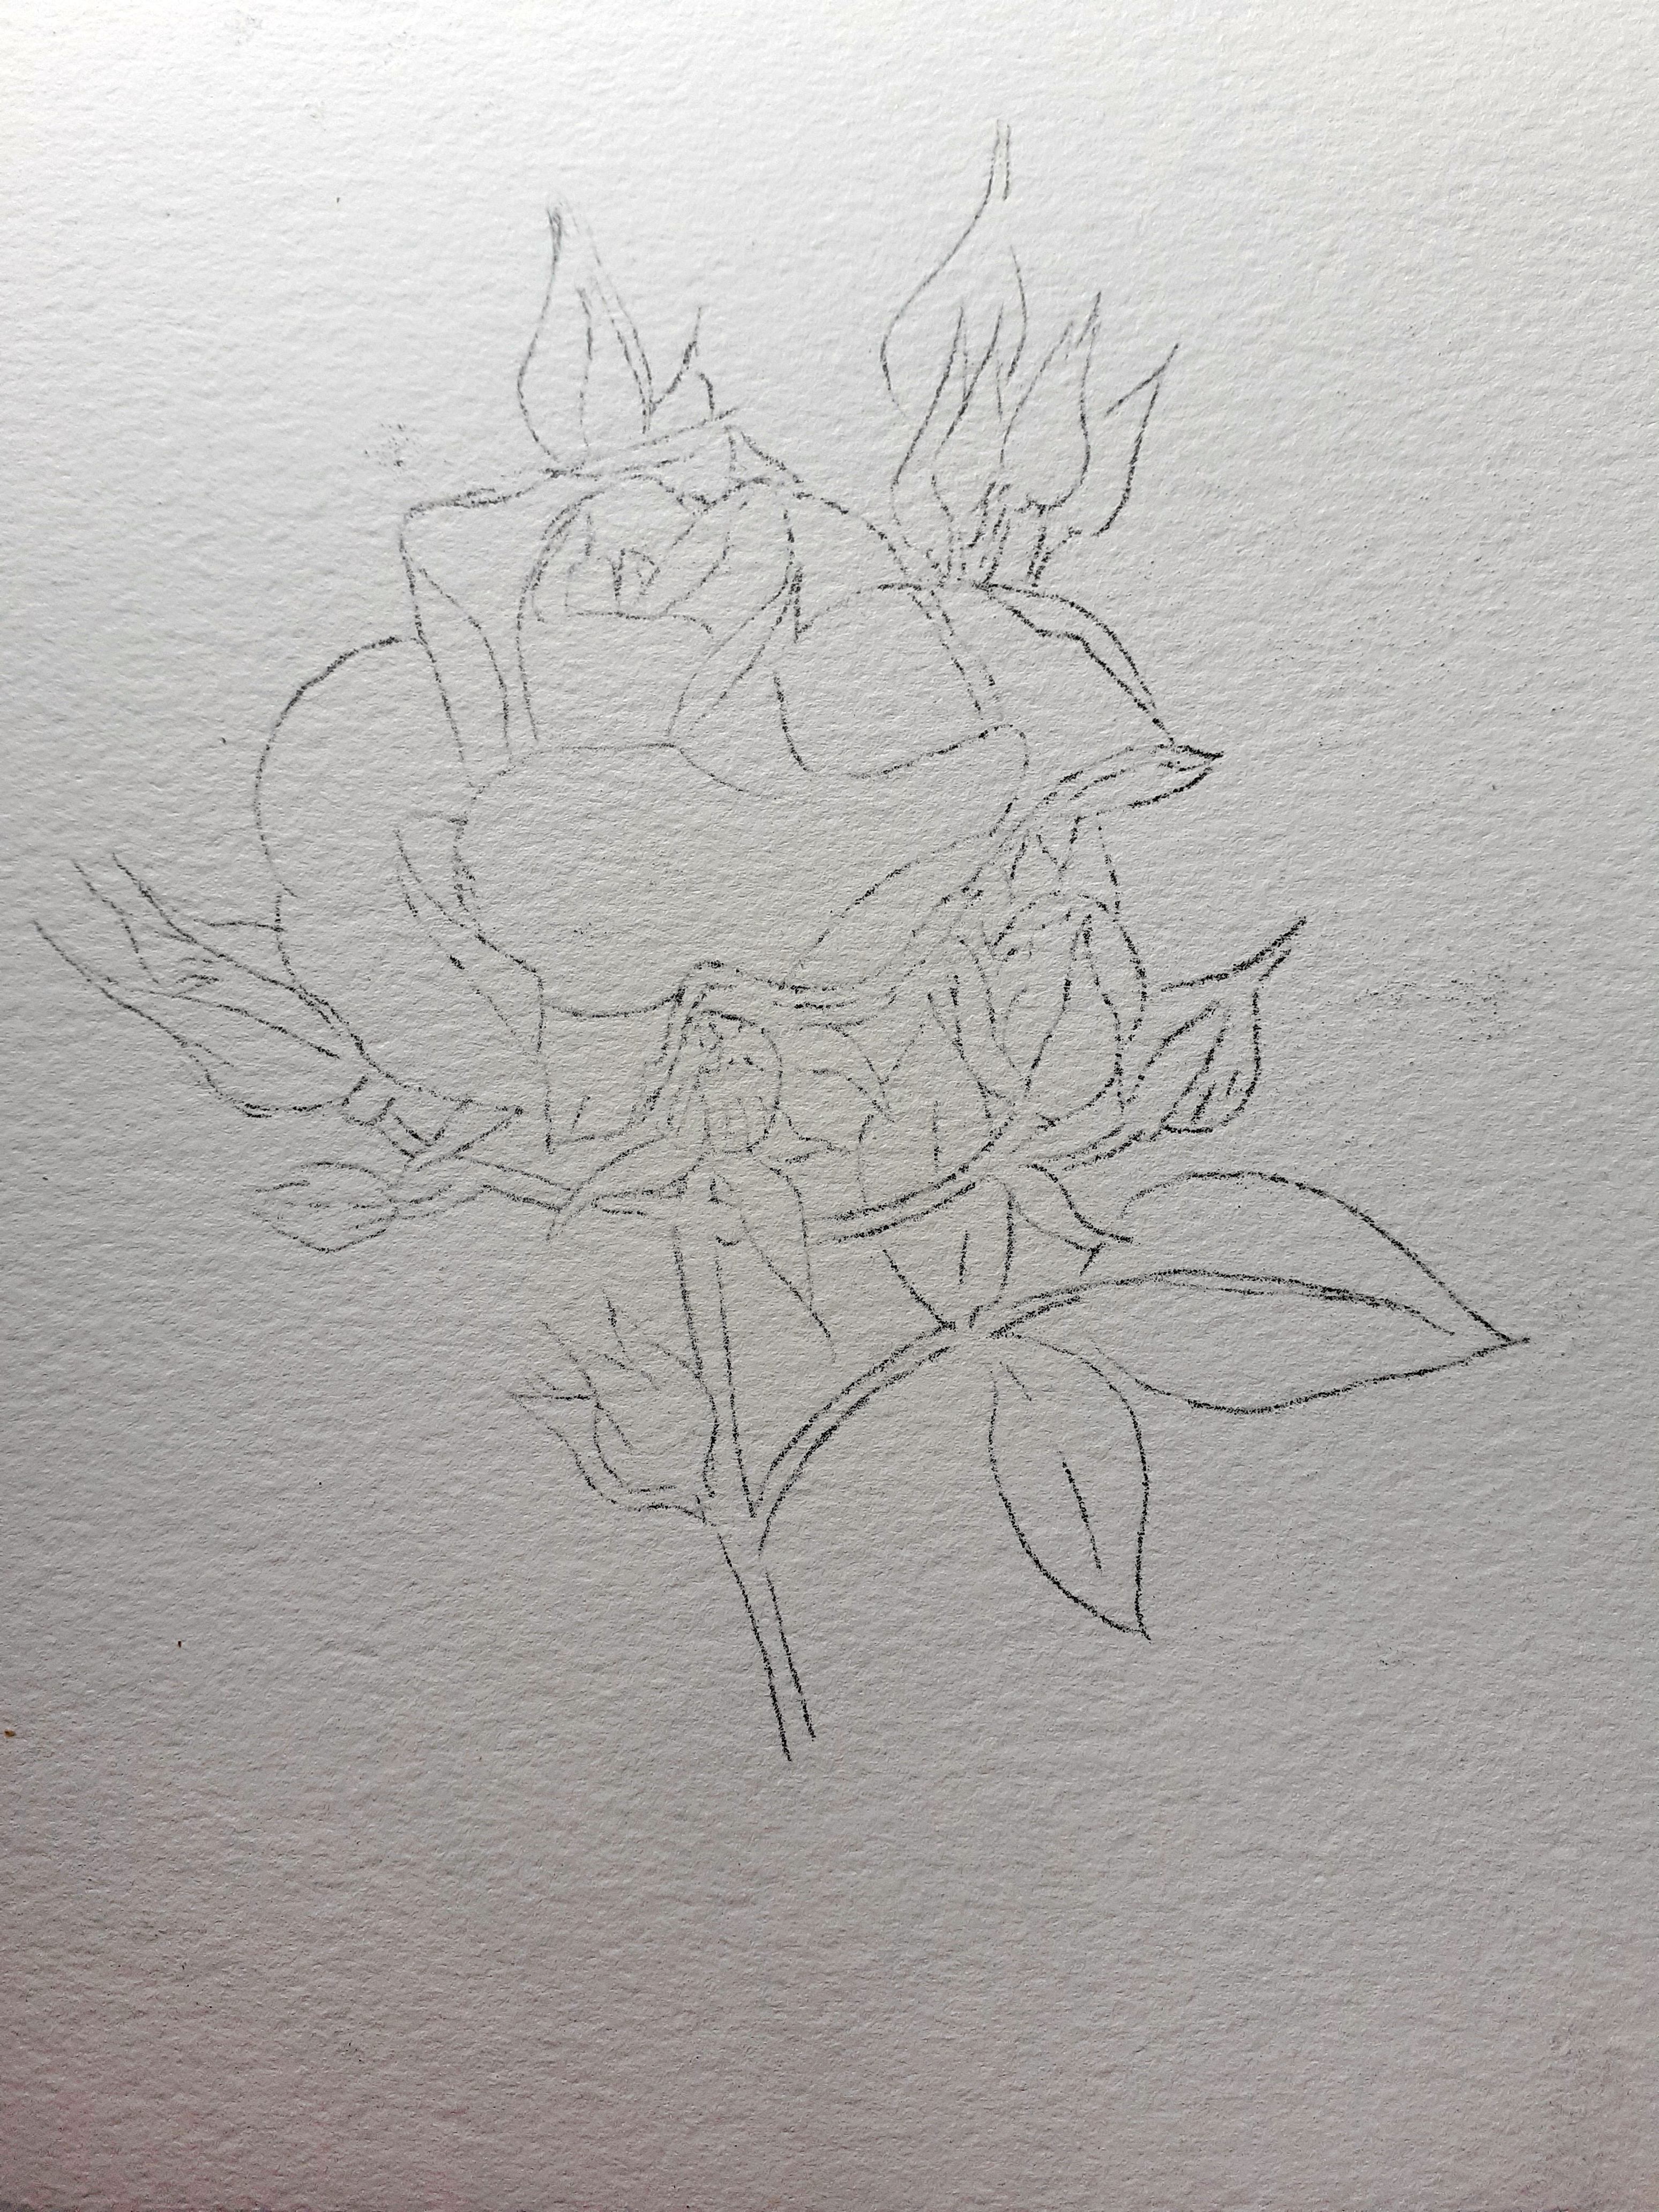 Roses often mean love, but the purple rose sometimes called the “mystical rose” is a symbol of enchantment, and majesty as well as true love and long-term love and romance. So, I wanted the focus to be on the beautiful flower with a soft vignette background. Carefully getting the image down trying to work out at this first stage how each part is connected.
 Then using clean water wet the background using a natural hair brush, once the area around the rose was wet drop in some of the Blue into the background bringing it towards the flower add little touches of green and purple for effect. All the background colours will be soft and blend into one another. This is the magic as watercolour continues to work and create effects as it dries. I used a piece of kitchen towel to dab off any areas which were too strong.

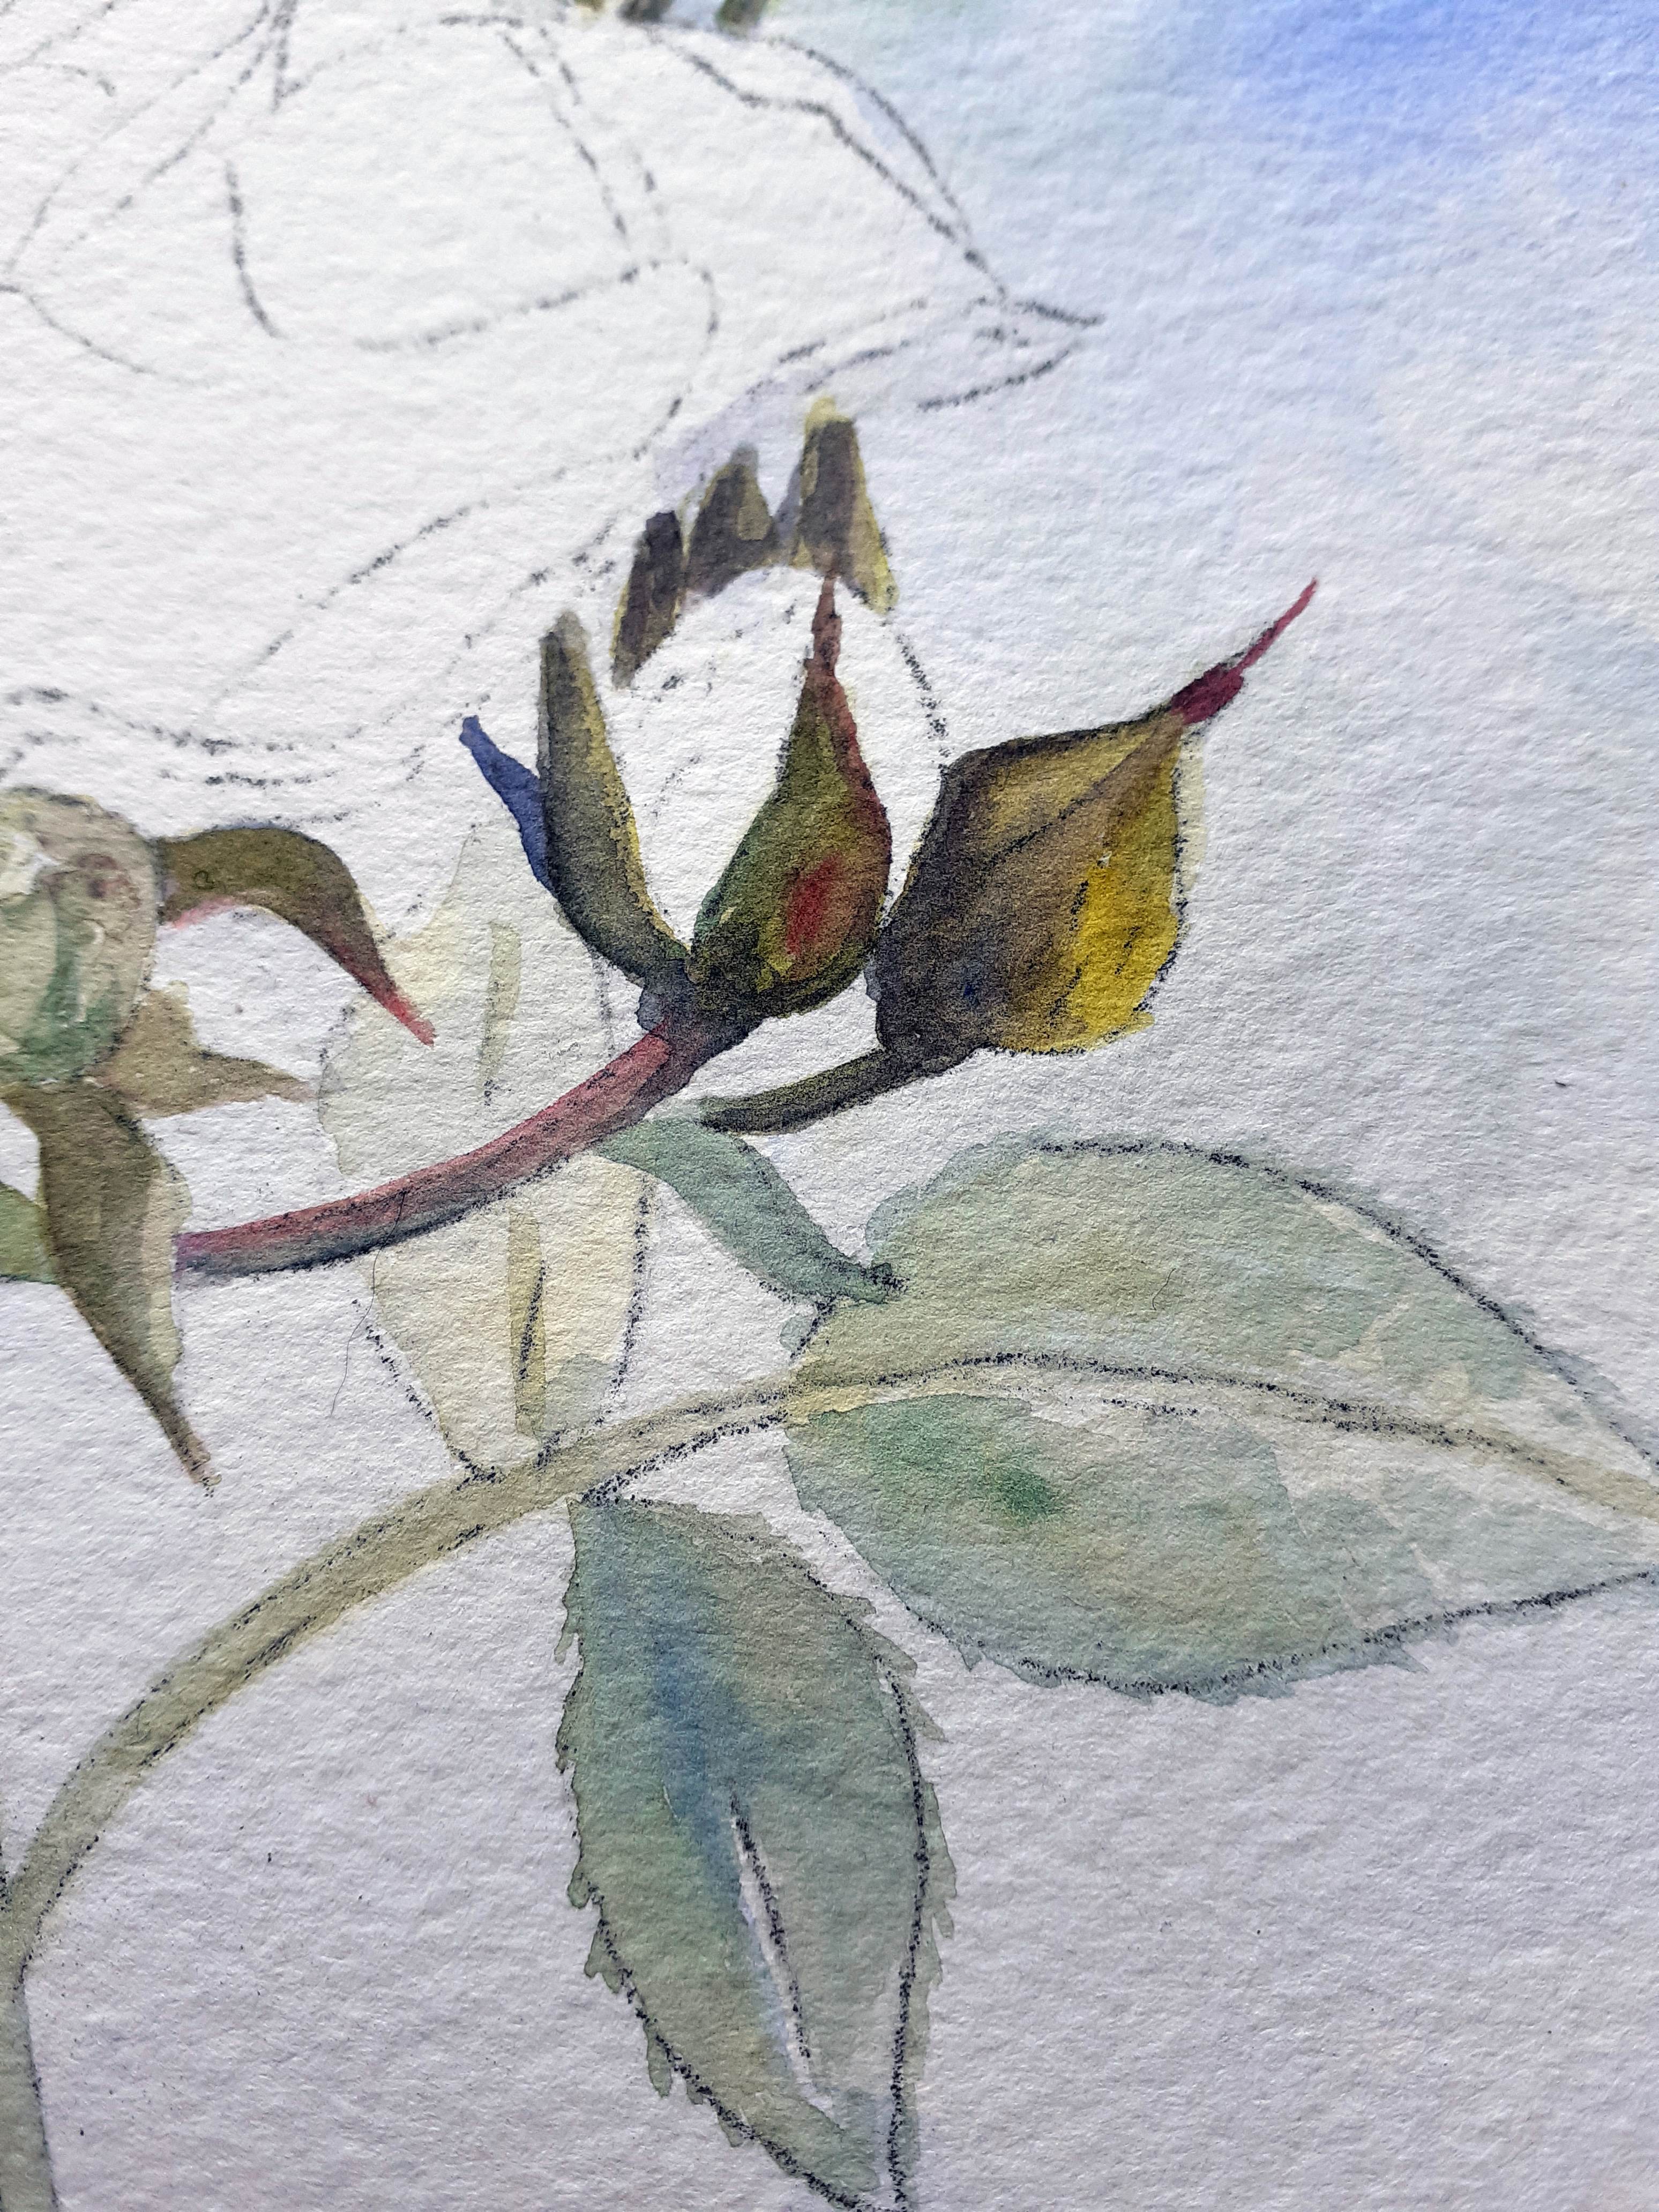 Starting on the buds I worked around the adding a wash of yellow-green mixed from the yellow and blue. This is a light wash to help recognise the different areas. Once these have dried, I worked around the buds again adding shape and tone with a mix of the yellow and blue but this time adding a touch of Scarlet to stop the green looking too bright. The ends of the buds also have a scarlet tip. Much of the detail in the buds, stem and leaves was completed at this stage before tackling the body of the rose.

 The body of the rose is starts off with a very light wash as it is easier to add than take away colour. the colour was gradually built up by adding layers on with a purple made by mixing the Blue and the Scarlet. You can mix a vast colour variation from a very red purple to a very blue purple and all the colours in between. So, it is important to help prevent any surprises by doing a colour test on a scrap of paper before adding to your painting.
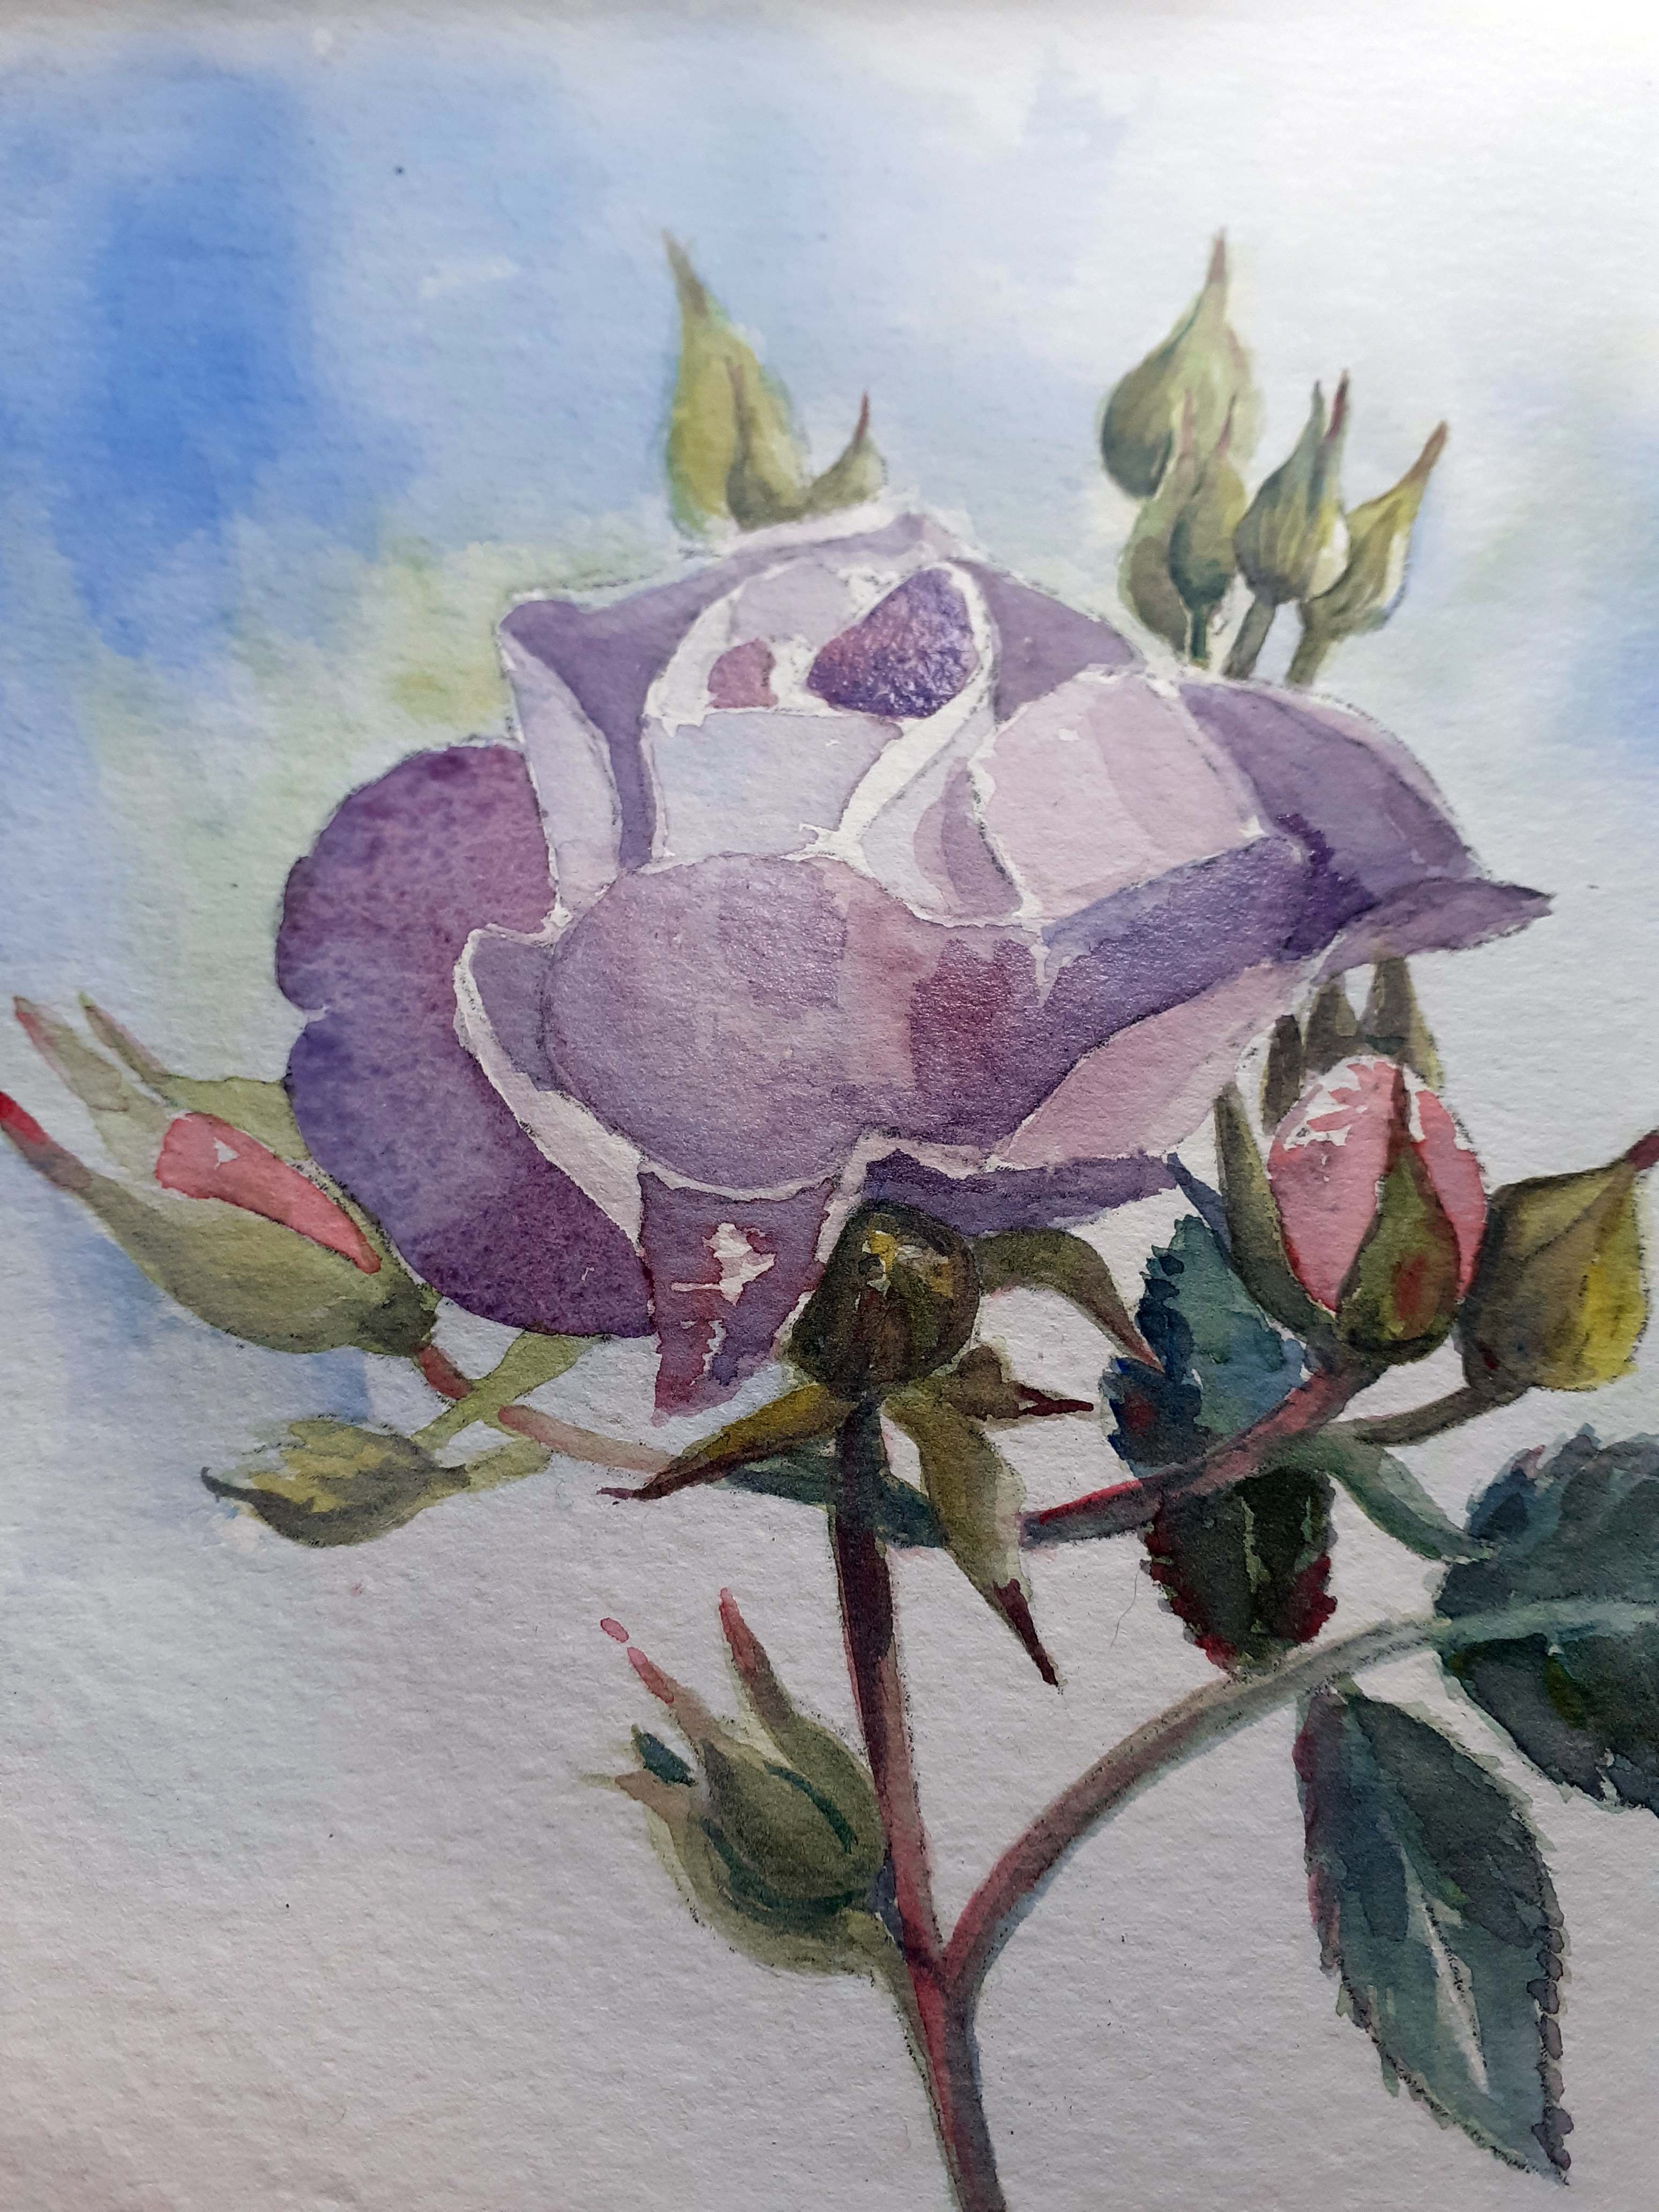 I do not mix the colours fully as I like to see the different colours in the mix on the surface and using a damp brush to soften any hard edges and blend the colour on the paper.
Because there are only a couple of colours to mix, and each of those are a single pigment colour, you can easily mix and strengthen your colour by layering to create the darker and lighter tones, without worrying about your colours becoming muddy. At this stage you do not need to add the darkest tones I usually leave this to near the end as it is easy to over do this stage, maybe walk away at this stage and return with fresh eyes which will help you to refocus on what areas to concentrate on and darken to add shape and form.
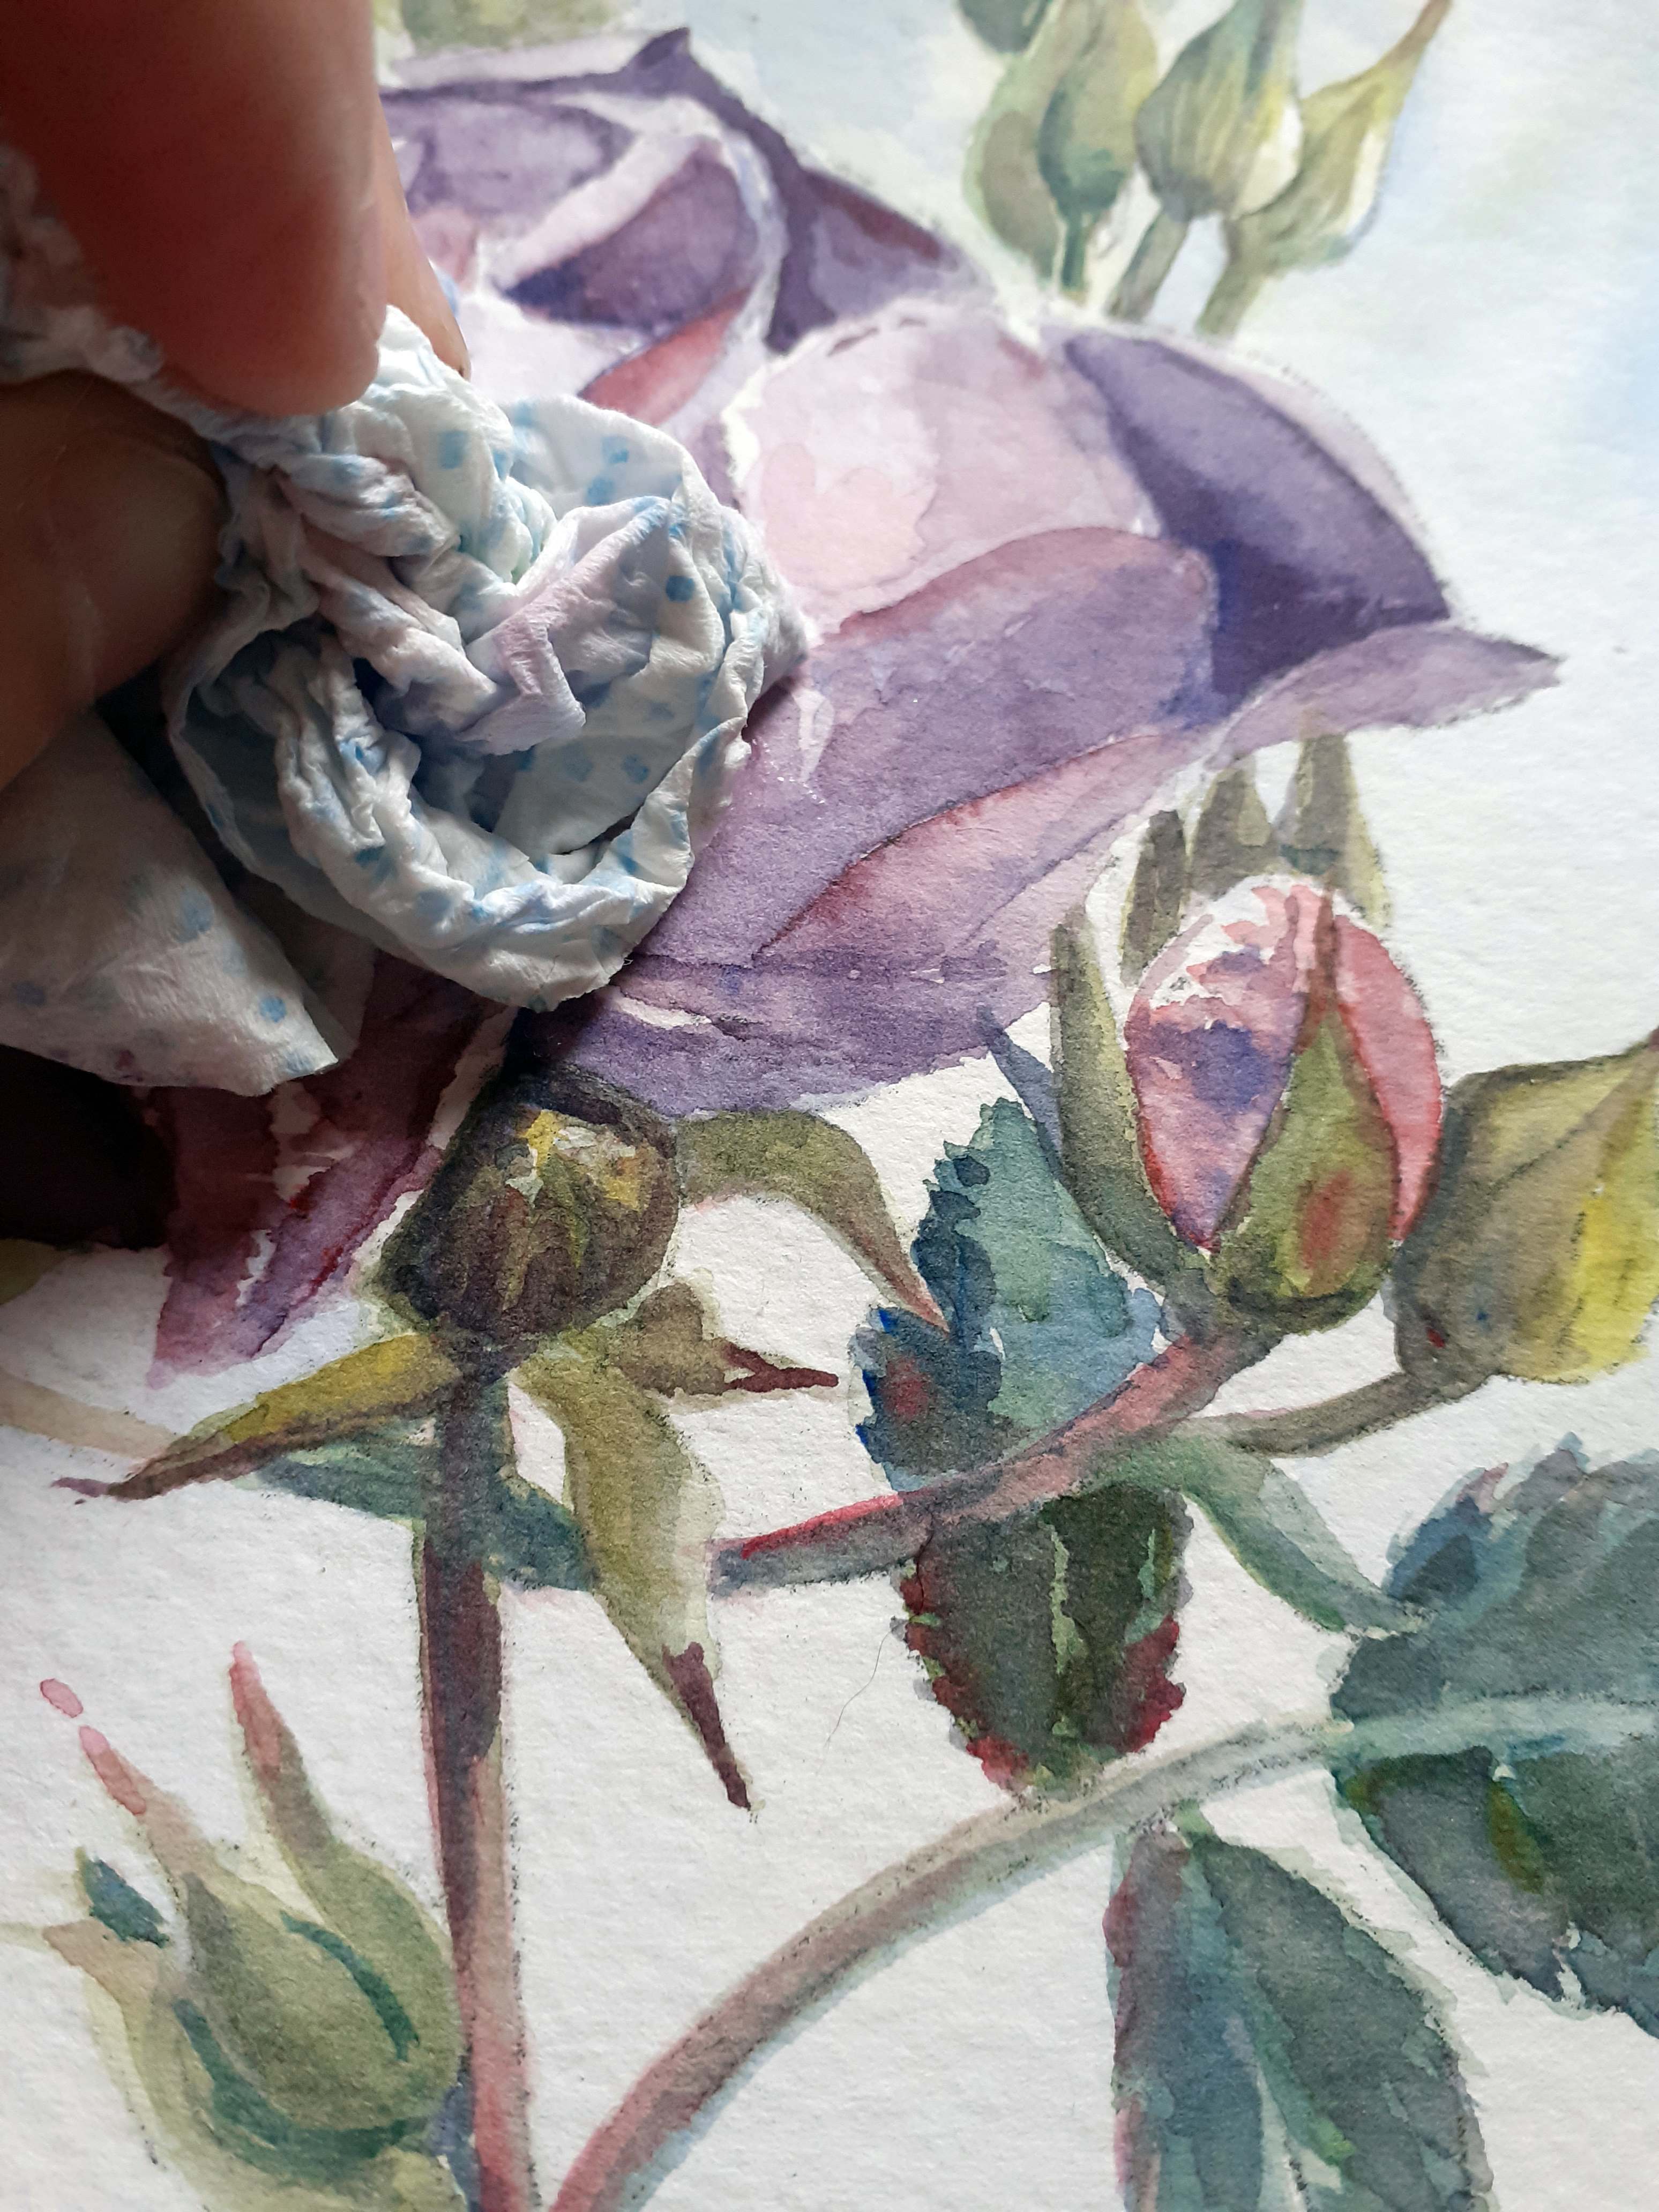 Nearly finished, but the rose still looks a little flat so time for careful addition of the darkest colours and maybe a little colour lifting to bring back some highlight, all the colours used do not appear to be too staining and can be lifted and altered.
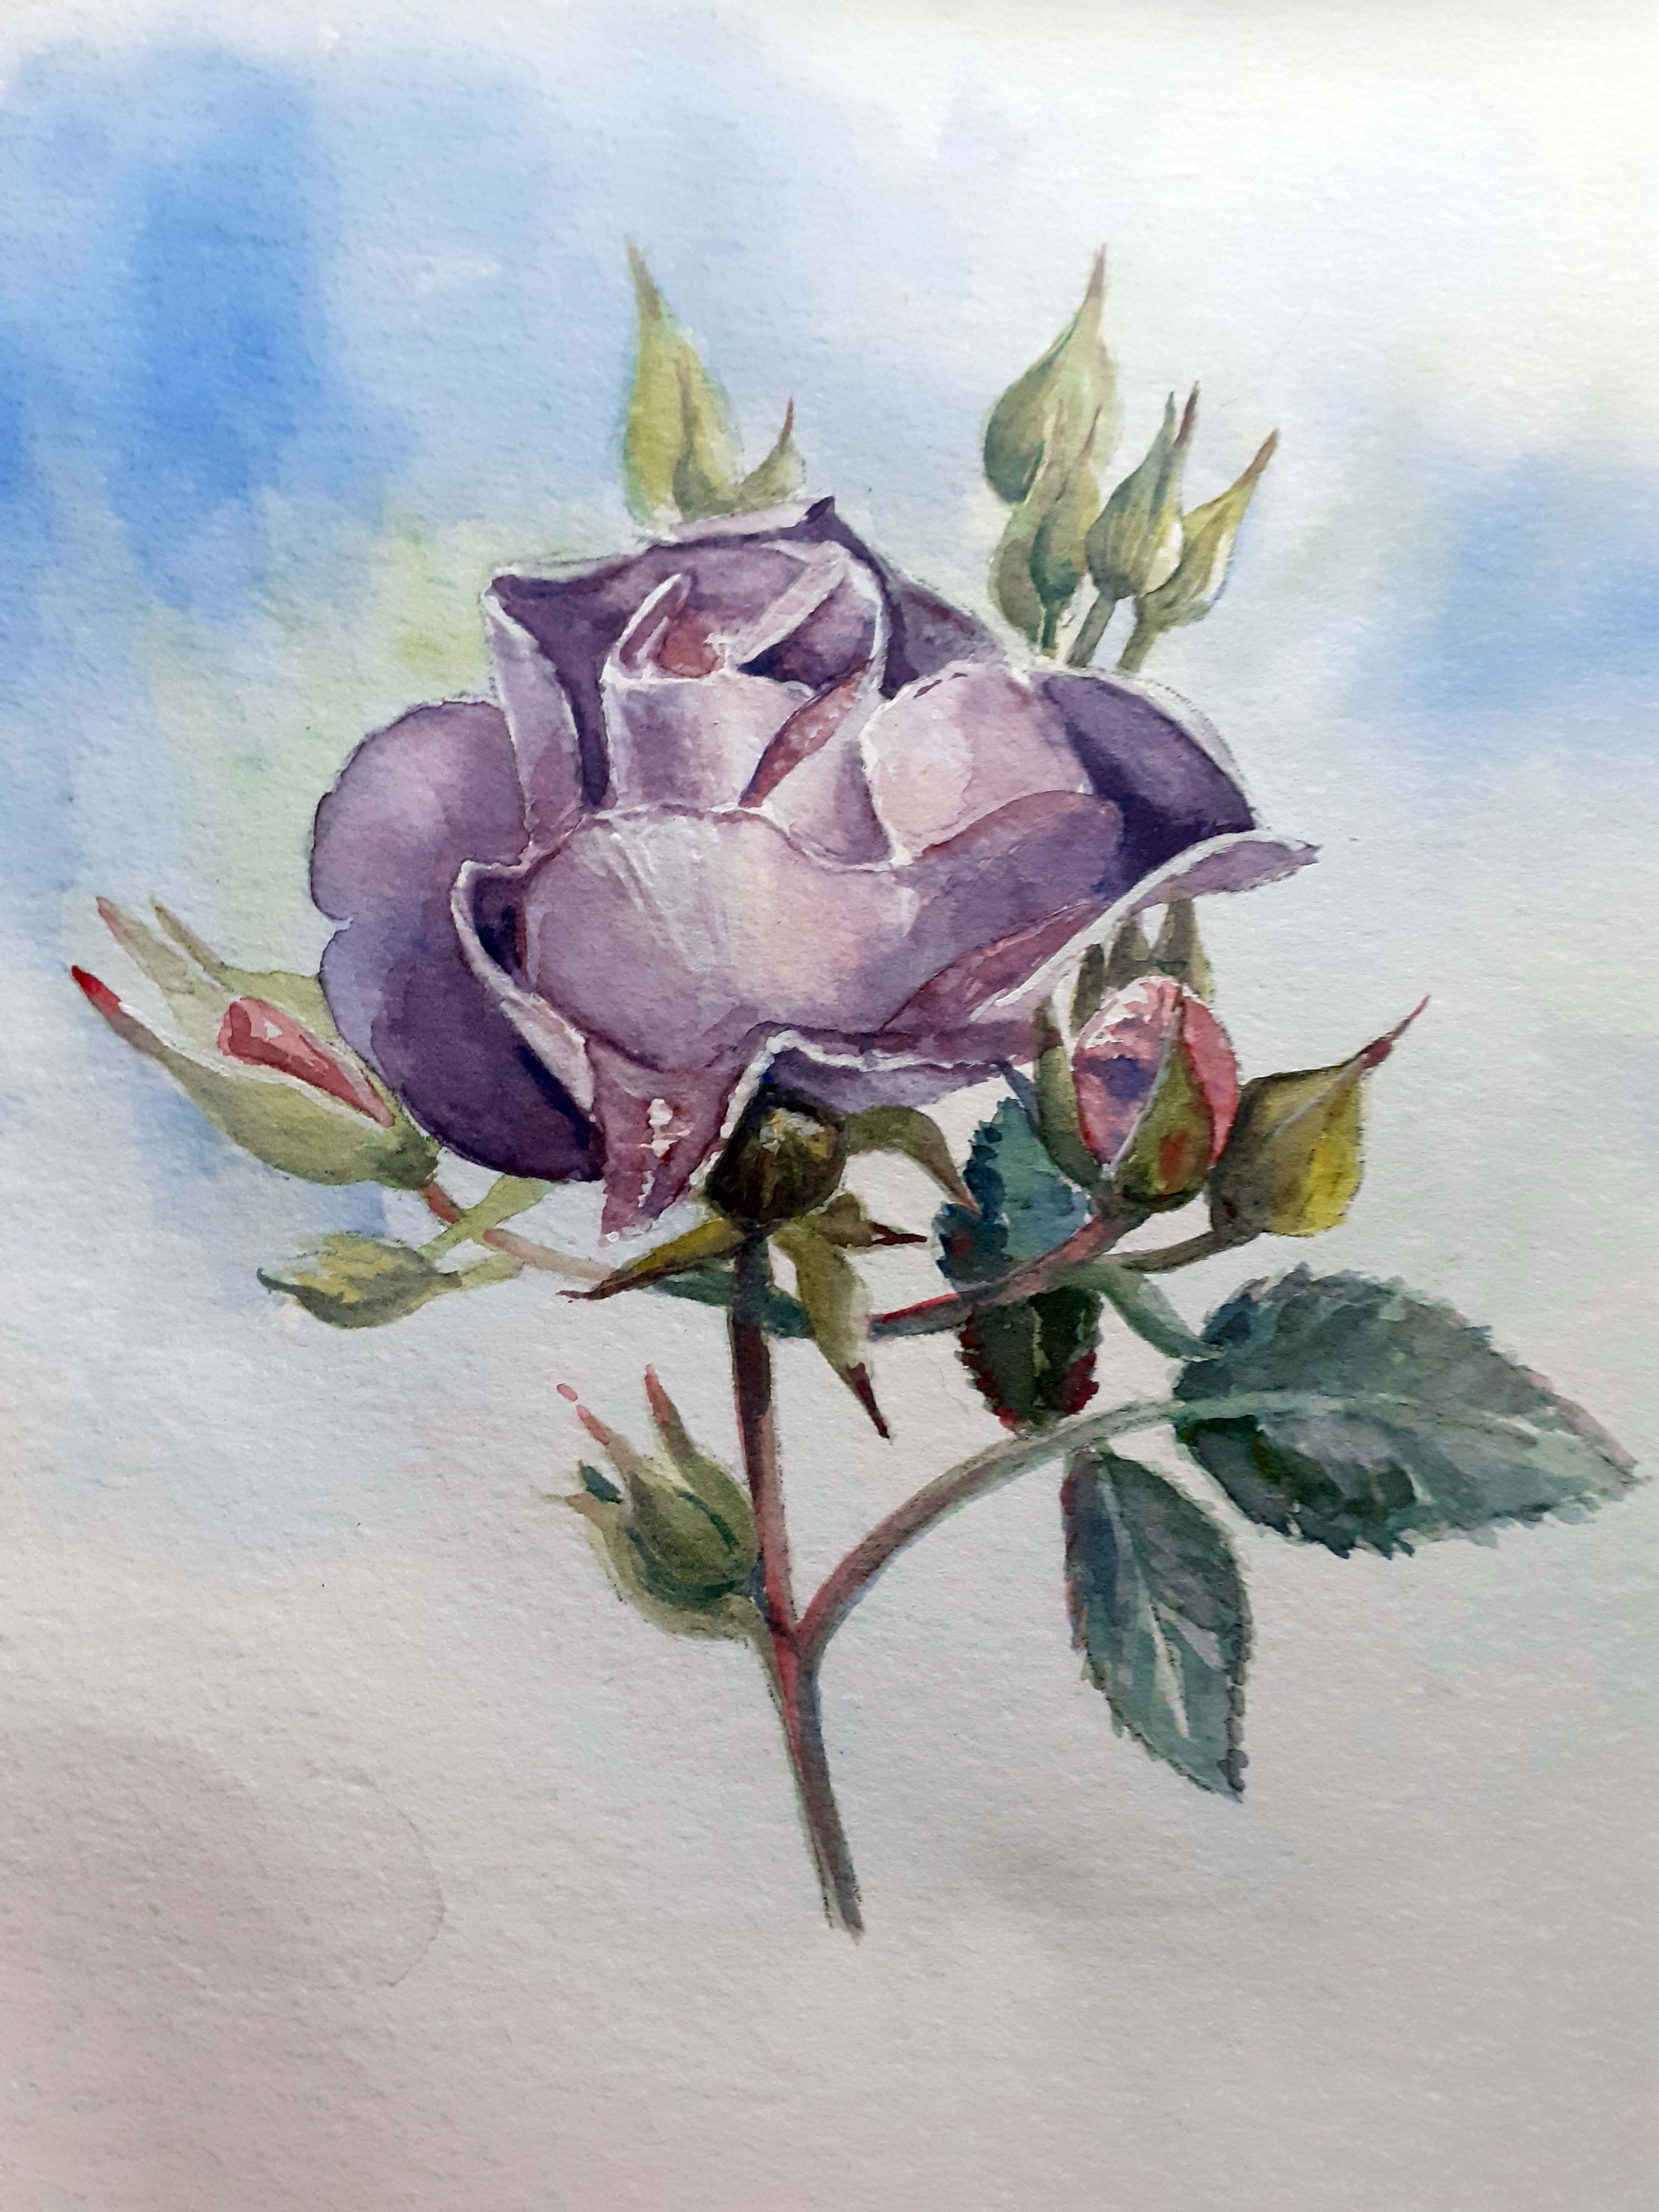
 The final stages are to add the details and enhance your painting. This is when the final darkest areas are added, and any highlights can be added with some Gouache. You have to be careful not to go from adding and enhancing to overworking.
The petals have dark edges which can be enhanced along with other areas you feel would benefit from a darker tone. Take some of the stronger pigment and add to the darkest areas, then with a damp brush gently blend the colours so there are no unwanted hard edges. The final touches are to add a little white gouache just to bring back some highlights that have been lost around the edges and any areas which may still look a little flat.
I hope you have enjoyed this and why not have a go using the outline provided – the primary colours or Red, Yellow and Blue will give you the colours needs and you will learn a lot about colour mixing and the strength of your colours.
Happy Painting
Anita