The gorgeous hibiscus flower can often be found where I now live, in Cairns, Australia. It gave me the inspiration to create this simple and fun exercise to give you an opportunity to focus on the process of under-layering with lighter colours when drawing on black paper.
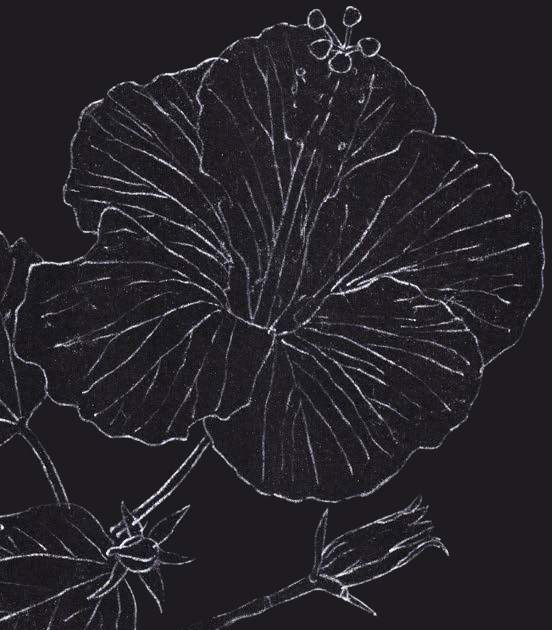 Sketch your drawing straight onto the black paper using ProColour Chinese White 72. Alternatively, draw onto plain white paper first with a graphite pencil, then transfer your drawing to the black paper afterwards. Begin that process by firstly rubbing the back of the image with a Derwent Drawing range Chinese White 7200. After you’ve rubbed the back of your drawing, place it on top of your sheet of black paper (with the image side facing upwards). Tape the white paper to the black along the top edge. Draw over your image (on the white paper) using your graphite pencil with slight pressure. The white pencil from the back of the image will create a clean outline onto your black paper.
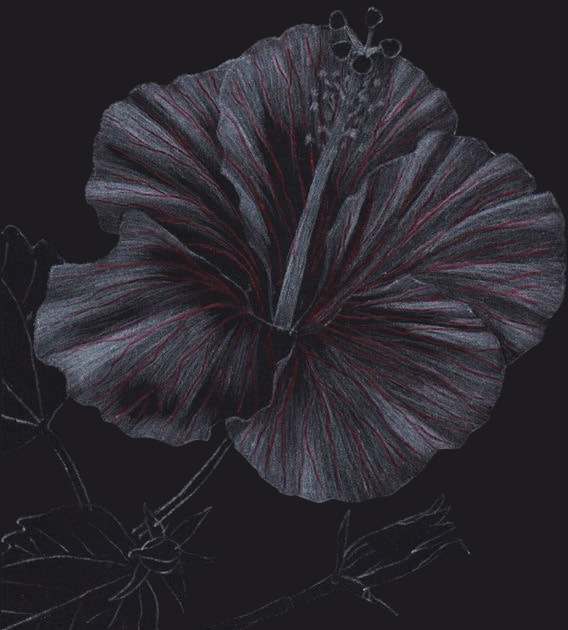 Use Primary Red 12 to create the veins on the flower petals while applying a little bit of pressure to slightly indent the paper. Then create a basic tonal range over all the petals using ProColour White 72. Apply more white into the full light areas and less in the mid tone areas. Leave the paper black in all the major shadow areas.
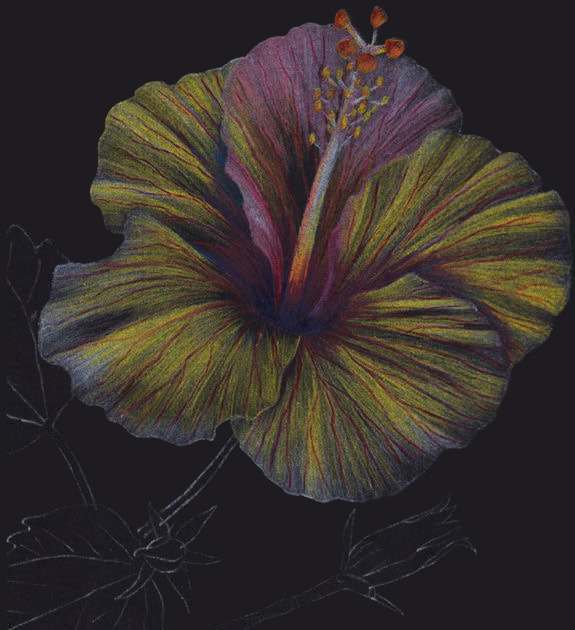 Build up the colours, details and forms of the stamen and tiny bits of yellow pollen before you colour the petals. Create form in the under-layer with cooler colours: Heather 23 and Pink Madder Lake 18 to recede and the warmer Deep Cadmium 06 to bring some petals forward.
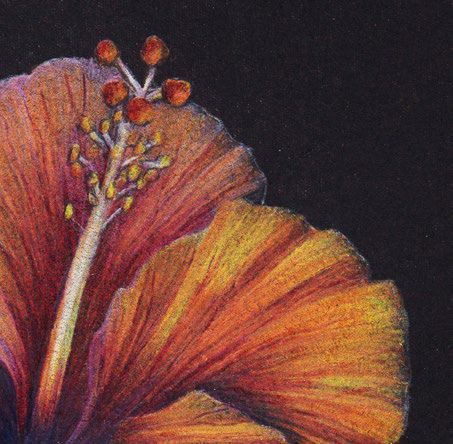 Create the darkest shadows with layers of Burnt Carmine 66, Burnt Umber 55, Prussian Blue 32. Then add the orange hue in all other areas – Deep Chrome 09 to bring your hibiscus flower to life!
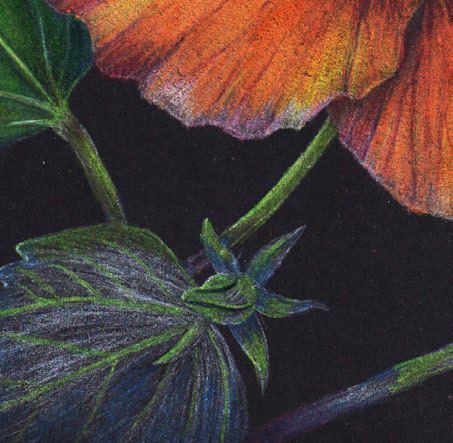 Erase back the white outline drawing of the leaves in areas as you draw, replacing the veins and outer shape with either Grass Green 49 or Racing Green 44, as needed. Create the under-layer over the whole leaf with a layer of ProColour Chinese White 72 into the highlights, and Prussian Blue 32 into the shadows. Add the Racing Green 44, Mineral Green 47, Foliage 51 and Grass Green 49 to create form and fill in the areas around the veins.
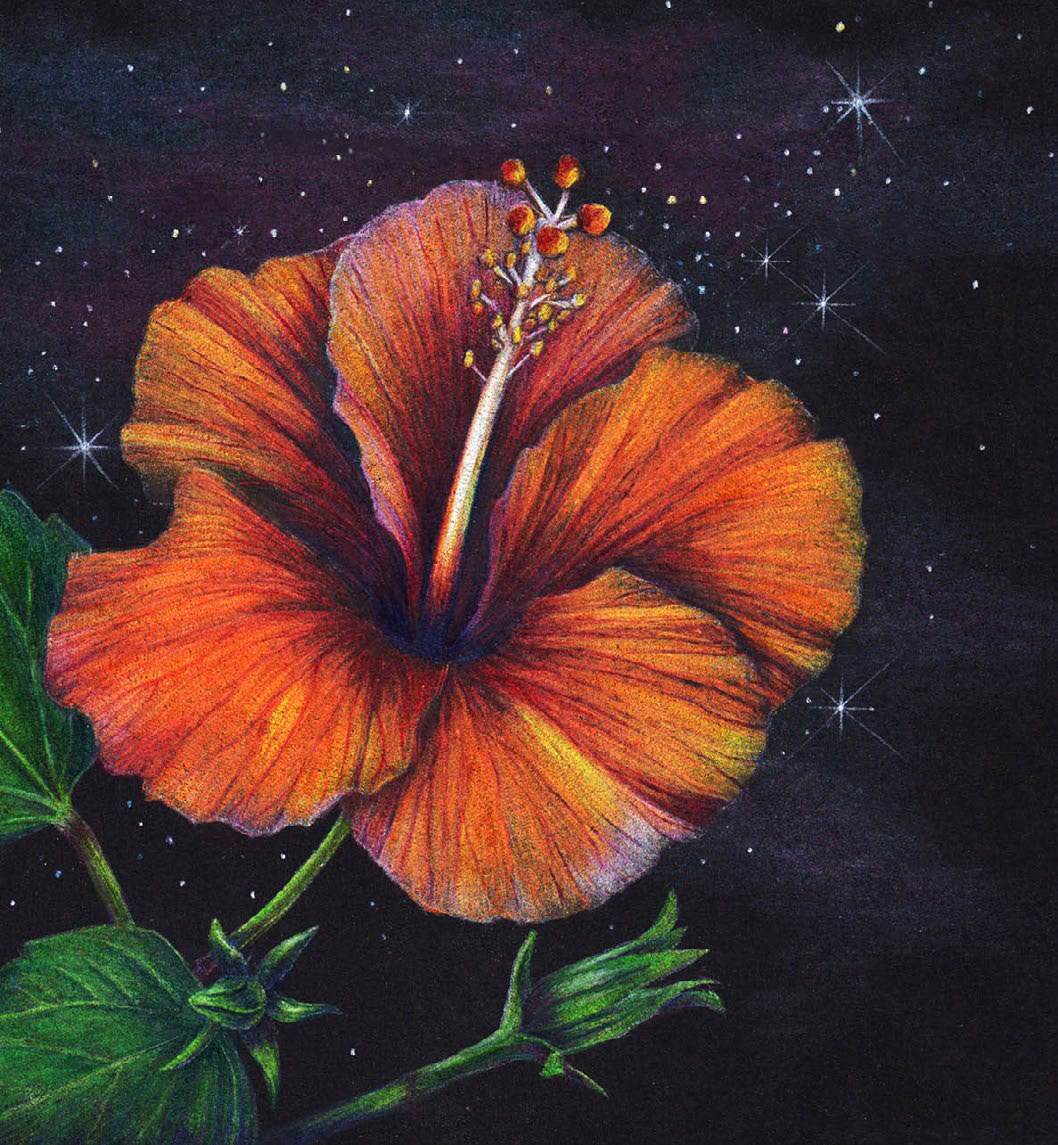 Add small dots for stars in various sizes using the tip of the pencil with varying amounts of pressure in ProColour Chinese White 72, Light Blue 37 and Deep Chrome 09. Then use the side of your pencil to shade various blue and purple hues into the night sky. I used Light Blue 37 as a foundation, then some Burnt Carmine 66 to darken areas of shadow and Heather 23 and Pink Madder Lake 18 to lighten.