
In this charming street landscape, Charles Evans paints a snowy street in Bury St Edmunds.
This is a predominantly acrylic painting of the lovely little market town of Bury St Edmunds in Suffolk, where I’ve enjoyed hosting quite a few painting holidays. The majestic St Edmundsbury Cathedral is in the background whilst the snow is still fresh on the ground, making for a magical winter scene.
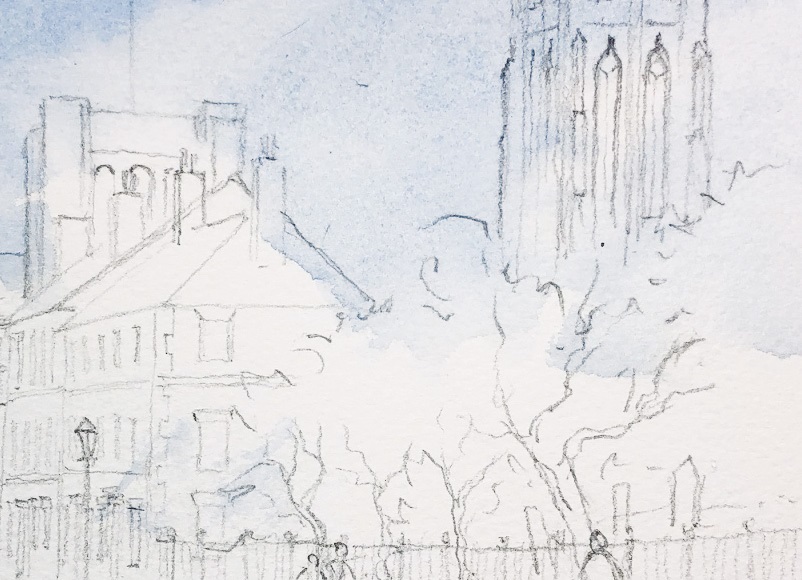 Here, you’ll see I’ve done a complex outline drawing. With the ¾” Flat I pre-wet the whole sky area with water, then painted on watercolour Cobalt Blue all the way down. I then simply washed and squeezed the brush and lifted out a few clouds. The rest of the painting was done using acrylics.
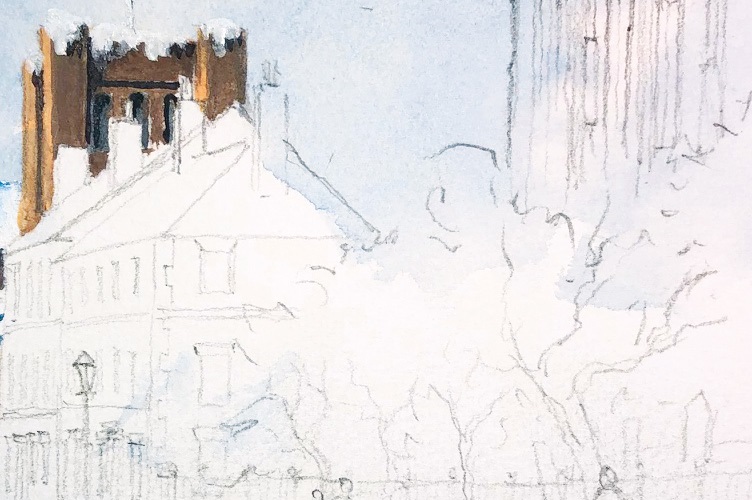 All the buildings in the distance were done using the size 8 Round brush and well-watered Raw Umber, dropping in a touch of Burnt Sienna here and there while still wet. For the darker areas I used Paynes Grey, again well-watered.
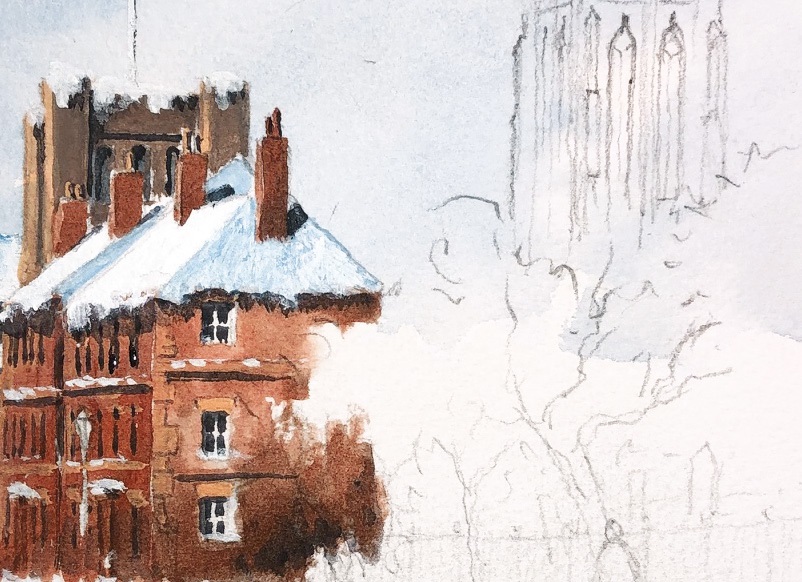 For these buildings, I pre-wet each one, then dropped on Raw Sienna,
then Burnt Sienna followed by Raw Umber, then let the colours mingle. For the windows, don’t paint frames, paint windows! These were done with several drops of weak Paynes Grey, leaving a bit of white paper showing between each dot. For the snow on the roofs, it was Titanium White, with a touch of Cobalt Blue for shadowed areas. For shadows in the buildings, such as underneath roofs and within the windows, it was a mix of Paynes Grey and a tiny touch of Crimson.
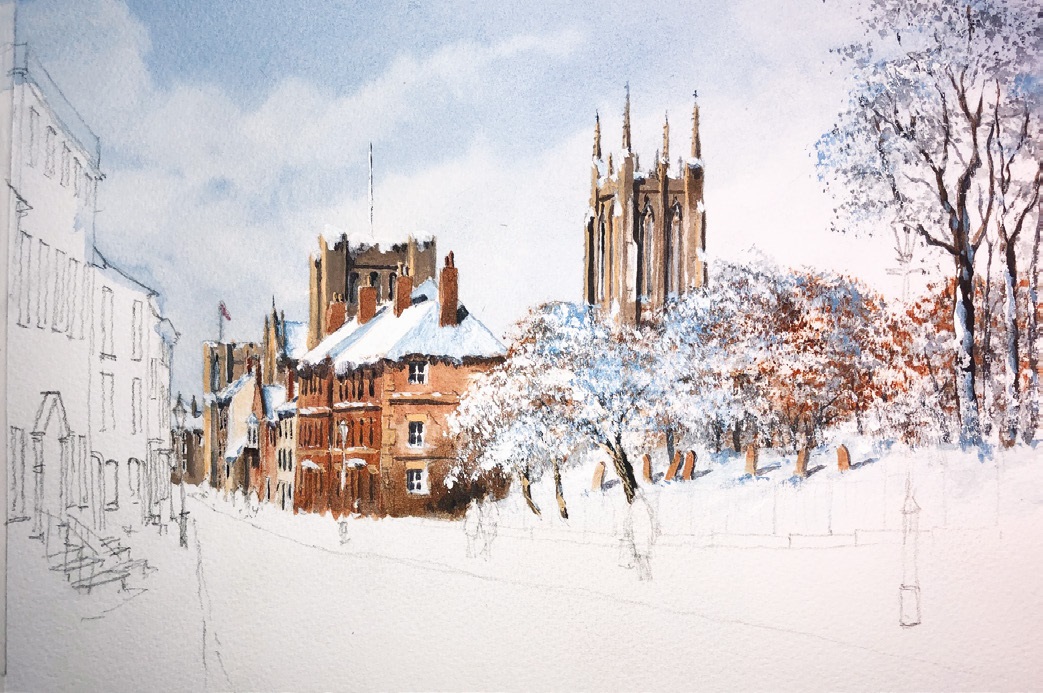 For the cathedral, still with the size 8 Round brush, I pre-wet the whole area. Then I dropped on a little Raw Umber mixed with Titanium White, slightly darker to the right-hand side. I put a few tiny strokes of Naples Yellow here and there to capture a bit of light. I used the same shadow mix as before to give a bit more depth. I then changed to my ¾” Flat brush, split the brush and stippled on firstly Raw Sienna, then Burnt Sienna, then Raw Umber. I added a little Paynes Grey to the Raw Umber for tree trunks like the ones on the right, and these were done with my Rigger brush. Once they were all dried, I made it snow here and there by stippling on some Titanium White and the occasional touch of blue.
 All the buildings on the left were done using the same brush and same colour mixes as the buildings on the other side of the street. They were just a bit stronger and darker. At this stage I also painted the fencing on the right with my Rigger, using Paynes Grey.
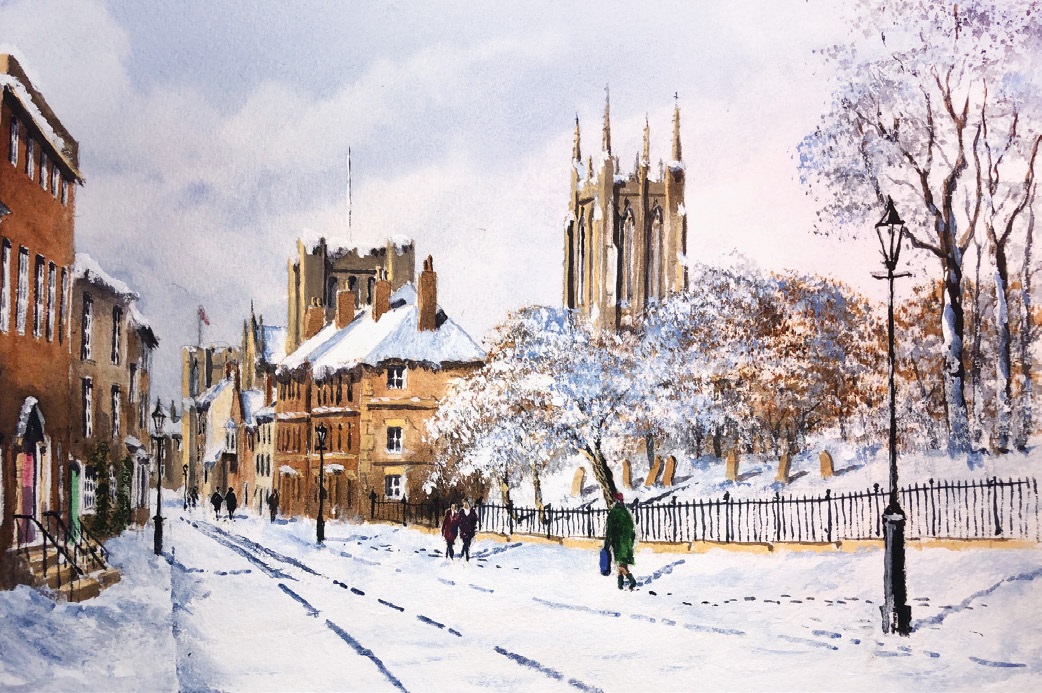 I finished this off with quite a lot of snow on the ground, using Titanium White and then, for darker shadows in the snow, a touch of Paynes Grey and Cobalt Blue into the white. The figures you can paint in any colours you like, just as long as you get some shadows underneath them to tie them down to the ground. Similarly, the big lamppost was painted in Paynes Grey.
A final touch is to add a few footprints and tracks in the now with a fairly strong mix of Cobalt Blue and Paynes Grey.