
First, you choose the paper and size/format. For this rose, I’ve chosen a bigger sheet of paper to underline the airiness. As for paper surface, I always choose satined paper as rose petals are even and smooth. Rough paper could never show this smoothness.
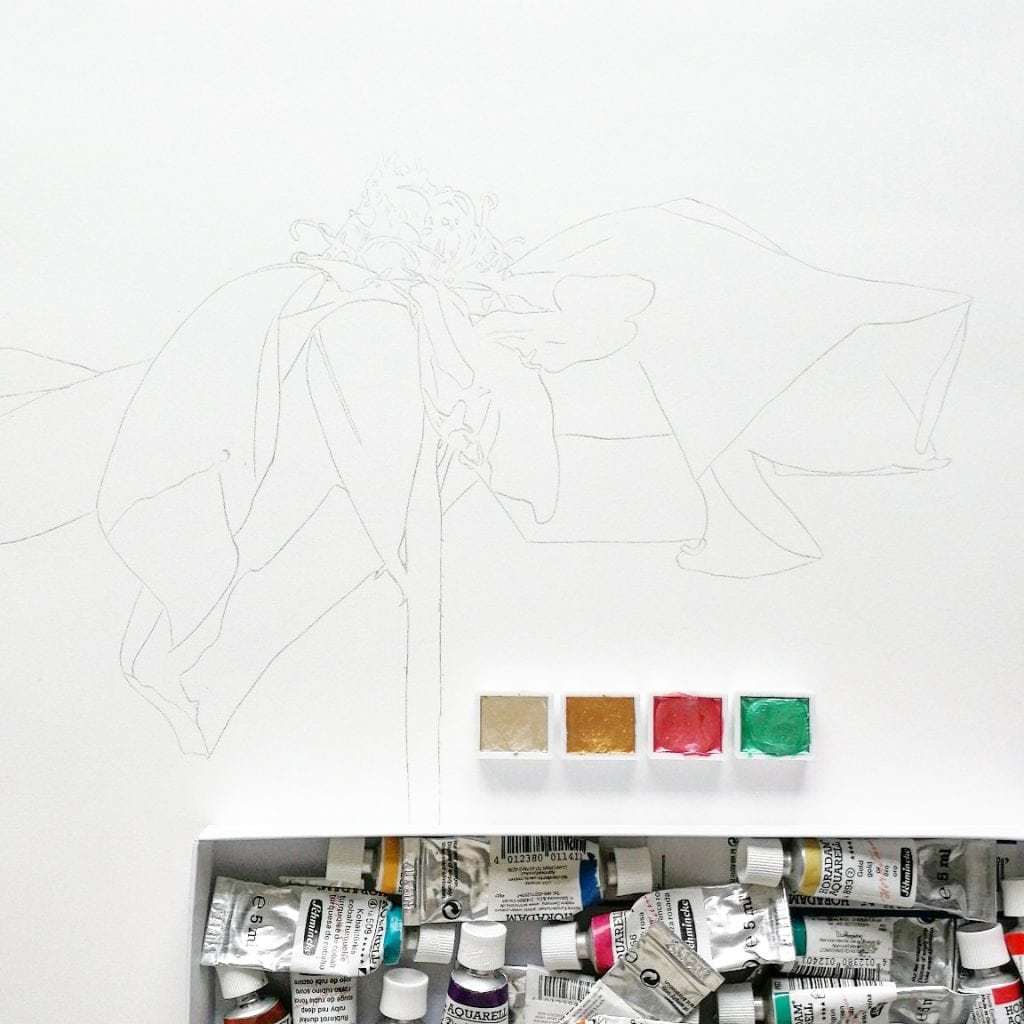 I always make a very detailed pre-sketch with all shadows and small details, so that the painting process will be easier and not interrupted.
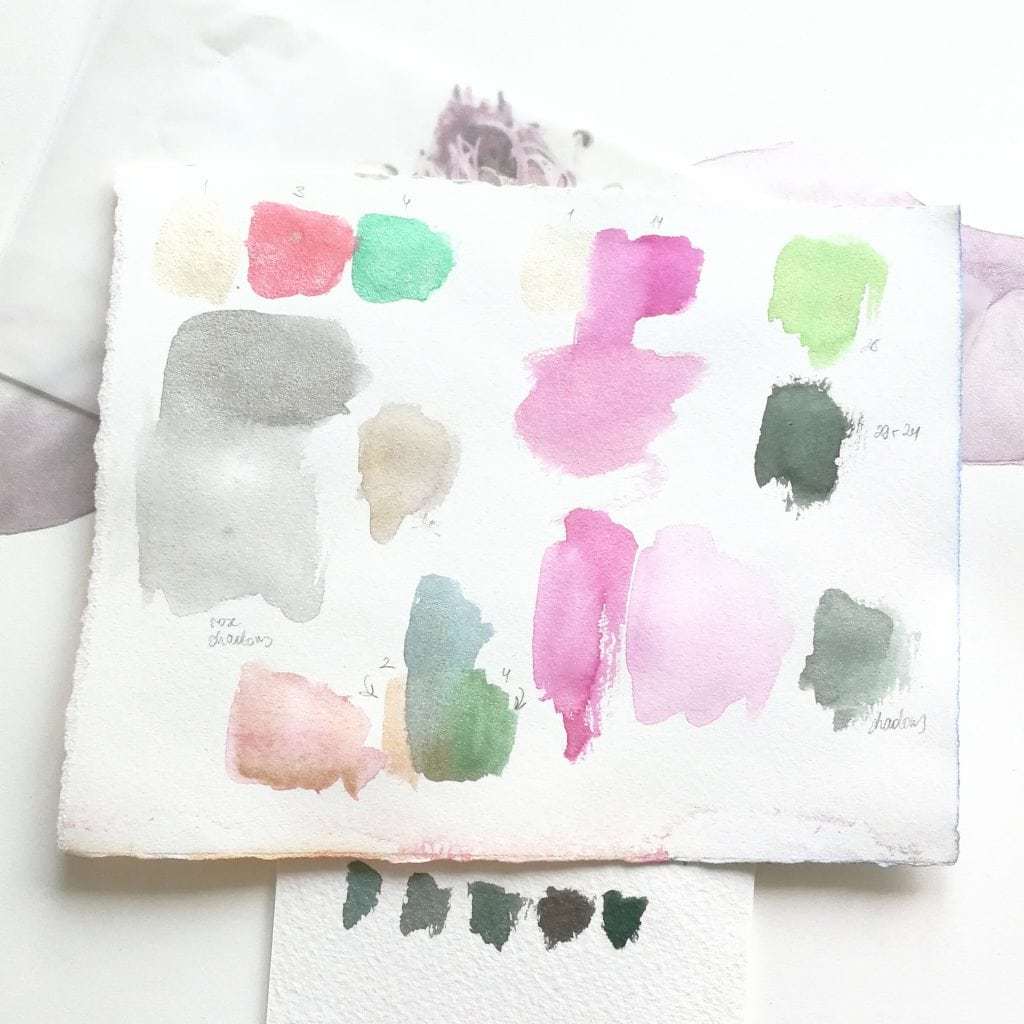 Now, I choose the colours and brushes. I mix several colours to create perfect mixed tones. The best ones, I paint on an additional sheet of paper with the appropriate mixing info.
The first layer is the most important layer as it determines the painting concerning light parts, shadows, etc. Every single rose petal will be painted separately with its individual colour mixture. First, you need to wet the petal with the biggest brush. Then, the colours will be applied carefully. You always start with the lightest tones, then you take the darker ones. While the first petal dries, the next petals will be painted step-by-step. After drying, the remaining parts will follow.
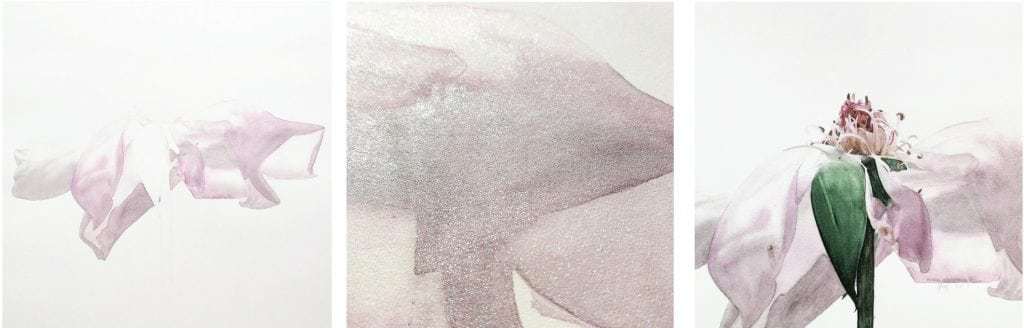
Tip – For Pearlmatic colours, it is important to know that the glitter particles come upwards with each wetting of the colours. So, there is a risk of washing off the glitter or of spreading it everywhere in the painting. It will not be directly visible, but into the sunlight it becomes eye-catching.
Now, you should throw a critical look upon the painting and decide whether the colours fit or whether they could be improved. The parts which need to be overworked need to be wet with the brush before reworking. If you have any doubt, take a black and white photo to get an impression of the proportions. Even when you overpaint small parts of the petals, you should wet the whole petal! Thus, you can add last colour layers to all parts of the flower.
The last step – now, you add last details with a small, nearly dry brush, as e.g shadows, points or freckles. It is not necessary to be a botanical expert for flower details; it is even more important to paint what you see: colours, forms and shadows.
You must also know when to stop and sign your painting.