
City walks with my camera, rain or shine, day or night, is where I draw my inspiration from. The effect nature has on the manmade world is what fascinates me and compels me to paint, be it a snow-covered street or a cathedral shrouded in the morning mist.
I have chosen this image for my tutorial as I love the way the rain turns the paving slabs into mirrors, reflecting the world above as a loose watercolour painting.
1 First, I divided my reference photograph into six equal sections horizontally and vertically, creating a grid. The canvas is 60 x 60cm, so each square section on the photo represents 10 x 10cm square on my canvas.
2 I applied a bit of Wedgwood acrylic paint onto my canvas with a damp cloth and then wiped it with a piece of kitchen roll to remove any excess paint and spread the paint evenly. Toning a canvas with a cool colour helps to create the tonal mood of a rainy day and you won’t be left with white, unpainted spots in your painting. Once the canvas had dried, I measured out the grid and drew it on using a T-square and watercolour pencil, which is easy to wipe off once the gridlines are no longer needed. Using a graphite pencil, T-square and my reference photo, I sketched the image onto the canvas. I used A4 graphite Tracedown to transfer the outlines of the people.
3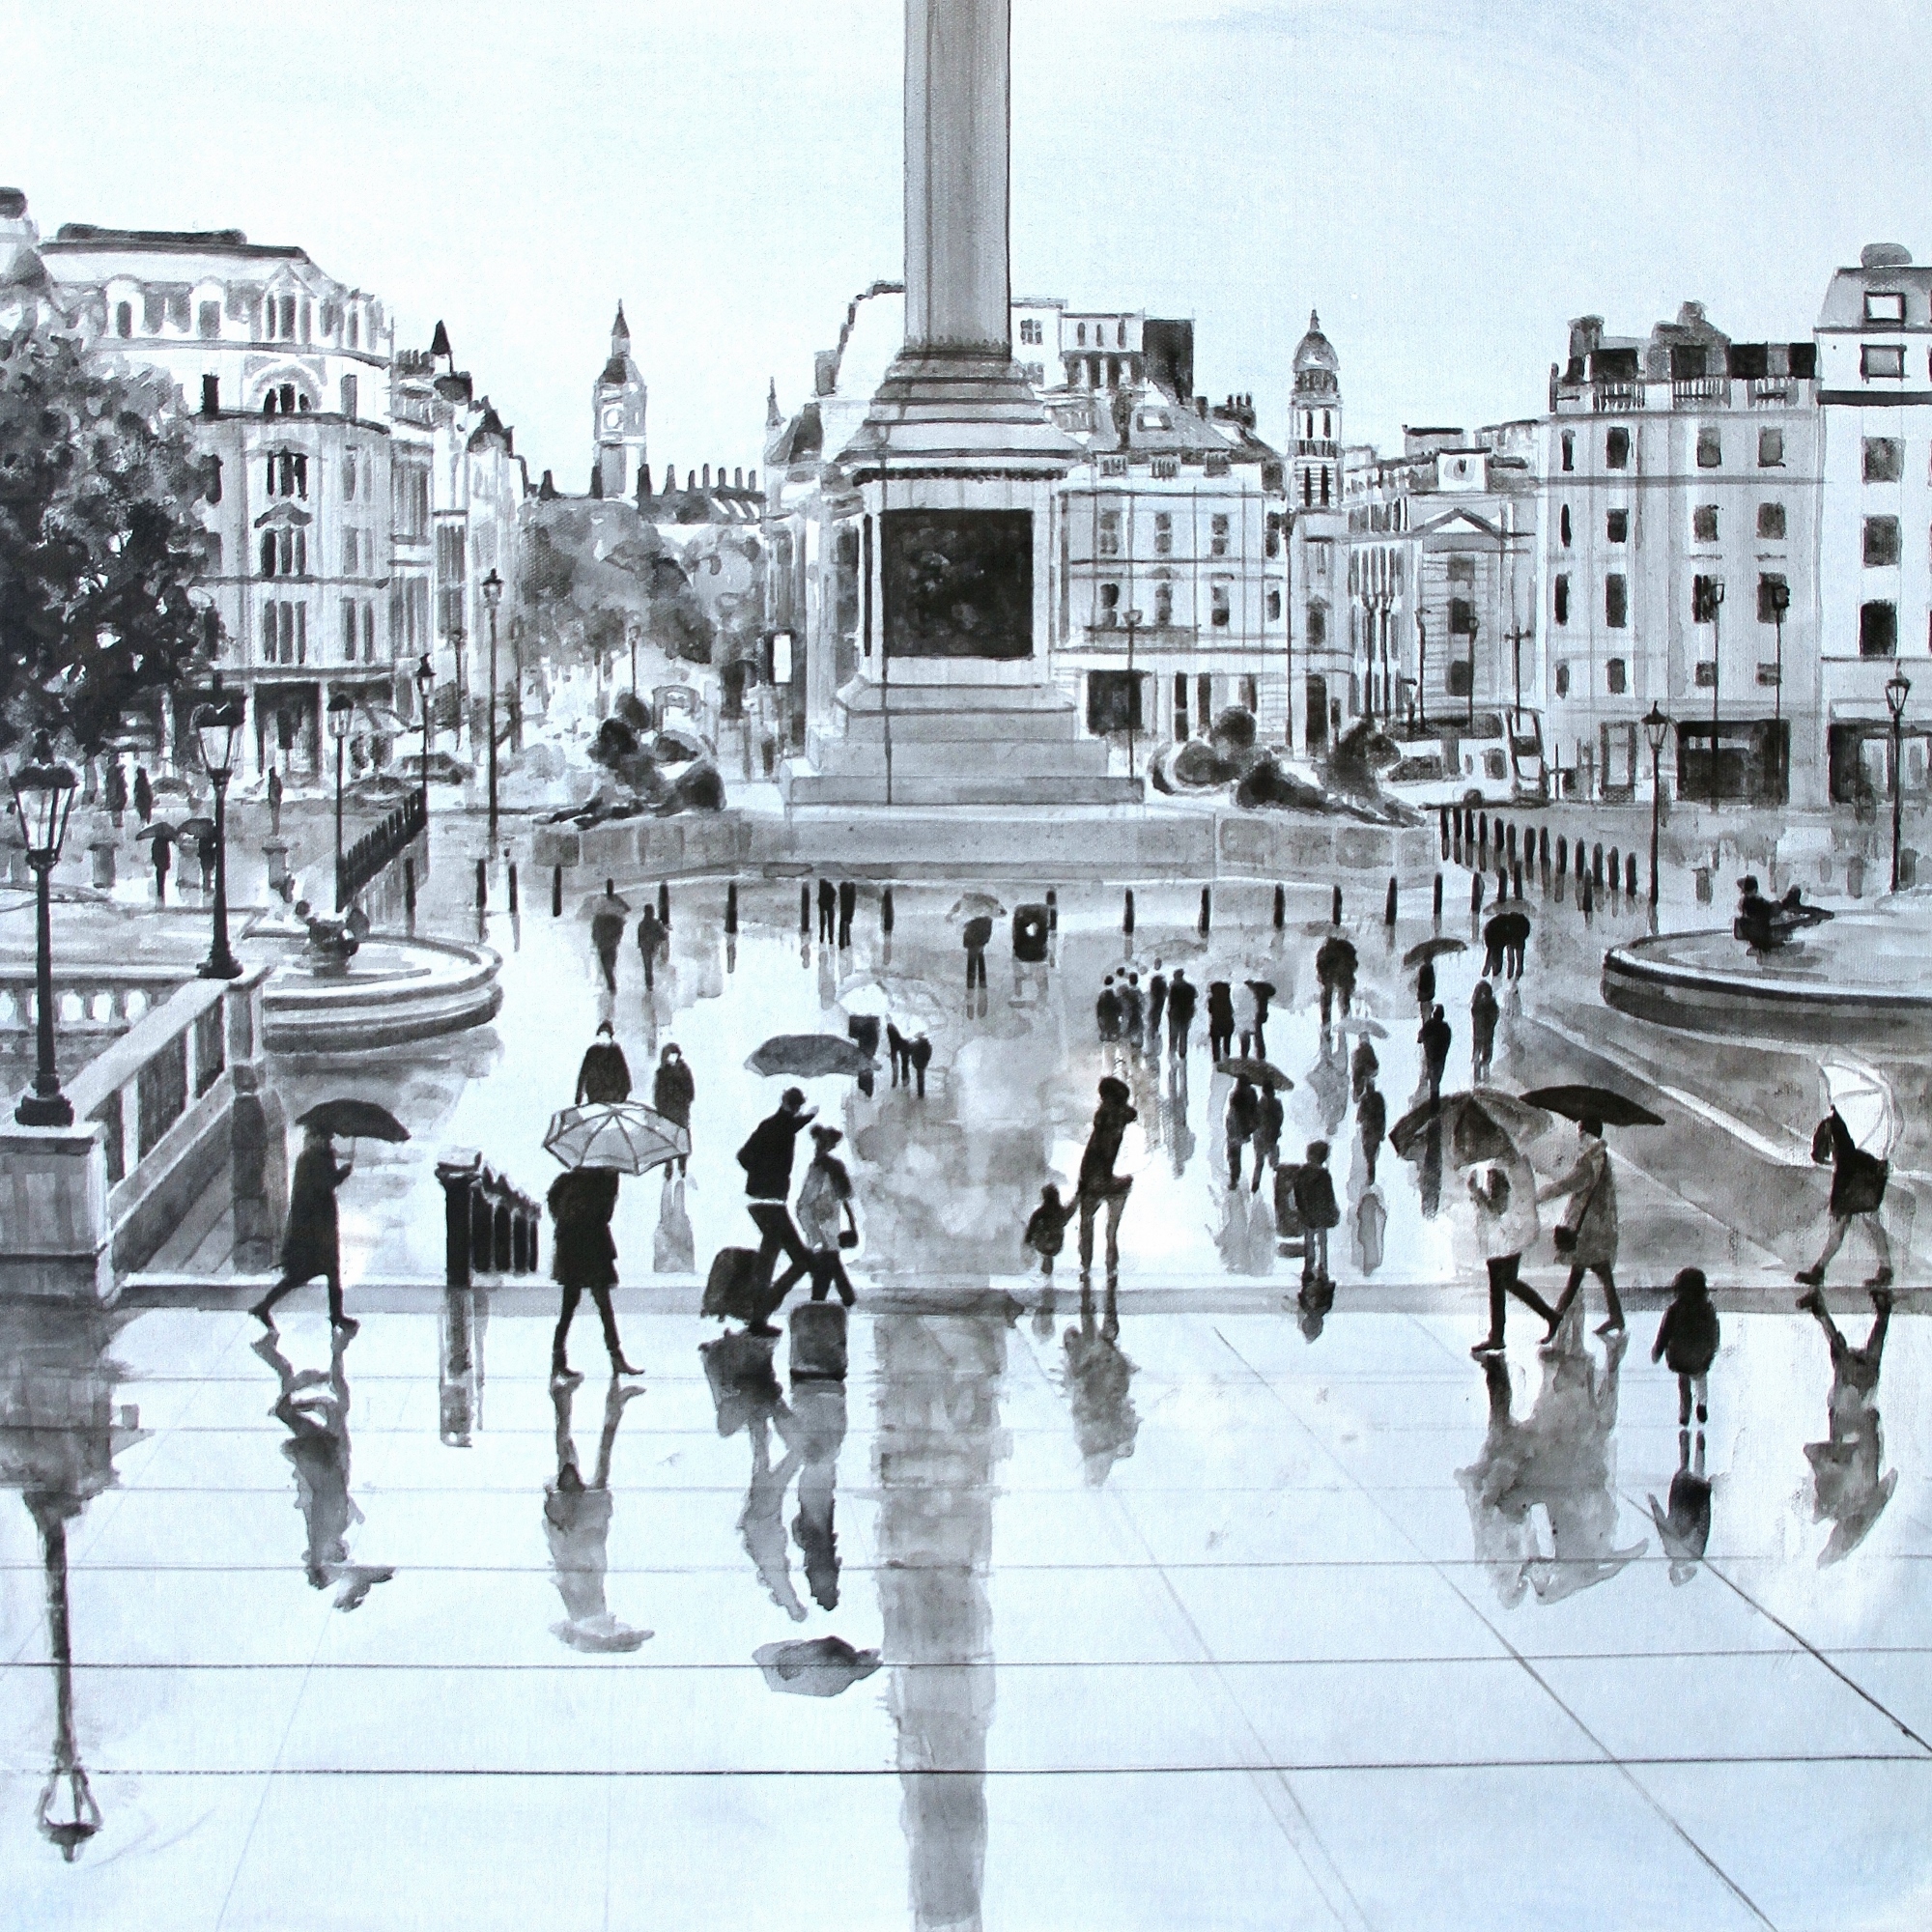 Next I painted over the pencil lines in black waterproof ink. I used a thin brush and diluted the ink with water as needed to establish the darker and lighter areas. At this stage, it’s easy to add, remove or move any elements of the composition. I found the Magic eraser very useful for removing ink or paint even after it has dried. I added and moved around a few figures, as I felt the composition wasn’t well balanced. Once the ink was completely dry, I wiped the gridlines off with a damp cloth.
4 I like to keep structural lines sharp and straight and, to help me achieve this, I use masking tape. It allows me to apply paint in thick layers and even mix paint on the canvas with a pallet knife without having to worry about keeping the shape, as the masking tape does that for me. It’s best to remove the tape straight away as sometimes the paint seeps under it; it’s easier to wipe it off while still wet.
5 I only used the tape for a few sections of the buildings and paving slabs, as combining rigid lines with loose ones makes a more interesting painting. I used Titanium White, Pink, Warm Grey and Burnt Sienna in different combinations for most of the stonework and buildings.
6 Next, I painted the remaining elements using pallet knives and a colour shaper to create different textures. The T-square came in handy again at this stage as it helped me keep the horizontal and vertical lines in check.
7 I am now ready to introduce acrylic ink to my, so far, rather dull painting, to bring it to life and have some fun. Making sure my underpainting is absolutely dry, I can be spontaneous with the ink as it wipes off easily if my experiments don’t work out.
I use ink in three different ways:
8 The final stage of the painting is bringing it all together. Using Pink, Titanium White and Titanium White mixed with Burnt Sienna and a large Flat brush, I applied a layer of paint over the sky and the tops of the buildings to push them into the background. I did the same at the bottom of the foreground and added a few slash marks with the chisel colour shaper to reveal the glazes underneath. Then I slashed the painting in several places with the sharp edge of a pallet knife to create more rain lines. I finished off the painting by spraying on a couple of coats of gloss varnish, which helps unify the finish and protect it as well as deepening the colours.
