
In her second tutorial on how to get started with oils, Sue Williams explains how to create tonal values using oils
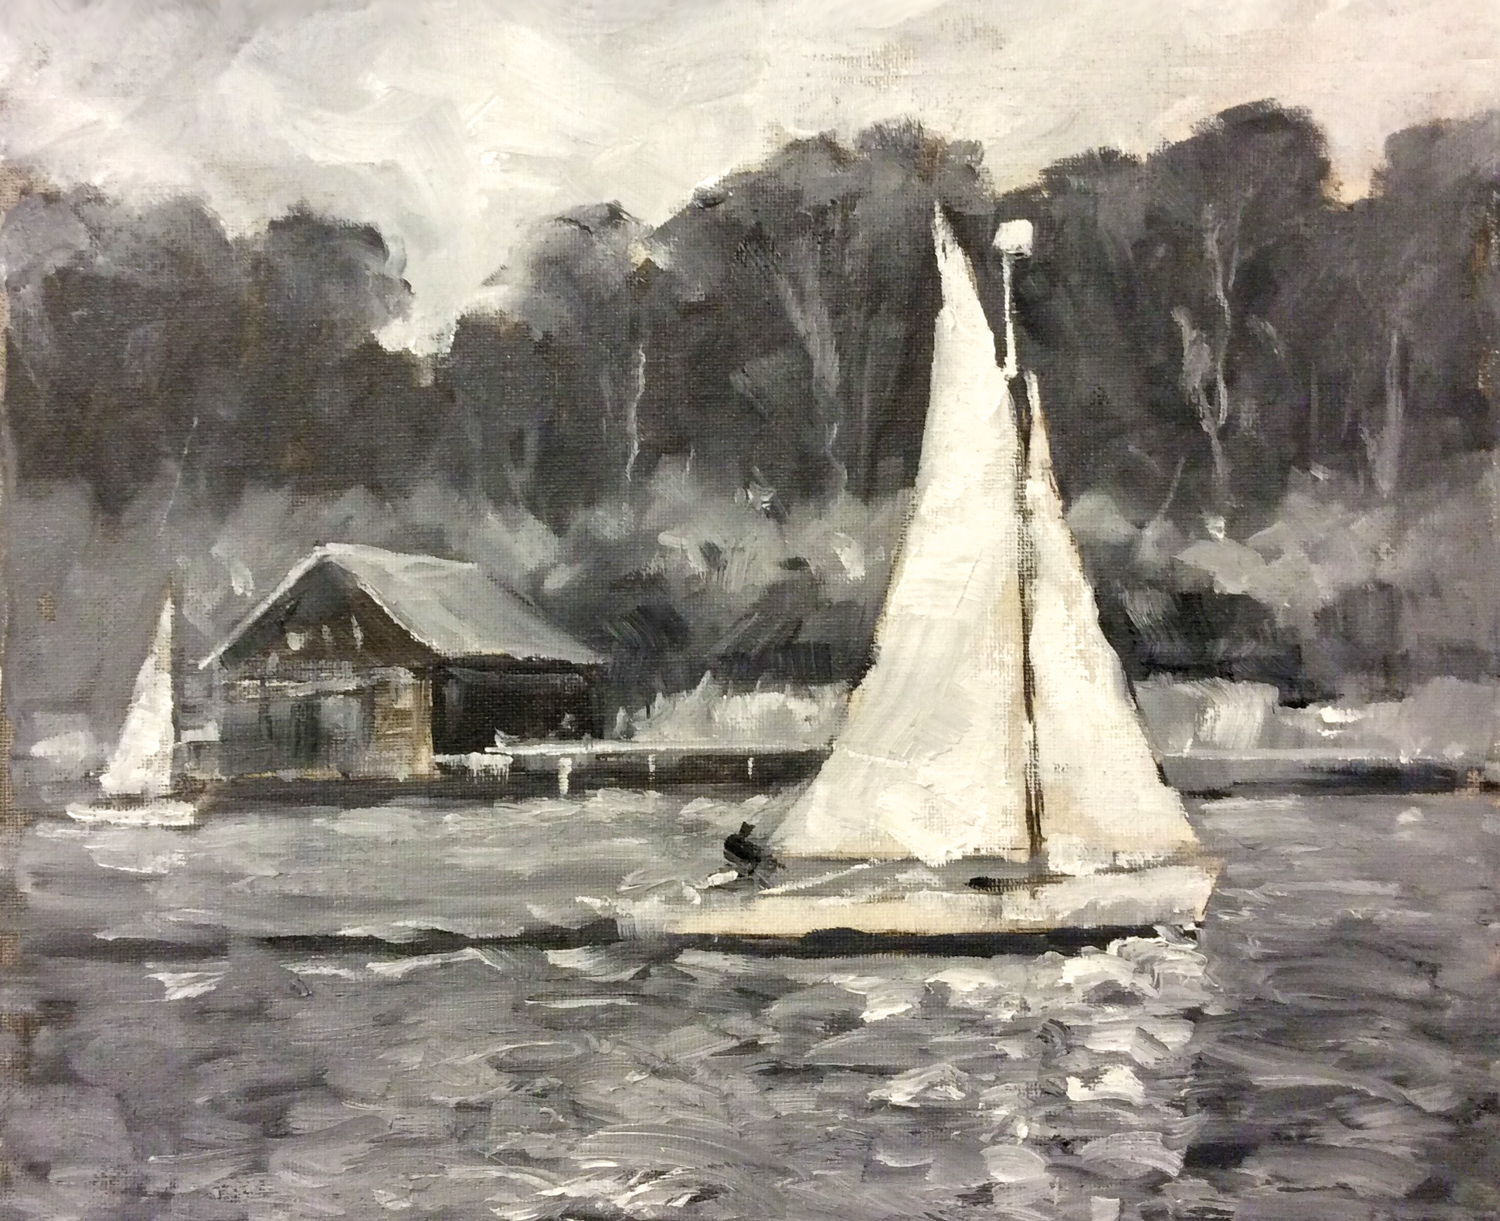 I have been told that Monet threw a few of his waterlily paintings in the pond when they weren’t working but, for me, there is nothing more relaxing than being by the water. This serene river landscape was taken on the Norfolk Broads near Wroxham.
This exercise helps you to really concentrate on oil paint application without having to think about using colour. It does also help us to see the tones, also called values. Usually the sky is the lightest tone in a landscape as it is in this painting. Trees are usually the darkest. The fields are usually a middle tone and water can be a middle tone too. It all depends on the light direction and strength. I have used black and white because this gives us the widest tonal range. There are, of course, lots of different ways to use oils but we will start with a classic approach.
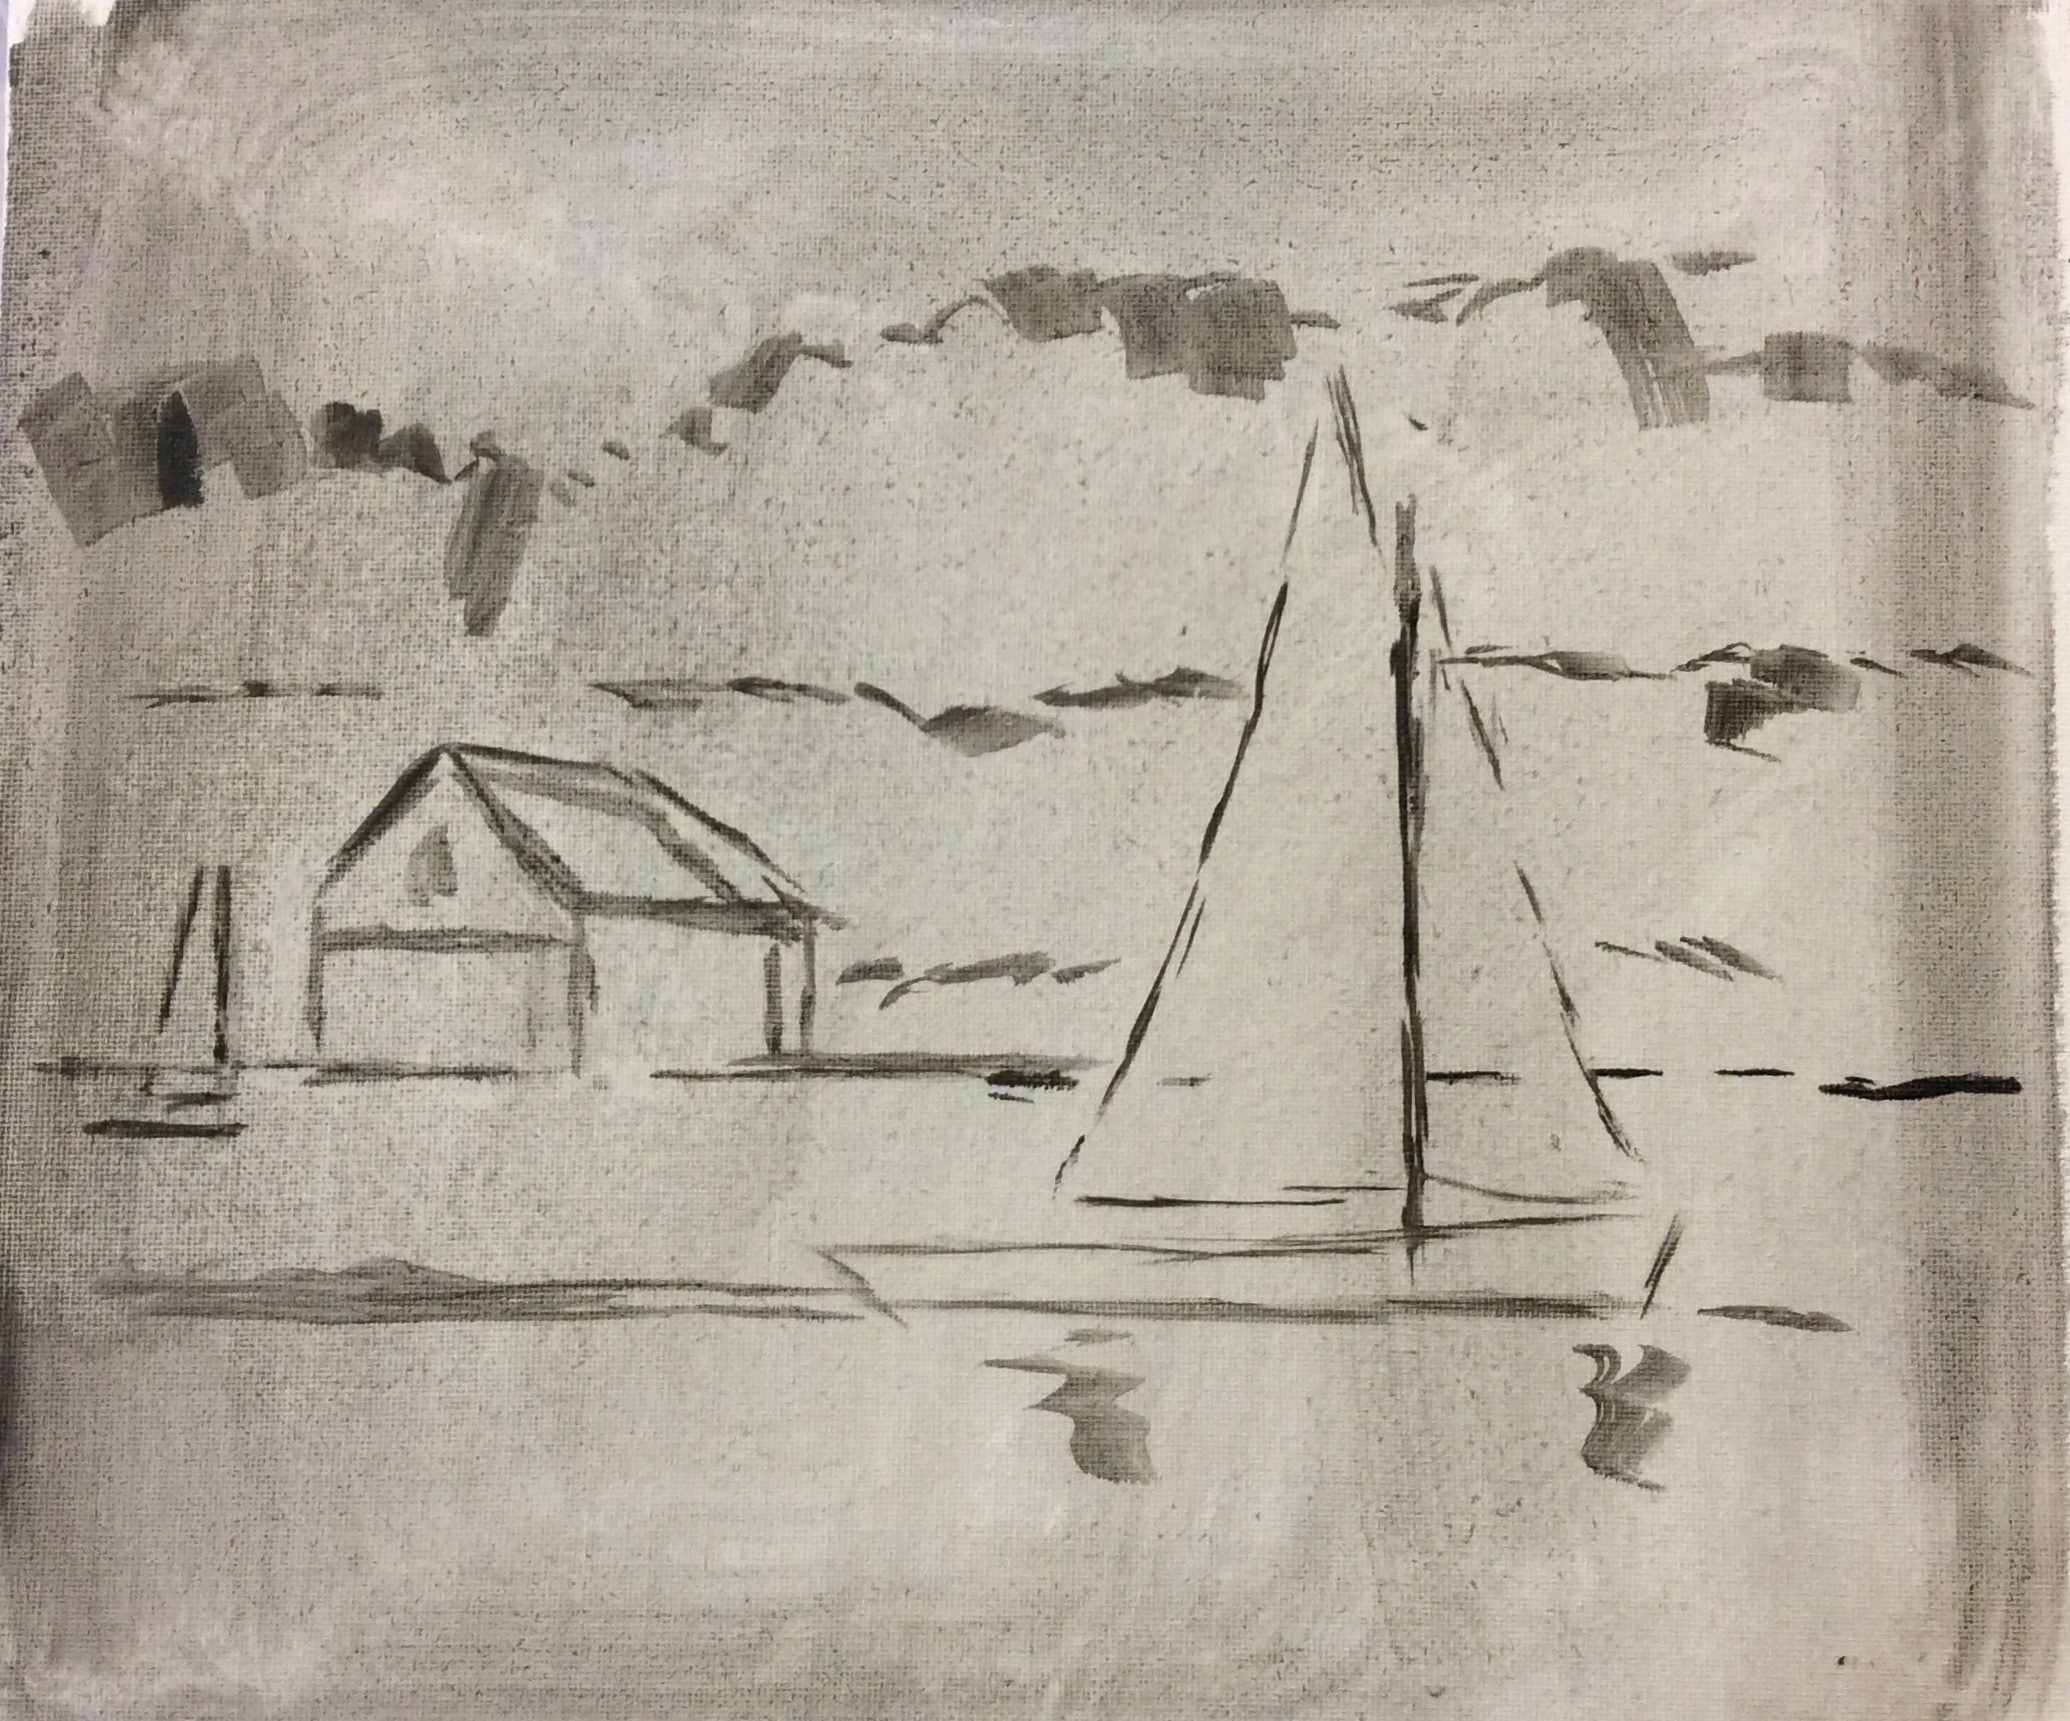 Put a little turps, about half a teaspoon, onto the palette and mix some black into it. Paint this onto the board with the Size 8 brush and spread it across the board with a piece of kitchen roll to give an even, pale grey background colour. Wipe the palette clean and remix black with a little turps to draw the edge of the water. Measure either side of your board about three inches up and draw a line using the Size 4 brush. As it’s a flat brush, you can use the edge to draw thin lines. Hold the brush lightly and don’t press or you will get a thick line. Draw the boat, boathouse and trees. Any lines you are unhappy about can be rubbed away with a piece of kitchen roll.
 We will begin to paint using neat black and very little turps, to indicate the wall of the boathouse. This is the darkest area of the painting and acts as a key for everything else.
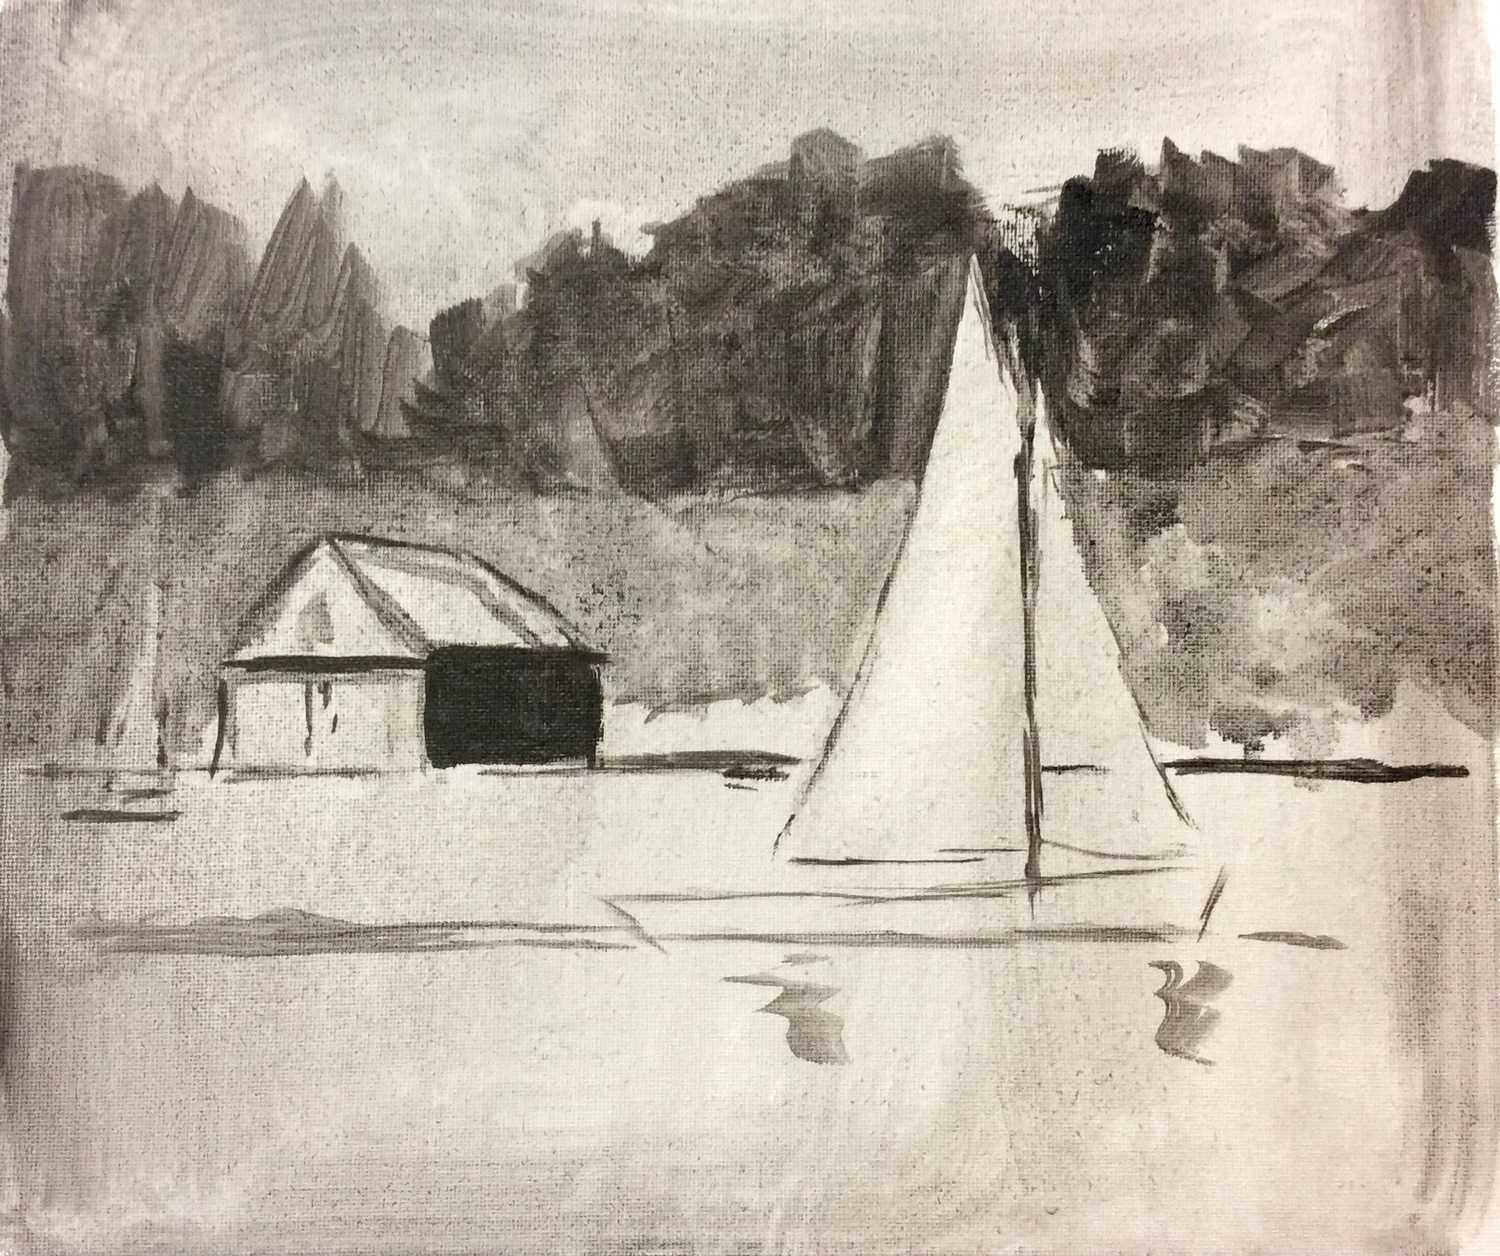
The trees, although dark, are not as dark as the boathouse. They are painted with black, diluted with a little turps to make a dark grey, using vertical and curved brushstrokes. This is an undercoat to help us get everything placed. Make a thinner turps wash with black, rather like a grey watercolour, to paint the grass bank behind the boathouse. Again, you could use vertical brushstrokes. We are leaving the boathouse roof, the sails and boat as unpainted for now, to judge the light areas against the dark.
Want to keep reading? This article is exclusive to SAA members, where you’ll also enjoy a wide range of benefits, including:
Unlock these perks and more by joining today! Become a member.
The dark walls of the boathouse and the lighter grey of the water are painted with black and turps. Use horizontal brushstrokes for the water. Again, remember…
This article is for members only. Please login or sign up to continue reading.
Notifications