
 The idea of the Wall of Positivity is to post a painting or drawing of something that is making you positive in these turbulent times.
I am personally finding that it is little things that are making me feel positive. Just now I have stretched my hand out to stroke the cat as she sits by my side while I am working. I usually work long hours in an office and the cats are used to the morning routine of food cat flap open and a quick goodbye. But now they are aware I am around and making the most of it, one in particular thinks that just because I am here that she should receive treats! Or when you move something around in the garden or add something new that they claim it as theirs instantly.
What I am getting from the current situation is how little I observe what is going on around me. Little things like watching a Dandelion wake up in the morning. Silly as it seems I had not noticed that they close up at night and open their bright yellow flowers as the sun warms them up. Or the number of different bees that visit the flowers in the space of a few minutes and how agile they are as they glide around the garden and quickly rise up and fly effortlessly over the garden fence.
So, spending more time collecting reference picture and importantly taking the time to observe what is going on around me. It is this I am finding most positive and rather than feeling negative it is inspiring my creativity as my head is filled with colour and ideas.
Here is my little sketch for the SAA Wall of Positivity, a fully awake dandelion basking in the spring sunshine.
Share with us what is keeping you positive during these unsettled times. It can be a quick sketch, painting drawing, poem or doodle lets spread positivity through our creativity.
Happy painting!
Anita
I do get a little excited when I open a new palette set. All the colours neatly lined up and asking to be used. All the 24 Derwent Inktense pan colours in one palette with a handy travel waterbrush.
Those not familiar with the Derwent Inktense range, these are wonderfully bright and vibrant pigmented colours, made using a unique formulation found across the range of Inktense Pans, Blocks and Pencils. They are water-soluble like a watercolour but once dried become permanent allowing additional layers to be applied without disturbing the previous layers.
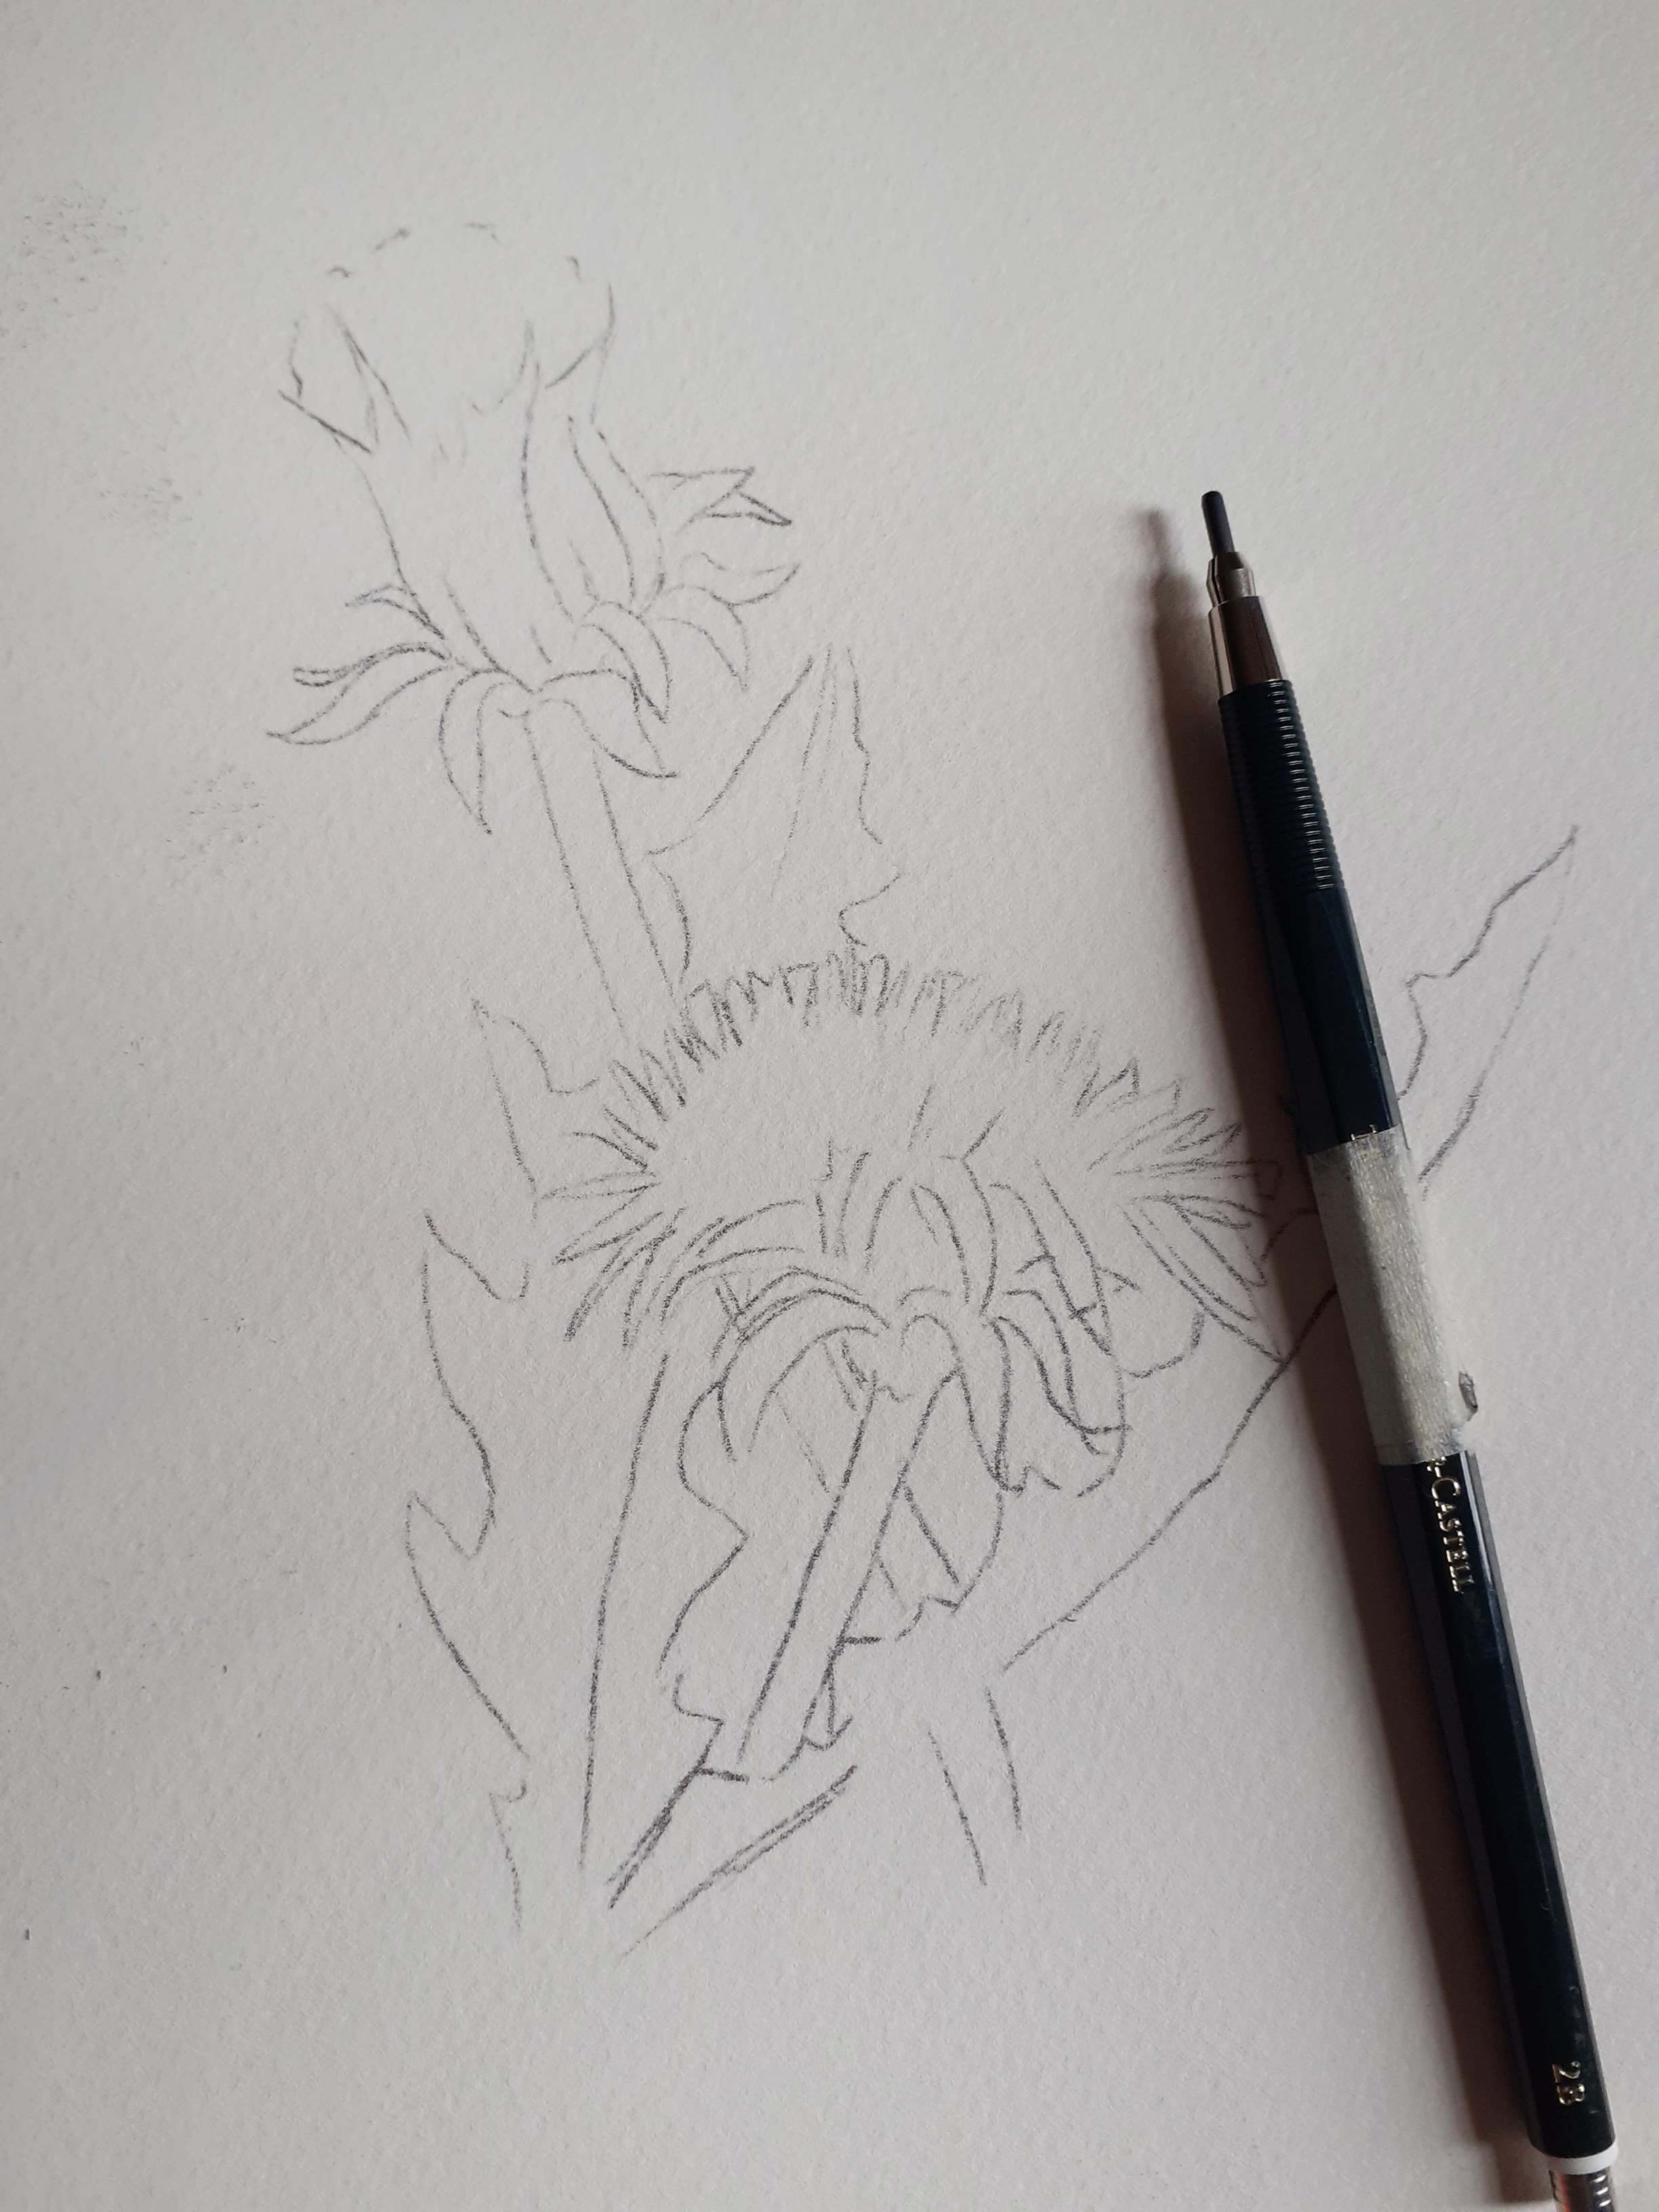
I took some photos in the garden and used interesting pieces from the different pictures to create a composition. The Inktense Pans with work on numerous surfaces but testing is important to see which surface works best for your techniques. For this painting I have used the newly introduced Derwent Inktense watercolour paper pad which has been developed to work alongside the Inktense range and is 100% cotton, 300gsm(140lb) with a Cold pressed (Not) surface. I sketched out my outline onto this.
 To start I added some bright yellow and orange to the Dandelion flower leaving some areas white for highlights. The Dandelion flower is said to represent the three celestial bodies, The sun, the Moon and the Stars. The bright yellow flower is the sun, the round white seed head is the moon and the stars are represented by the seed when they float on the wind.
Then I added some clean water to the area of the emerging fluffy seed head and dropped in a little blue and purple on to the surface. A seed can travel over five miles from original plant.
 While these areas were drying, I moved on to a bright green wash over the steams and leaves. The leaves are what give the Dandelion is names – the name comes from the French word dent de lion which means Lion’s tooth referring to the shape of the leaves. I have kept the washes a fairly light as it is easier to add colour than to take it away.
 Next, I build up the darker colours by adding a darker green, blue and purple. Adding these darks in really helps to push the yellow of the flower forward and provides additional depth to the painting so it doesn’t look flat.
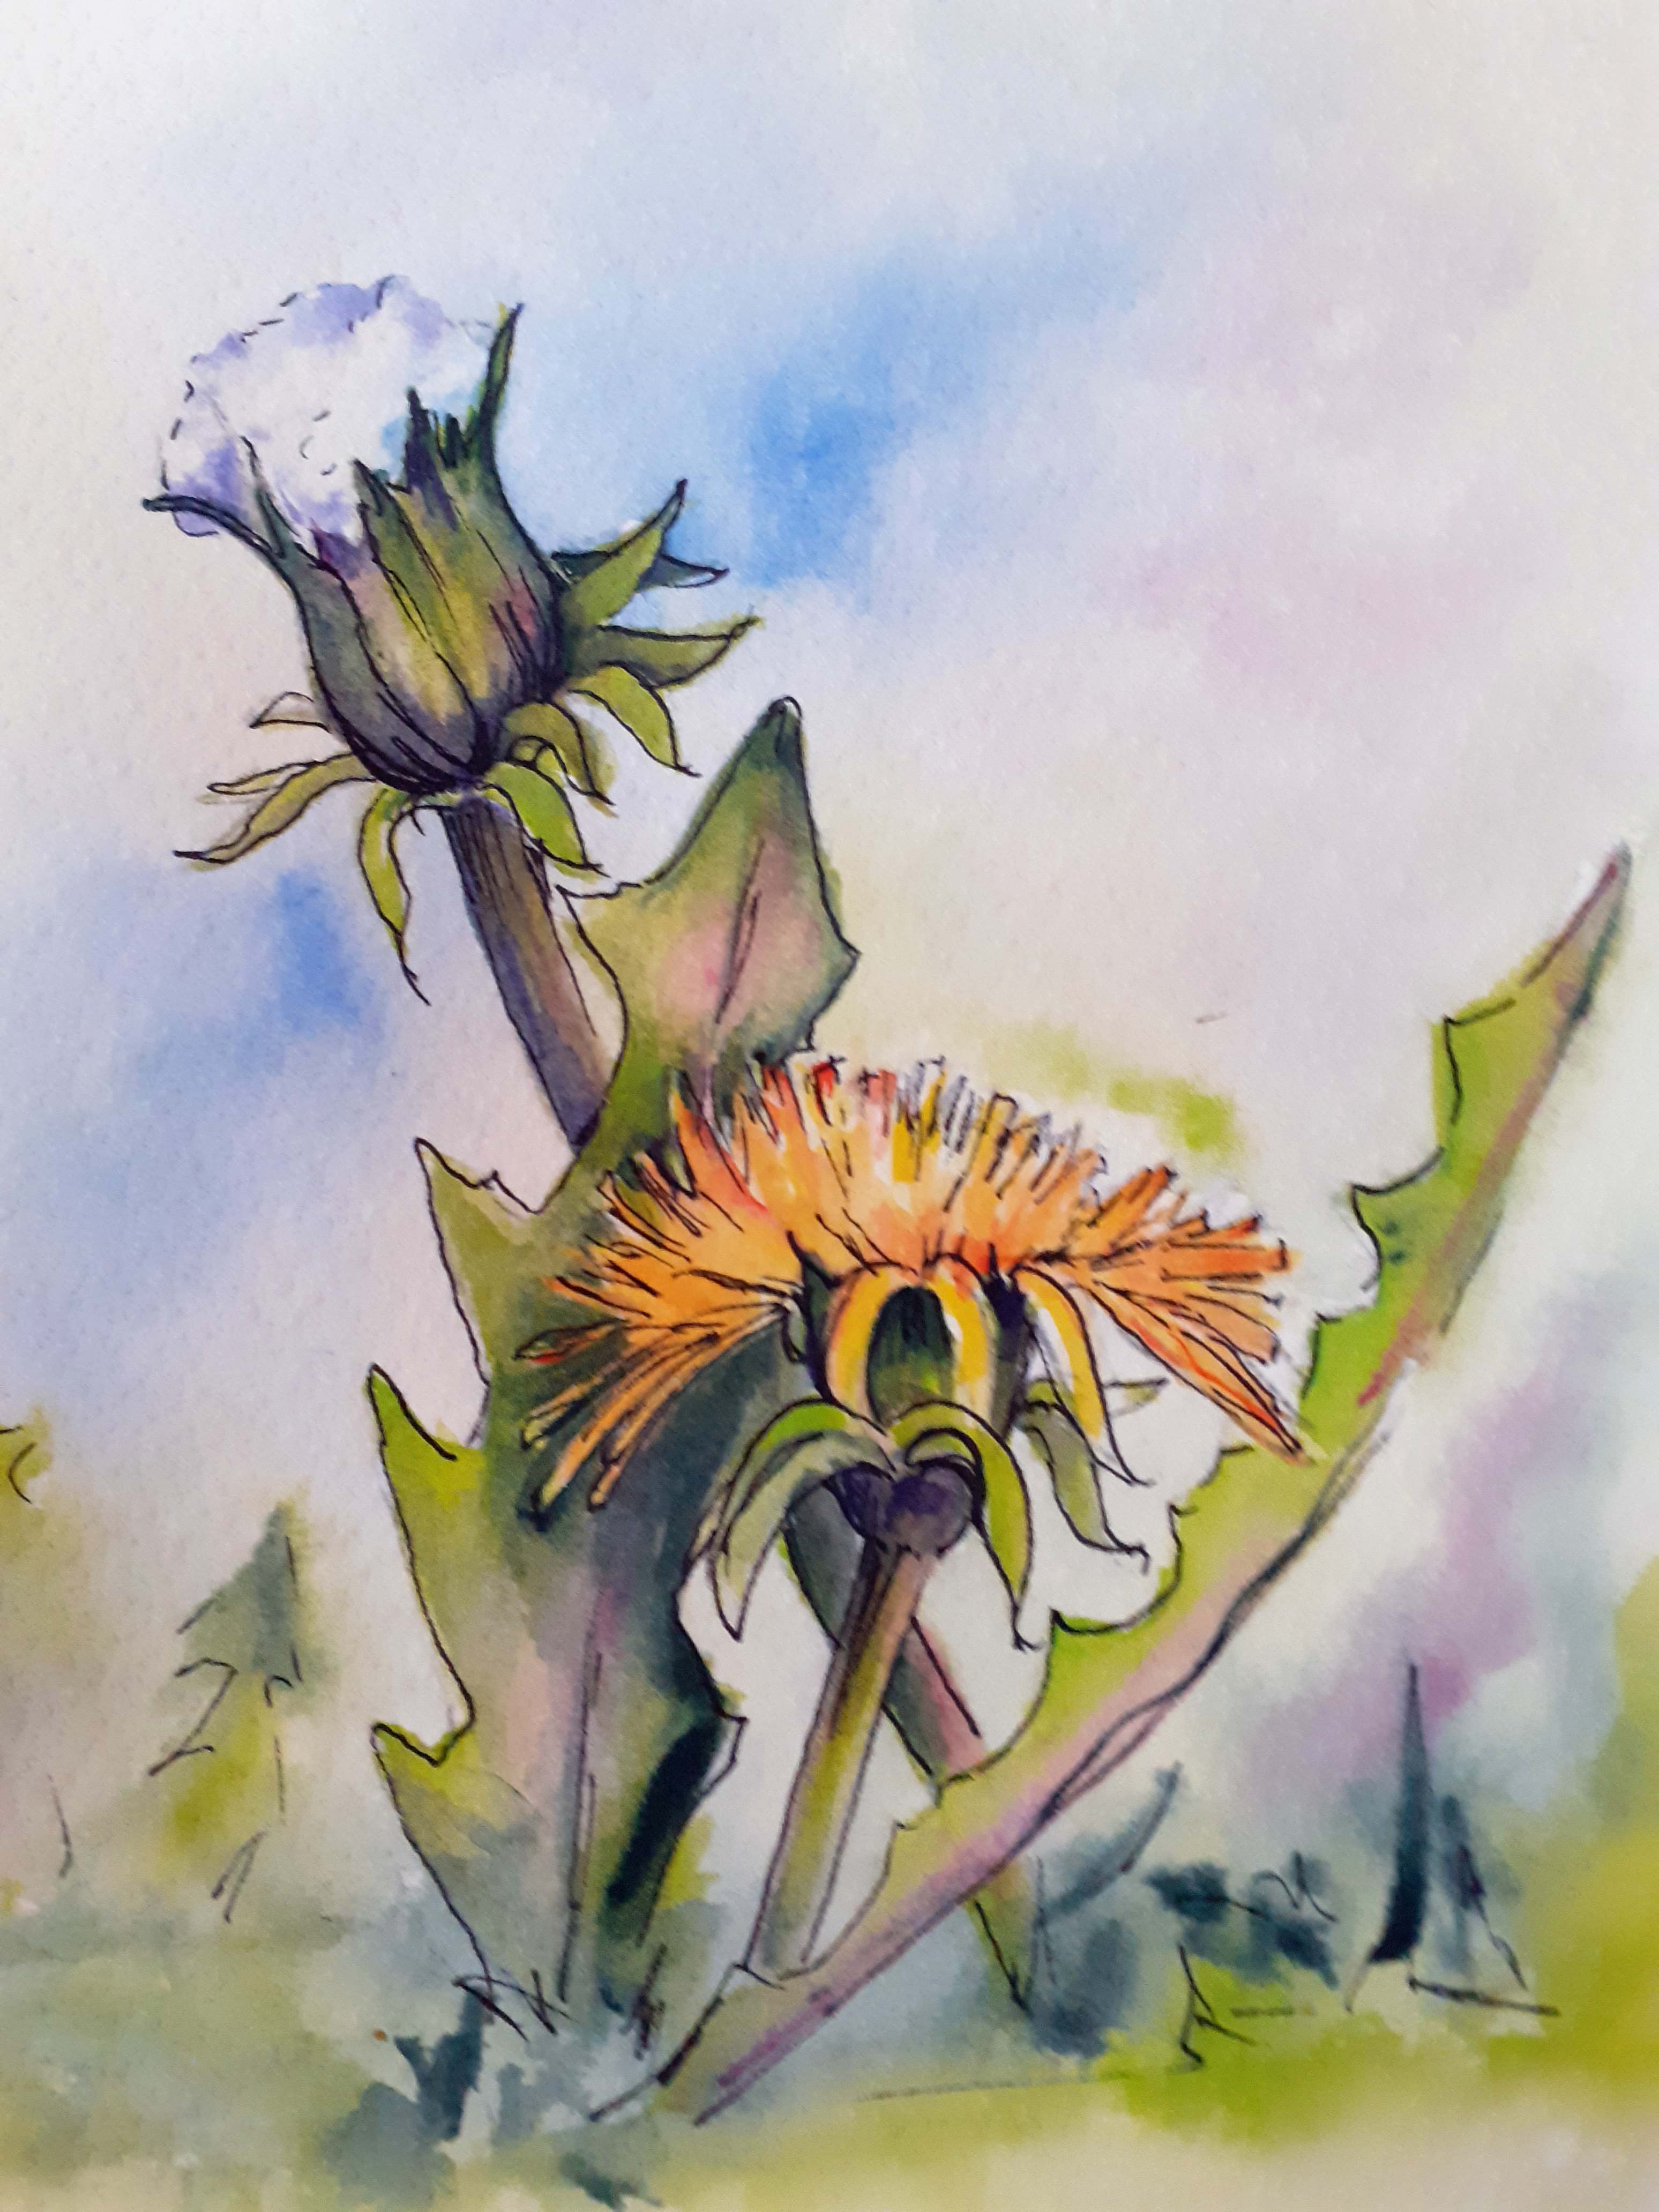 I added a little more orange to the tips of dandelion flower heads. As Inktense is permanent when dry you can wet the whole of the paper without disturbing the painting. Using a wet into wet technique I dropped colour into the background using colours used in the original image, creating harmony throughout the painting and added detail into the foreground. Once the whole painting had dried then I use a permanent pen to add greater definition to the flower adding the finishing touches to the pen and wash dandelion painting.
Why not have ago with your own materials either using your own images or the downloadable outline sketch create from this painting.
If you’d like to see Anita in action, you can do so by clicking here.