Draw out your shape on to the watercolour paper, this can either be freehand or locate a royalty free image to trace from.
 I have used two turquoises (Kingman Green Turquoise and Cobalt Turquoise) but you can use whatever similar colours you have available, and a little of the Opera Pink. I tend to put the colour of the main object into its surroundings so there is cohesion between the two. Spray the paper with plain water first and drop the colours into the water with the largest brush, allowing them to drip and run. Pick up your paper and move it around to encourage the colour to spread.
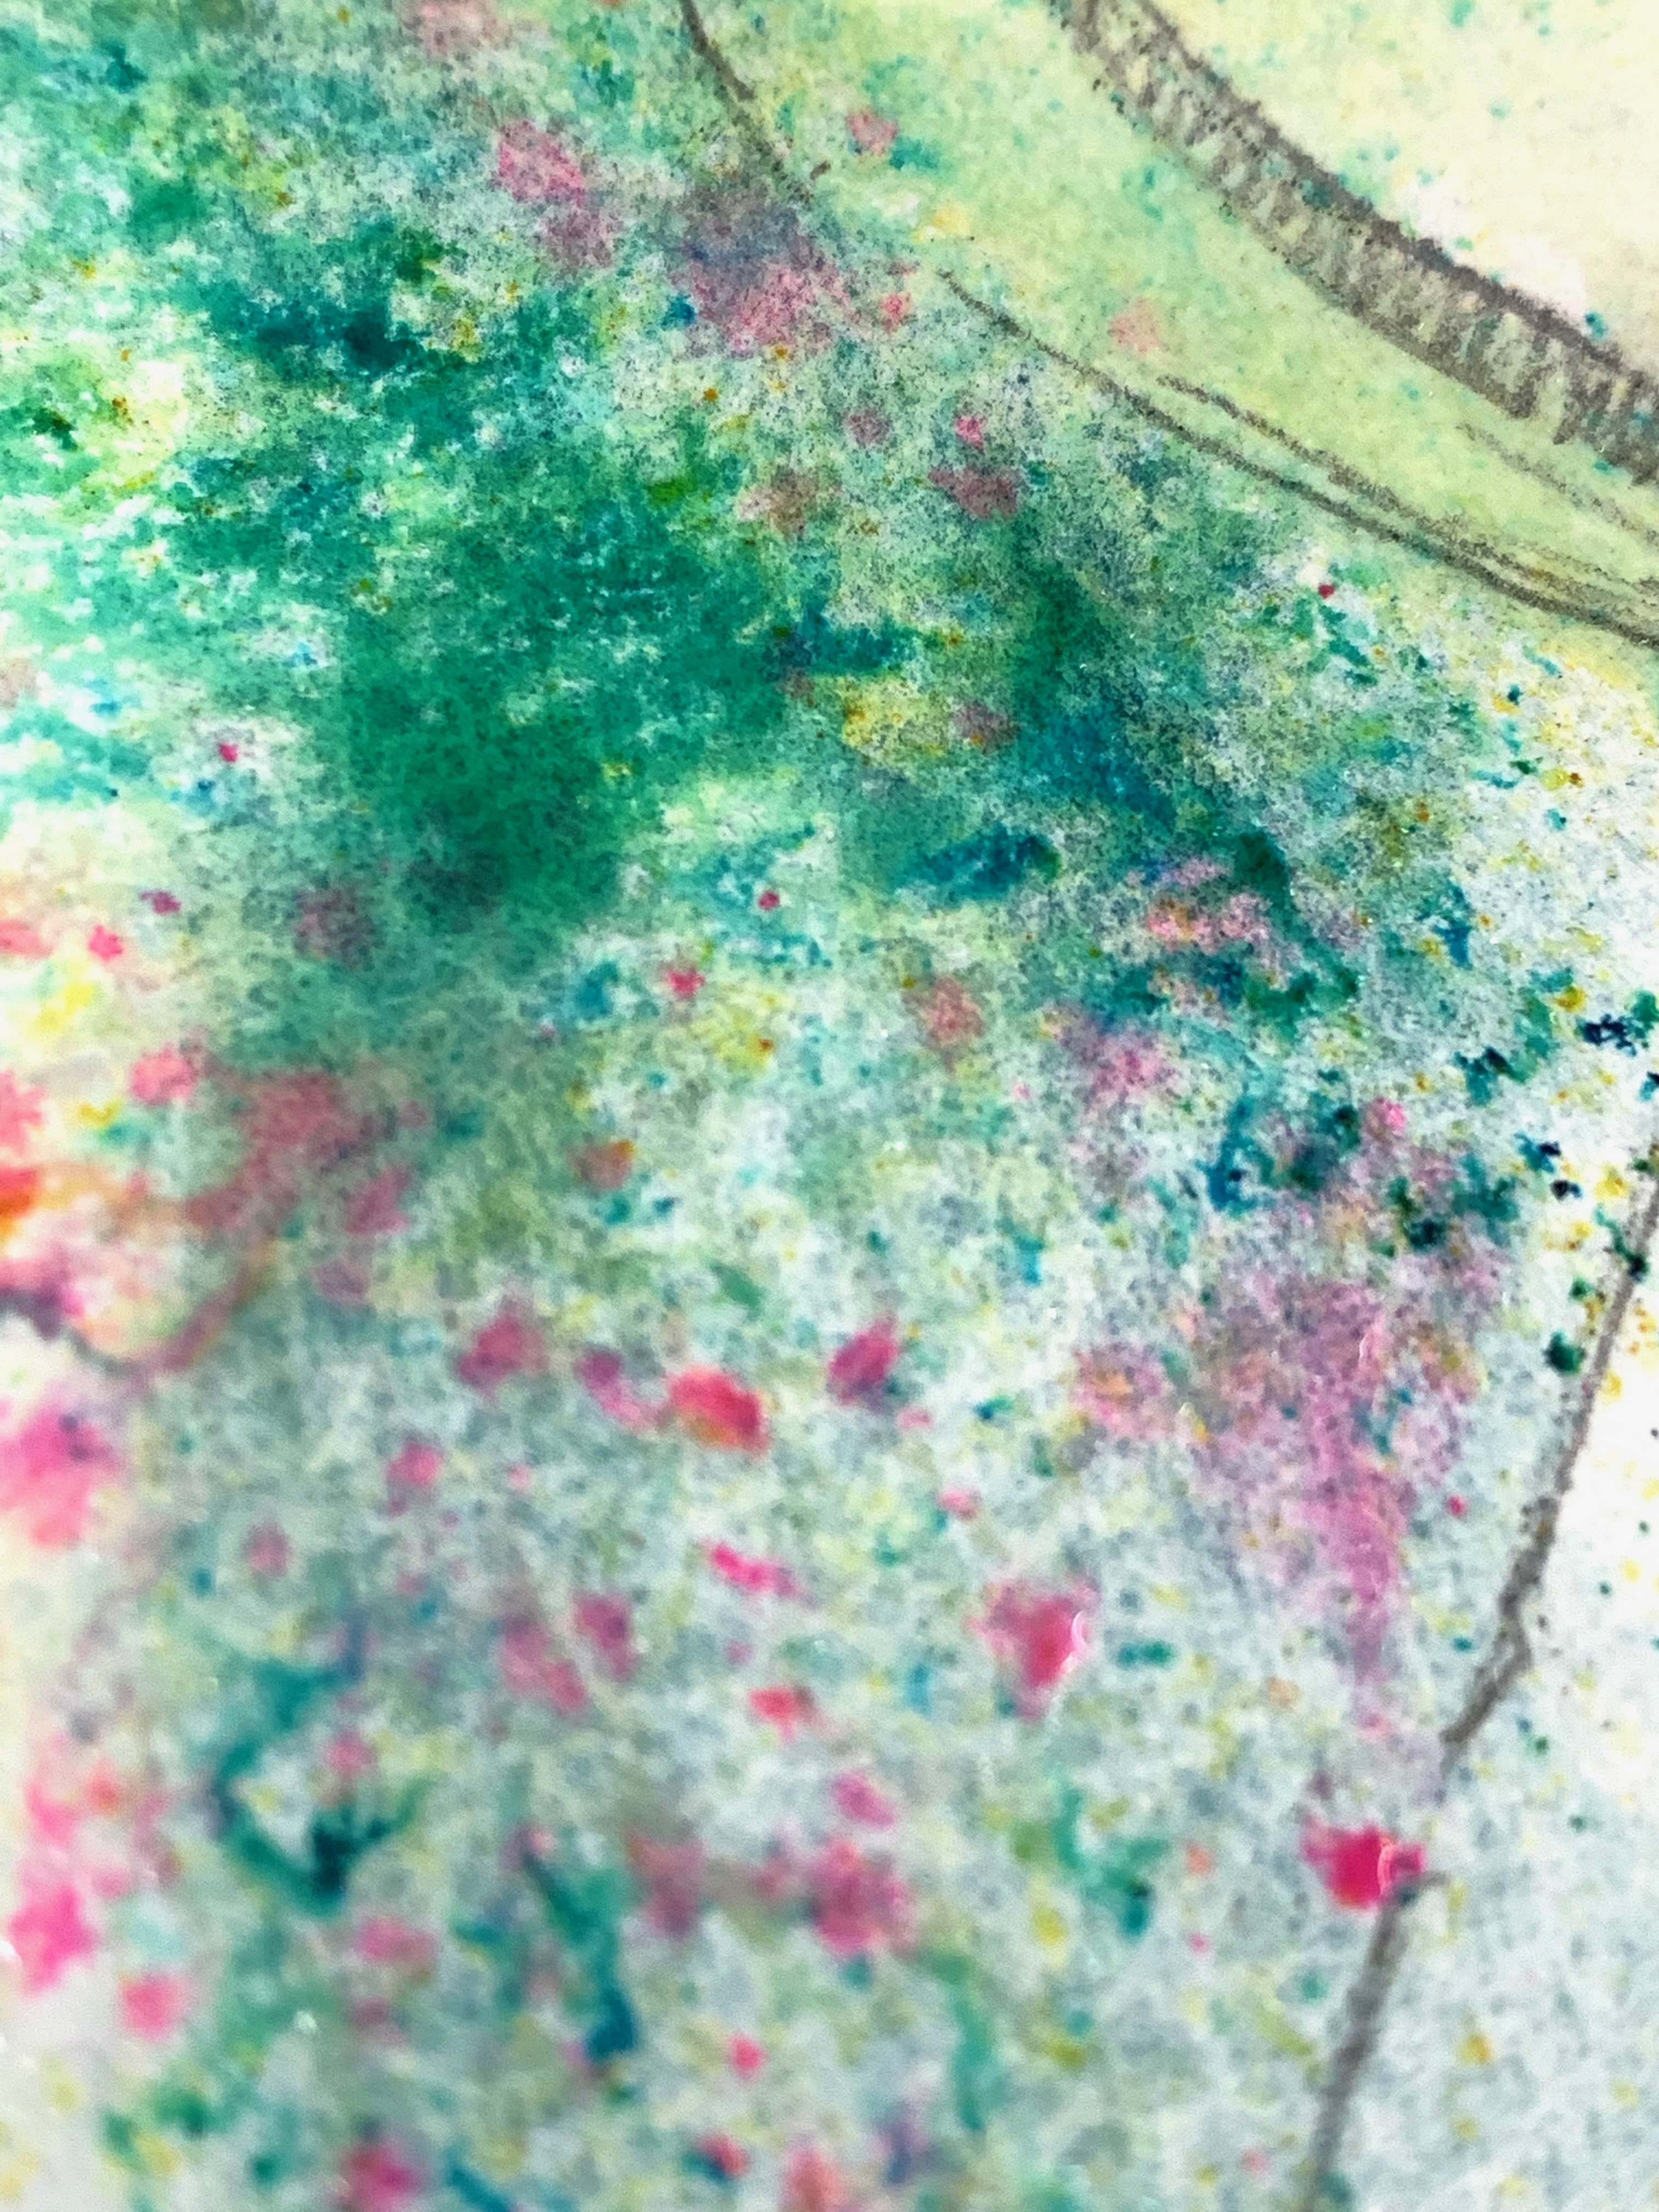 To give your subject texture and movement, Brusho is a fantastic product to achieve these effects. Use a wooden coffee stirrer, dipped into the powder to dust a tiny amount on the background. If it doesn’t spread as much as you would like, use the spray bottle to encourage it further. Don’t worry if the Brusho goes on to the Flamingo, it will give a great texture underneath your subsequent layers.
 Loosely block in the main colours on the flamingo by combining the Opera Pink and Burnt Sienna Light, again allowing them to drip and run without too much agenda. If you find a size 12 brush is a little big for this, drop it down a size so that you feel more in control of where you are placing the colour.
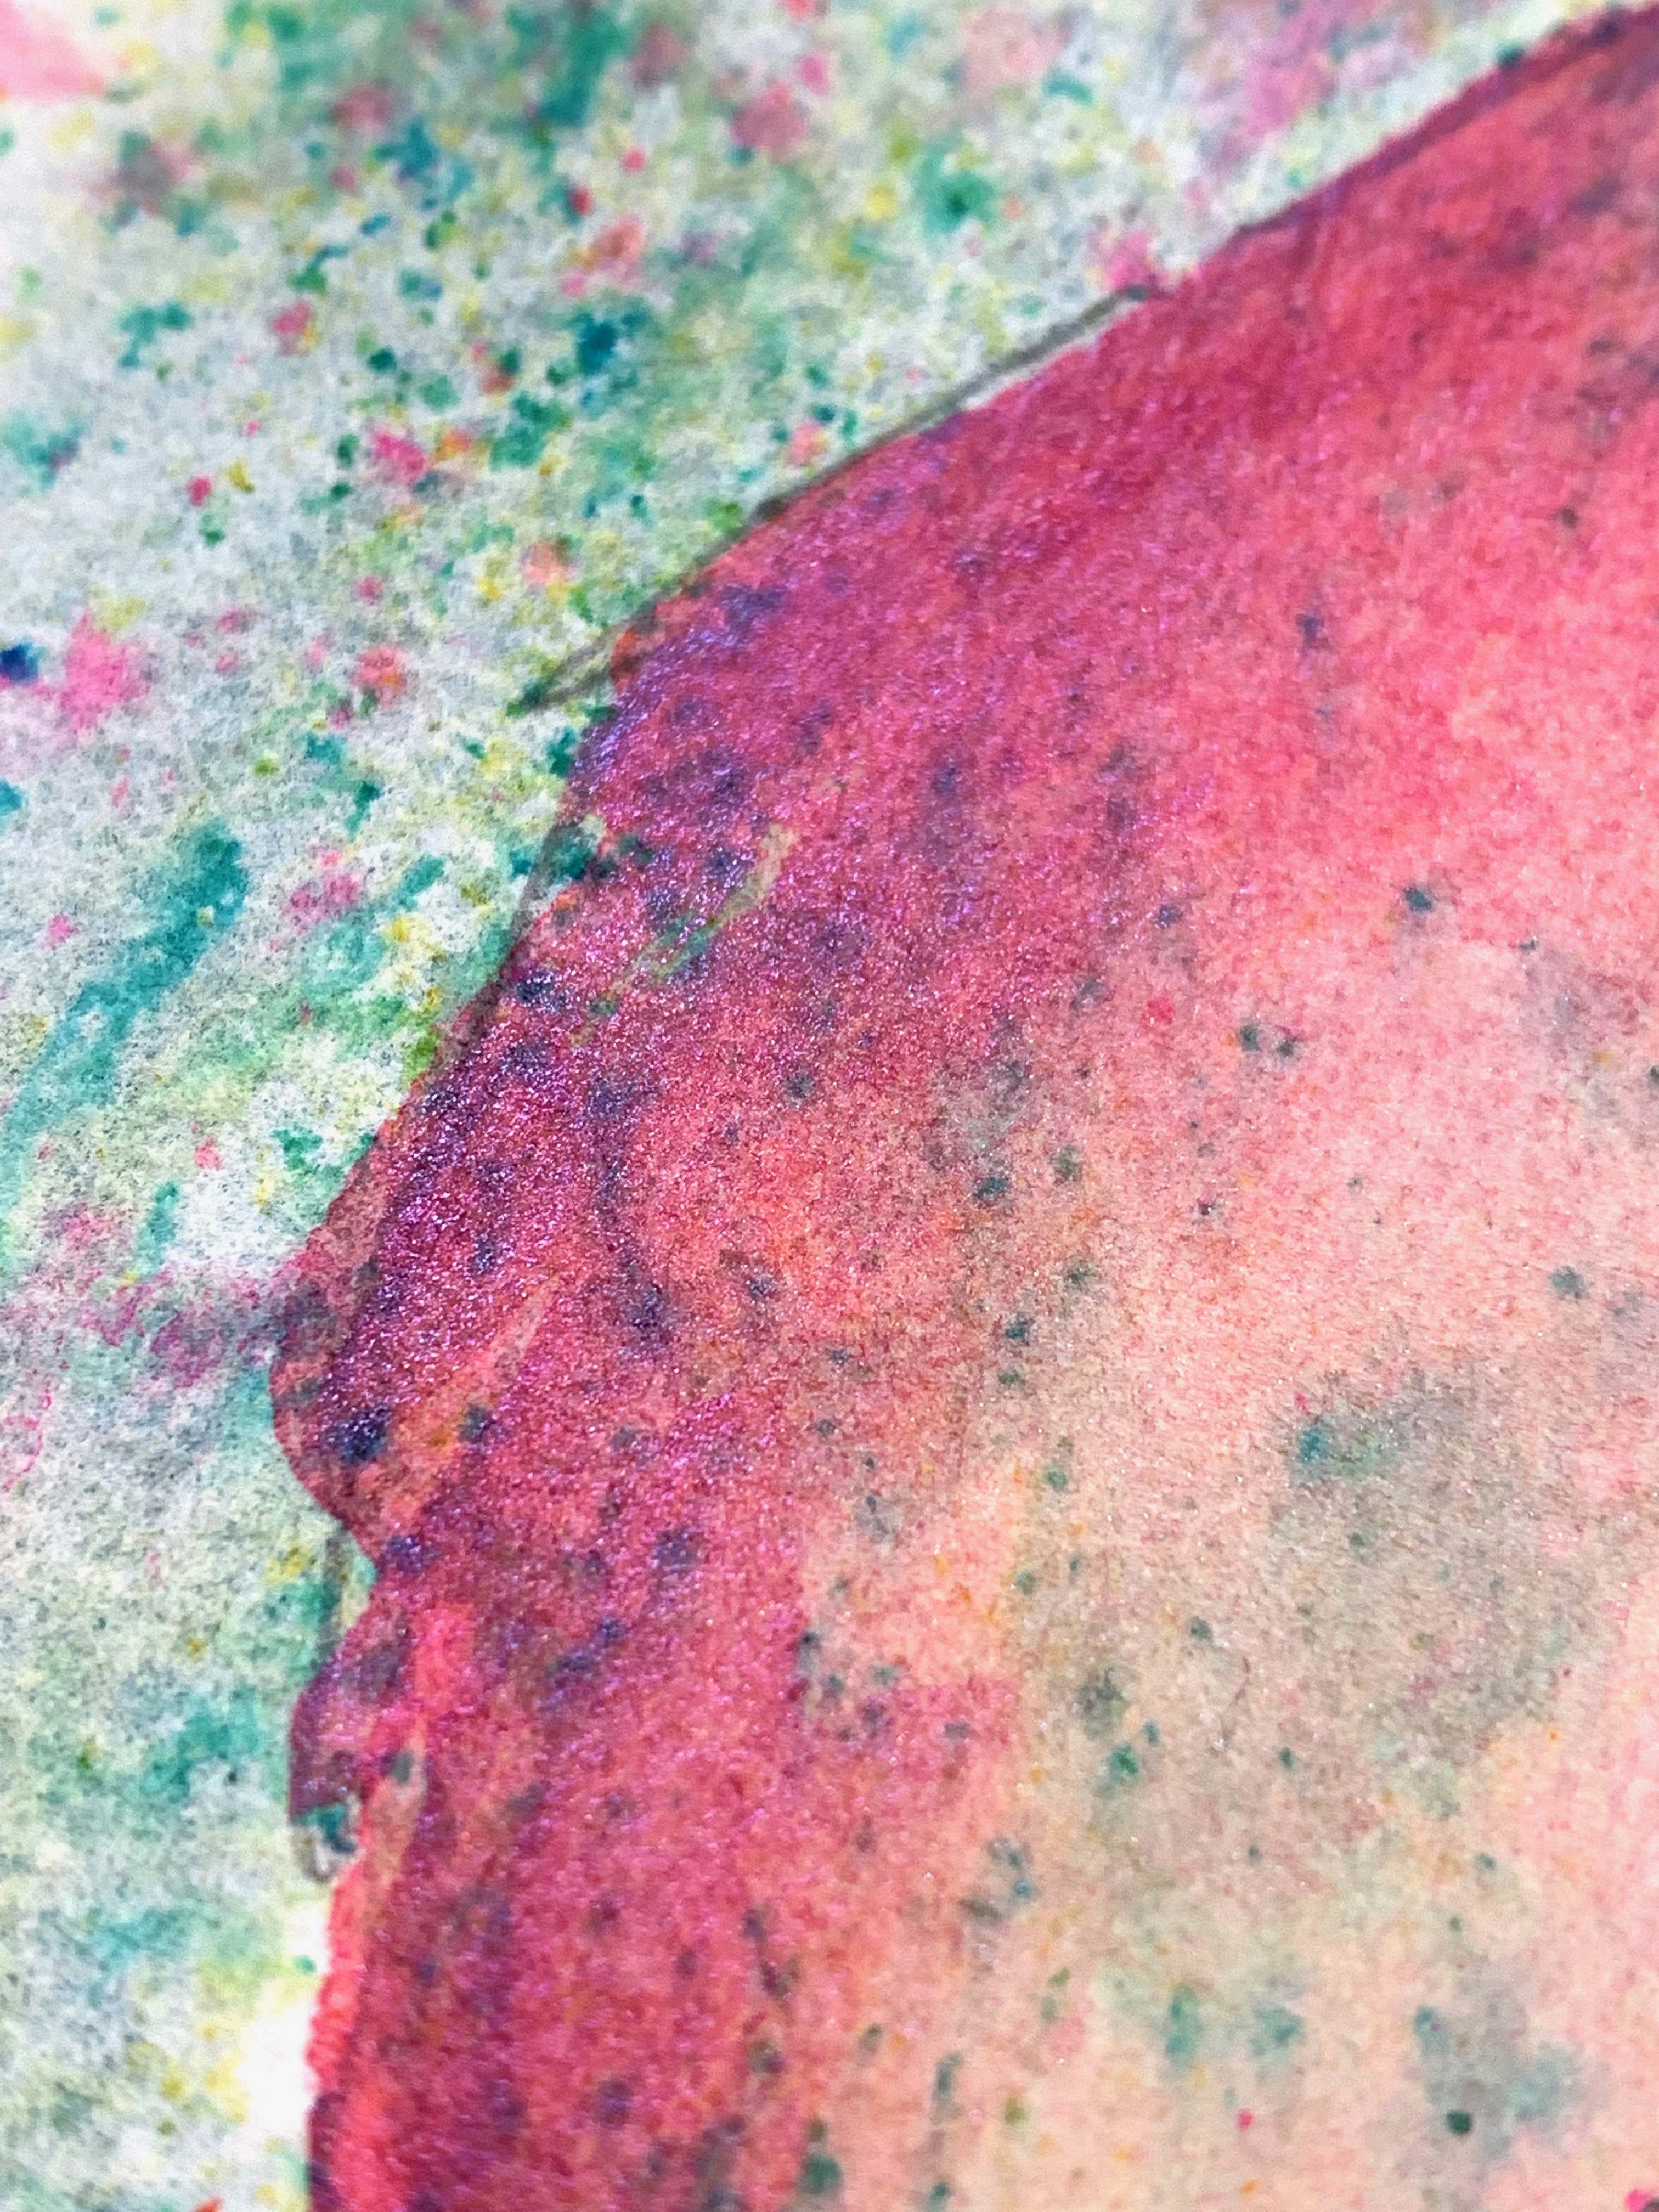 Give your subject a shimmer with PearlEx, a pearlized powder that turns into watercolour paint when mixed with powdered Gum Arabic. It won’t be metallic but will give the illusion of the sheen found on bird feathers. As PearlEx produce a colour called Flamingo Pink, who am I to argue?
If you find that your subject could do with a little more shaping, a few thin washes of Lunar Black will help to boost the shadows. A size 6 brush can give any detail to these shadows if a larger brush is a little scary.
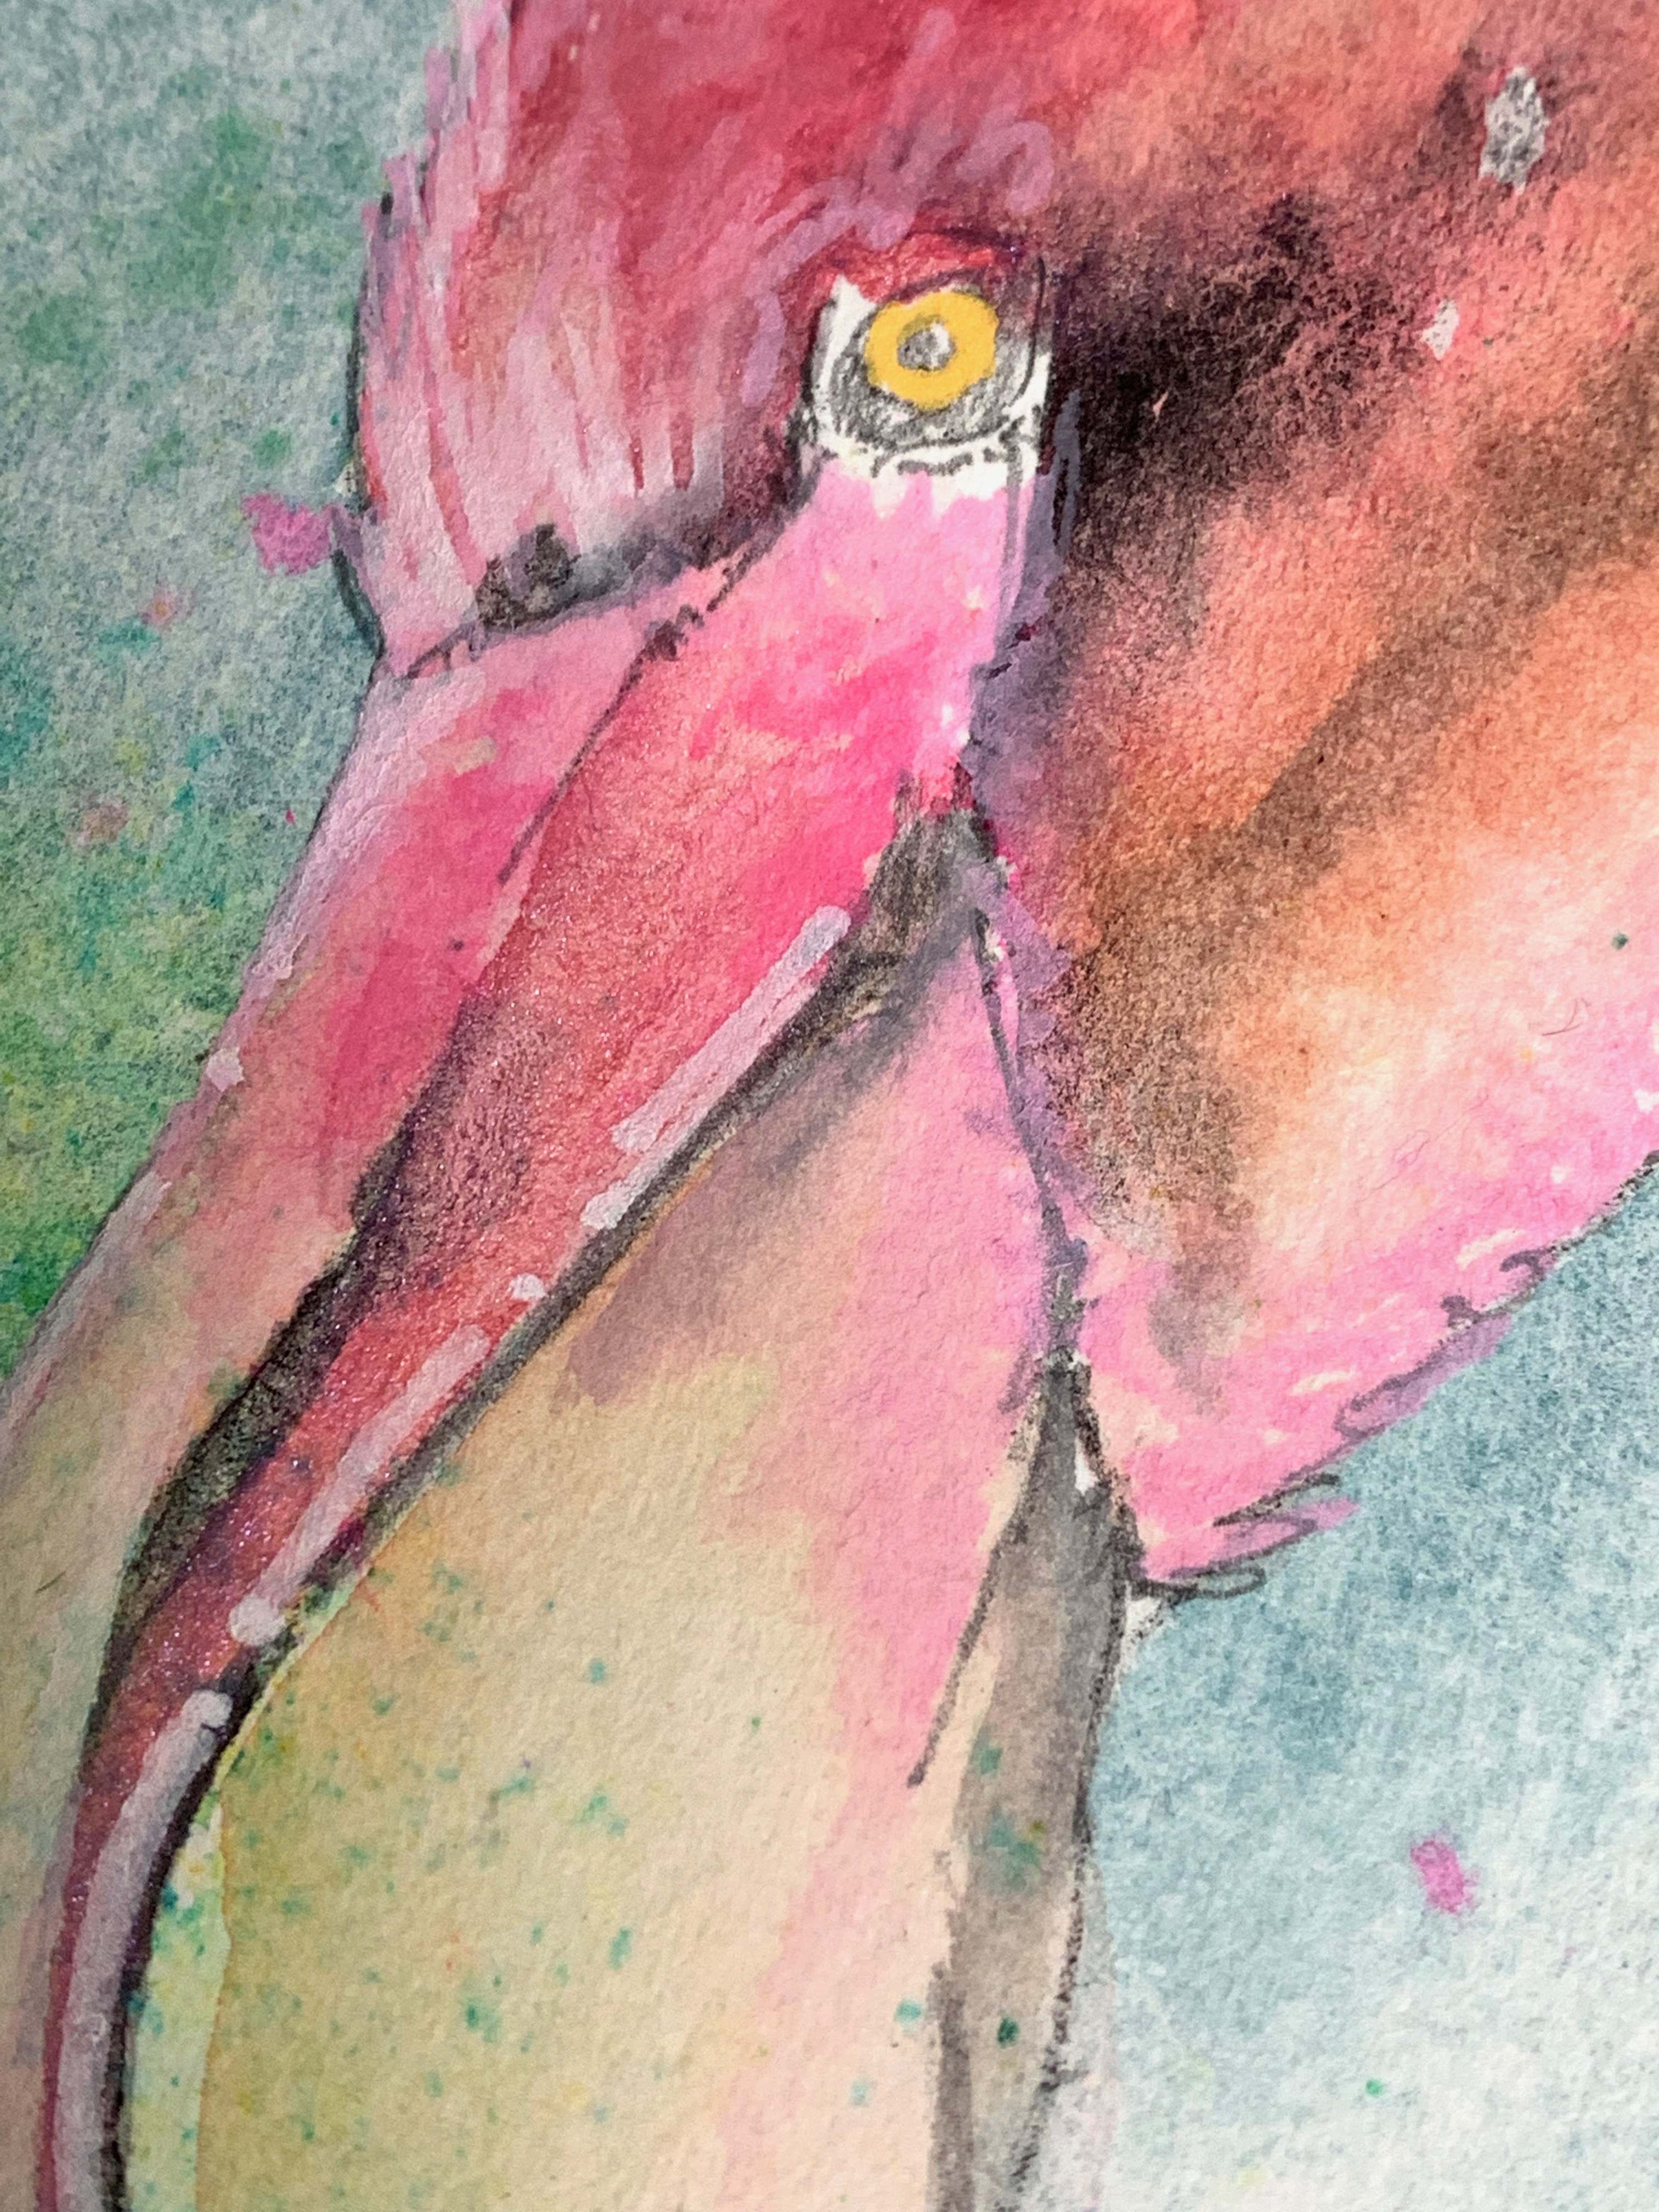 Posca pens are water soluble when wet and waterproof when dry which allows you to draw with them and blend with a damp brush. They are great for layering up on top of watercolour to give definition and colour due to the many useful colours that they produce. Here I used them to define areas around the eye and beak plus I started to give the feathers a little more texture and tidy up any areas that I felt were too loose and scrappy.
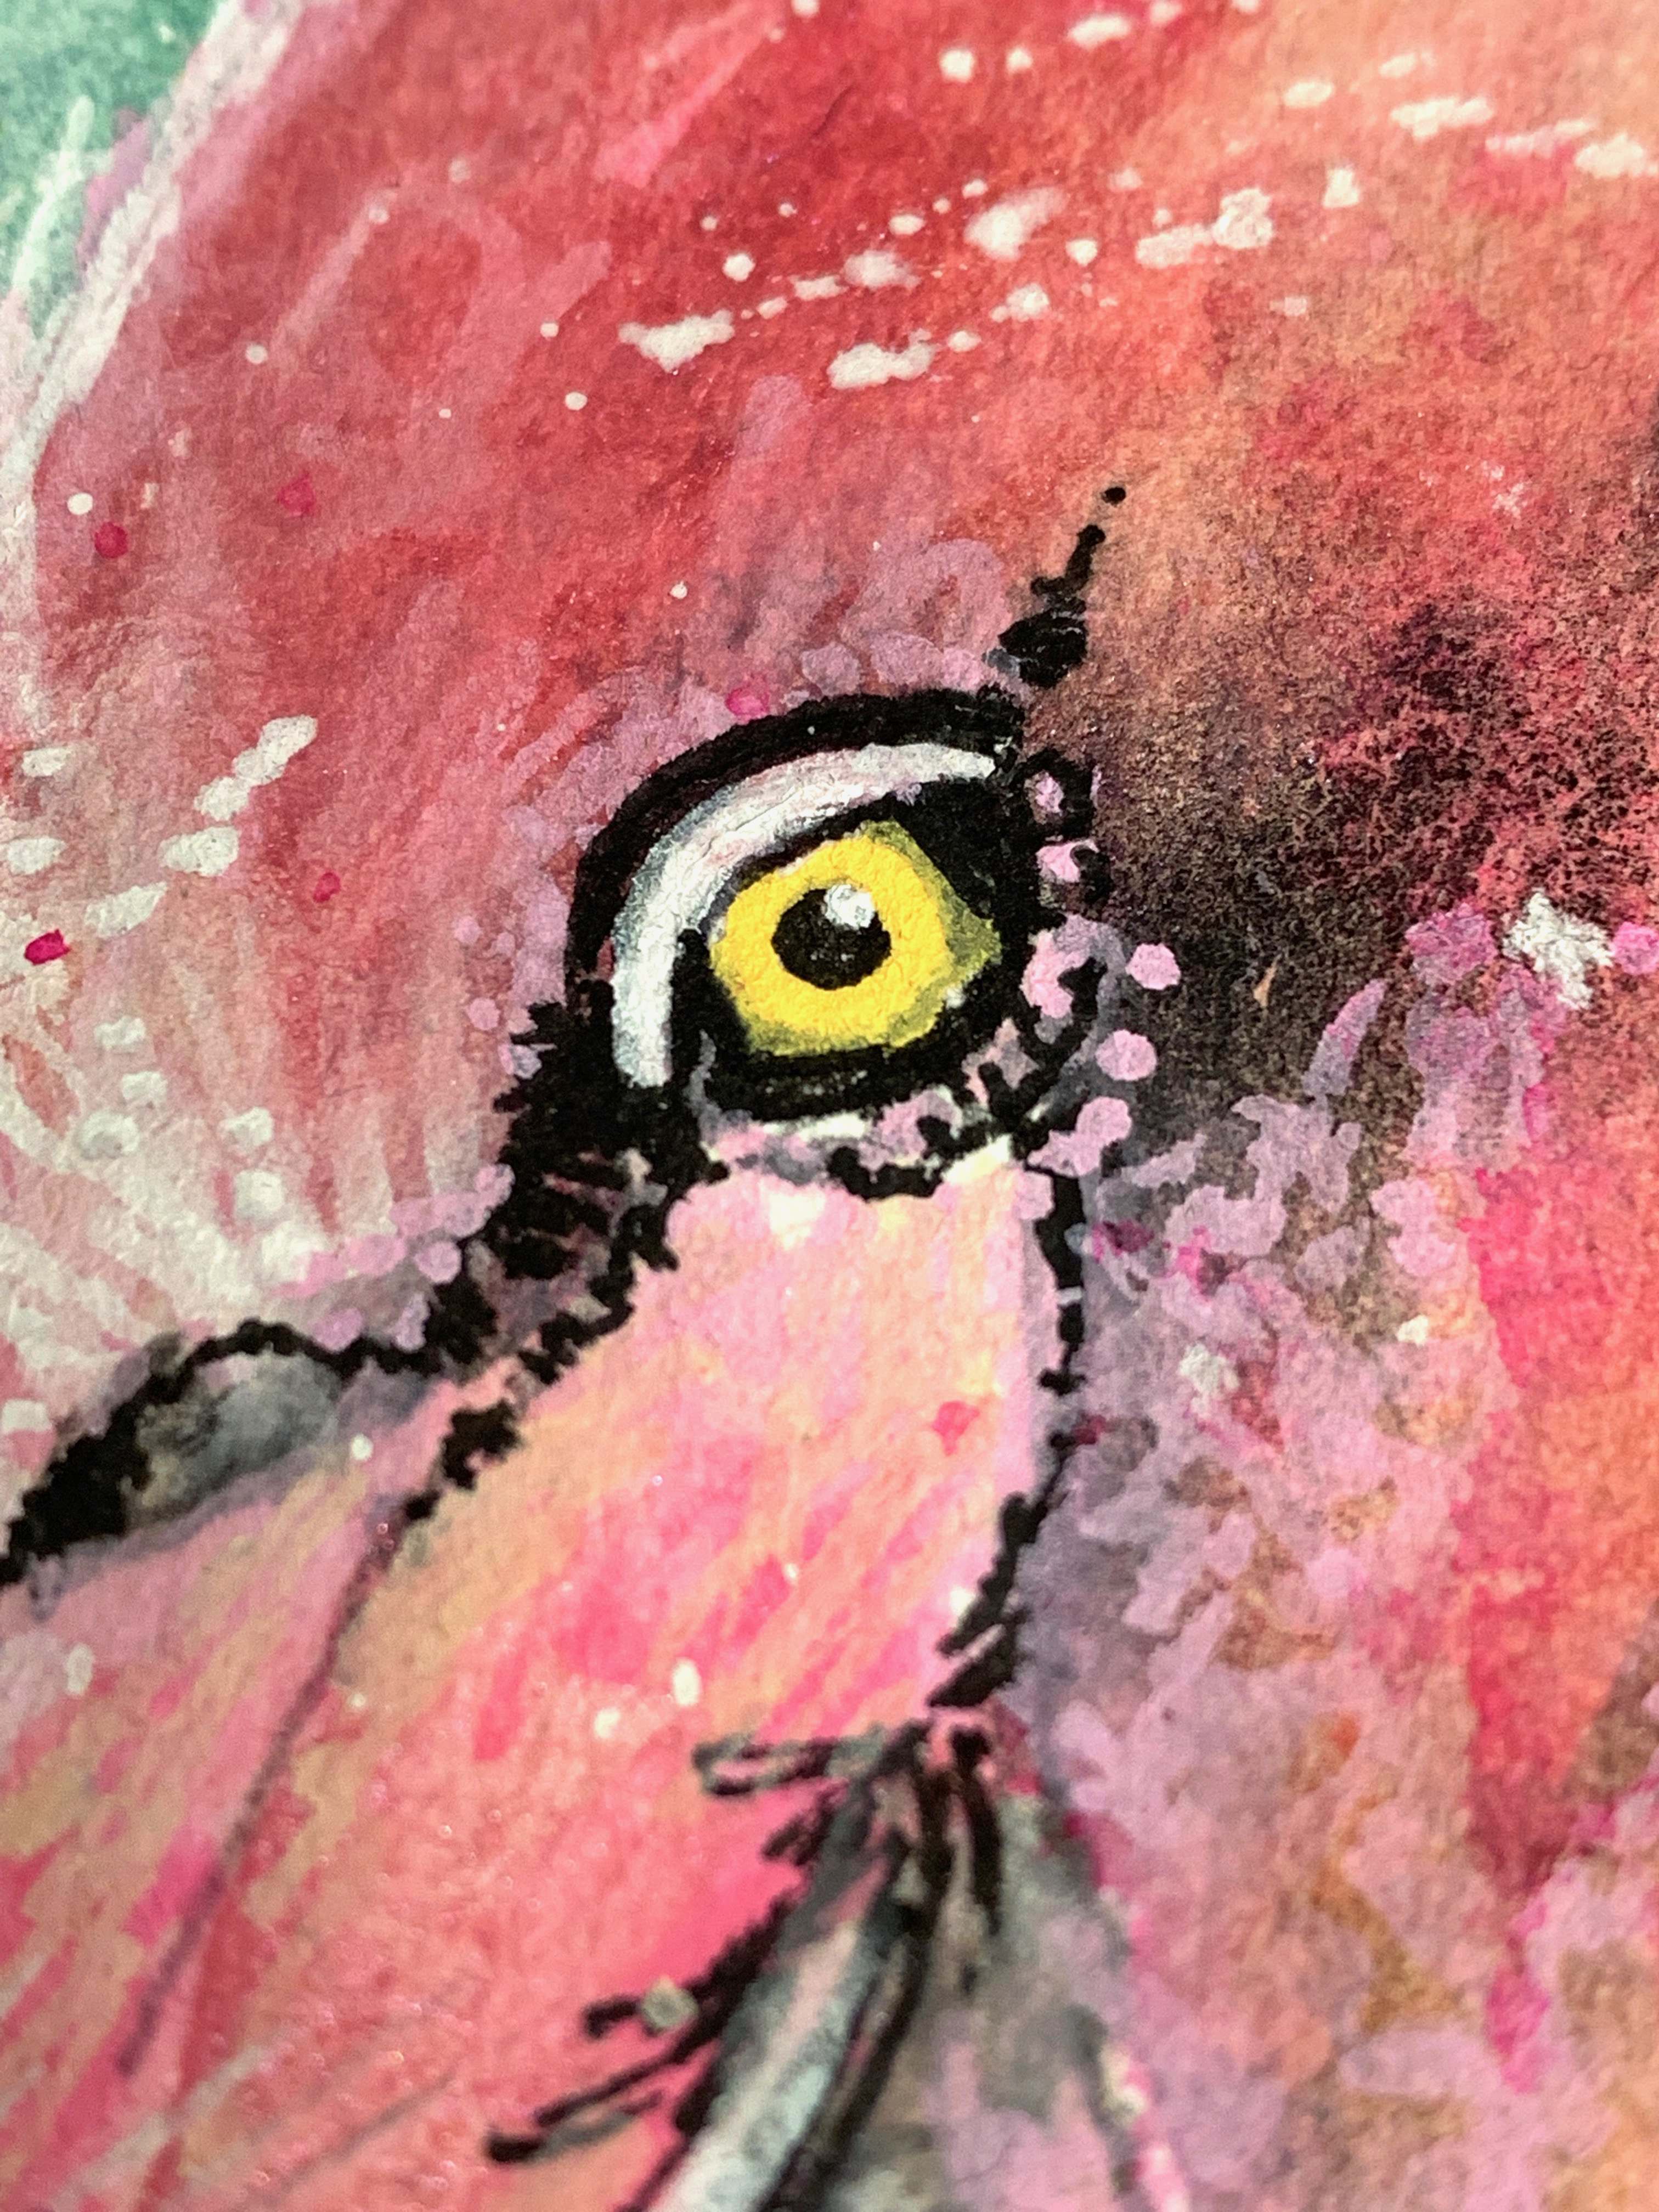 Before, during and after using the Posca pens, I also included the use of a fine black sketching pen (waterproof) to add the really fine detail to the eye and beak area. It is by far the easiest way to achieve the depth and precision required.
If you feel that the pale feather areas are getting lost, darken up the background with more of the Kingman Green Turquoise, blending it out with water to soften any edges.
 As a final flourish, I masked off areas of the painting with kitchen roll and flicked or ‘spattered’ both Opera Pink and a little white gouache on the feather areas to create texture. This technique always helps me to feel like the painting is complete and to not interfere with it any further.