
Explore thousands of art supplies in the SAA Shop. Whether you need to top up your watercolour paints, refresh your brushes, or treat yourself to a new easel, you’re sure to find just what you need in the SAA shop. Plus don’t forget FREE DELIVERY On All UK Orders For SAA Members.
Shop Winsor and Newton Artists’ Oils

An under-drawing is a great tool to help you create structure in your piece. Tape down the edges of your page and draw your subject. Here I used a black colouring pencil, paying close attention to proportions and composition. Once you’re happy, fix your drawing in place with a light spray of fixative and you’re ready to tone the paper with acrylic paint. The purpose of this is to create a mid-tone, rather than working from white: a neutral value will help you see your colours accurately. Here, I chose a mid-purple. Dilute your chosen colour with water and brush it over your drawing, making sure the paint is translucent enough to let the drawing show through. Leave to dry
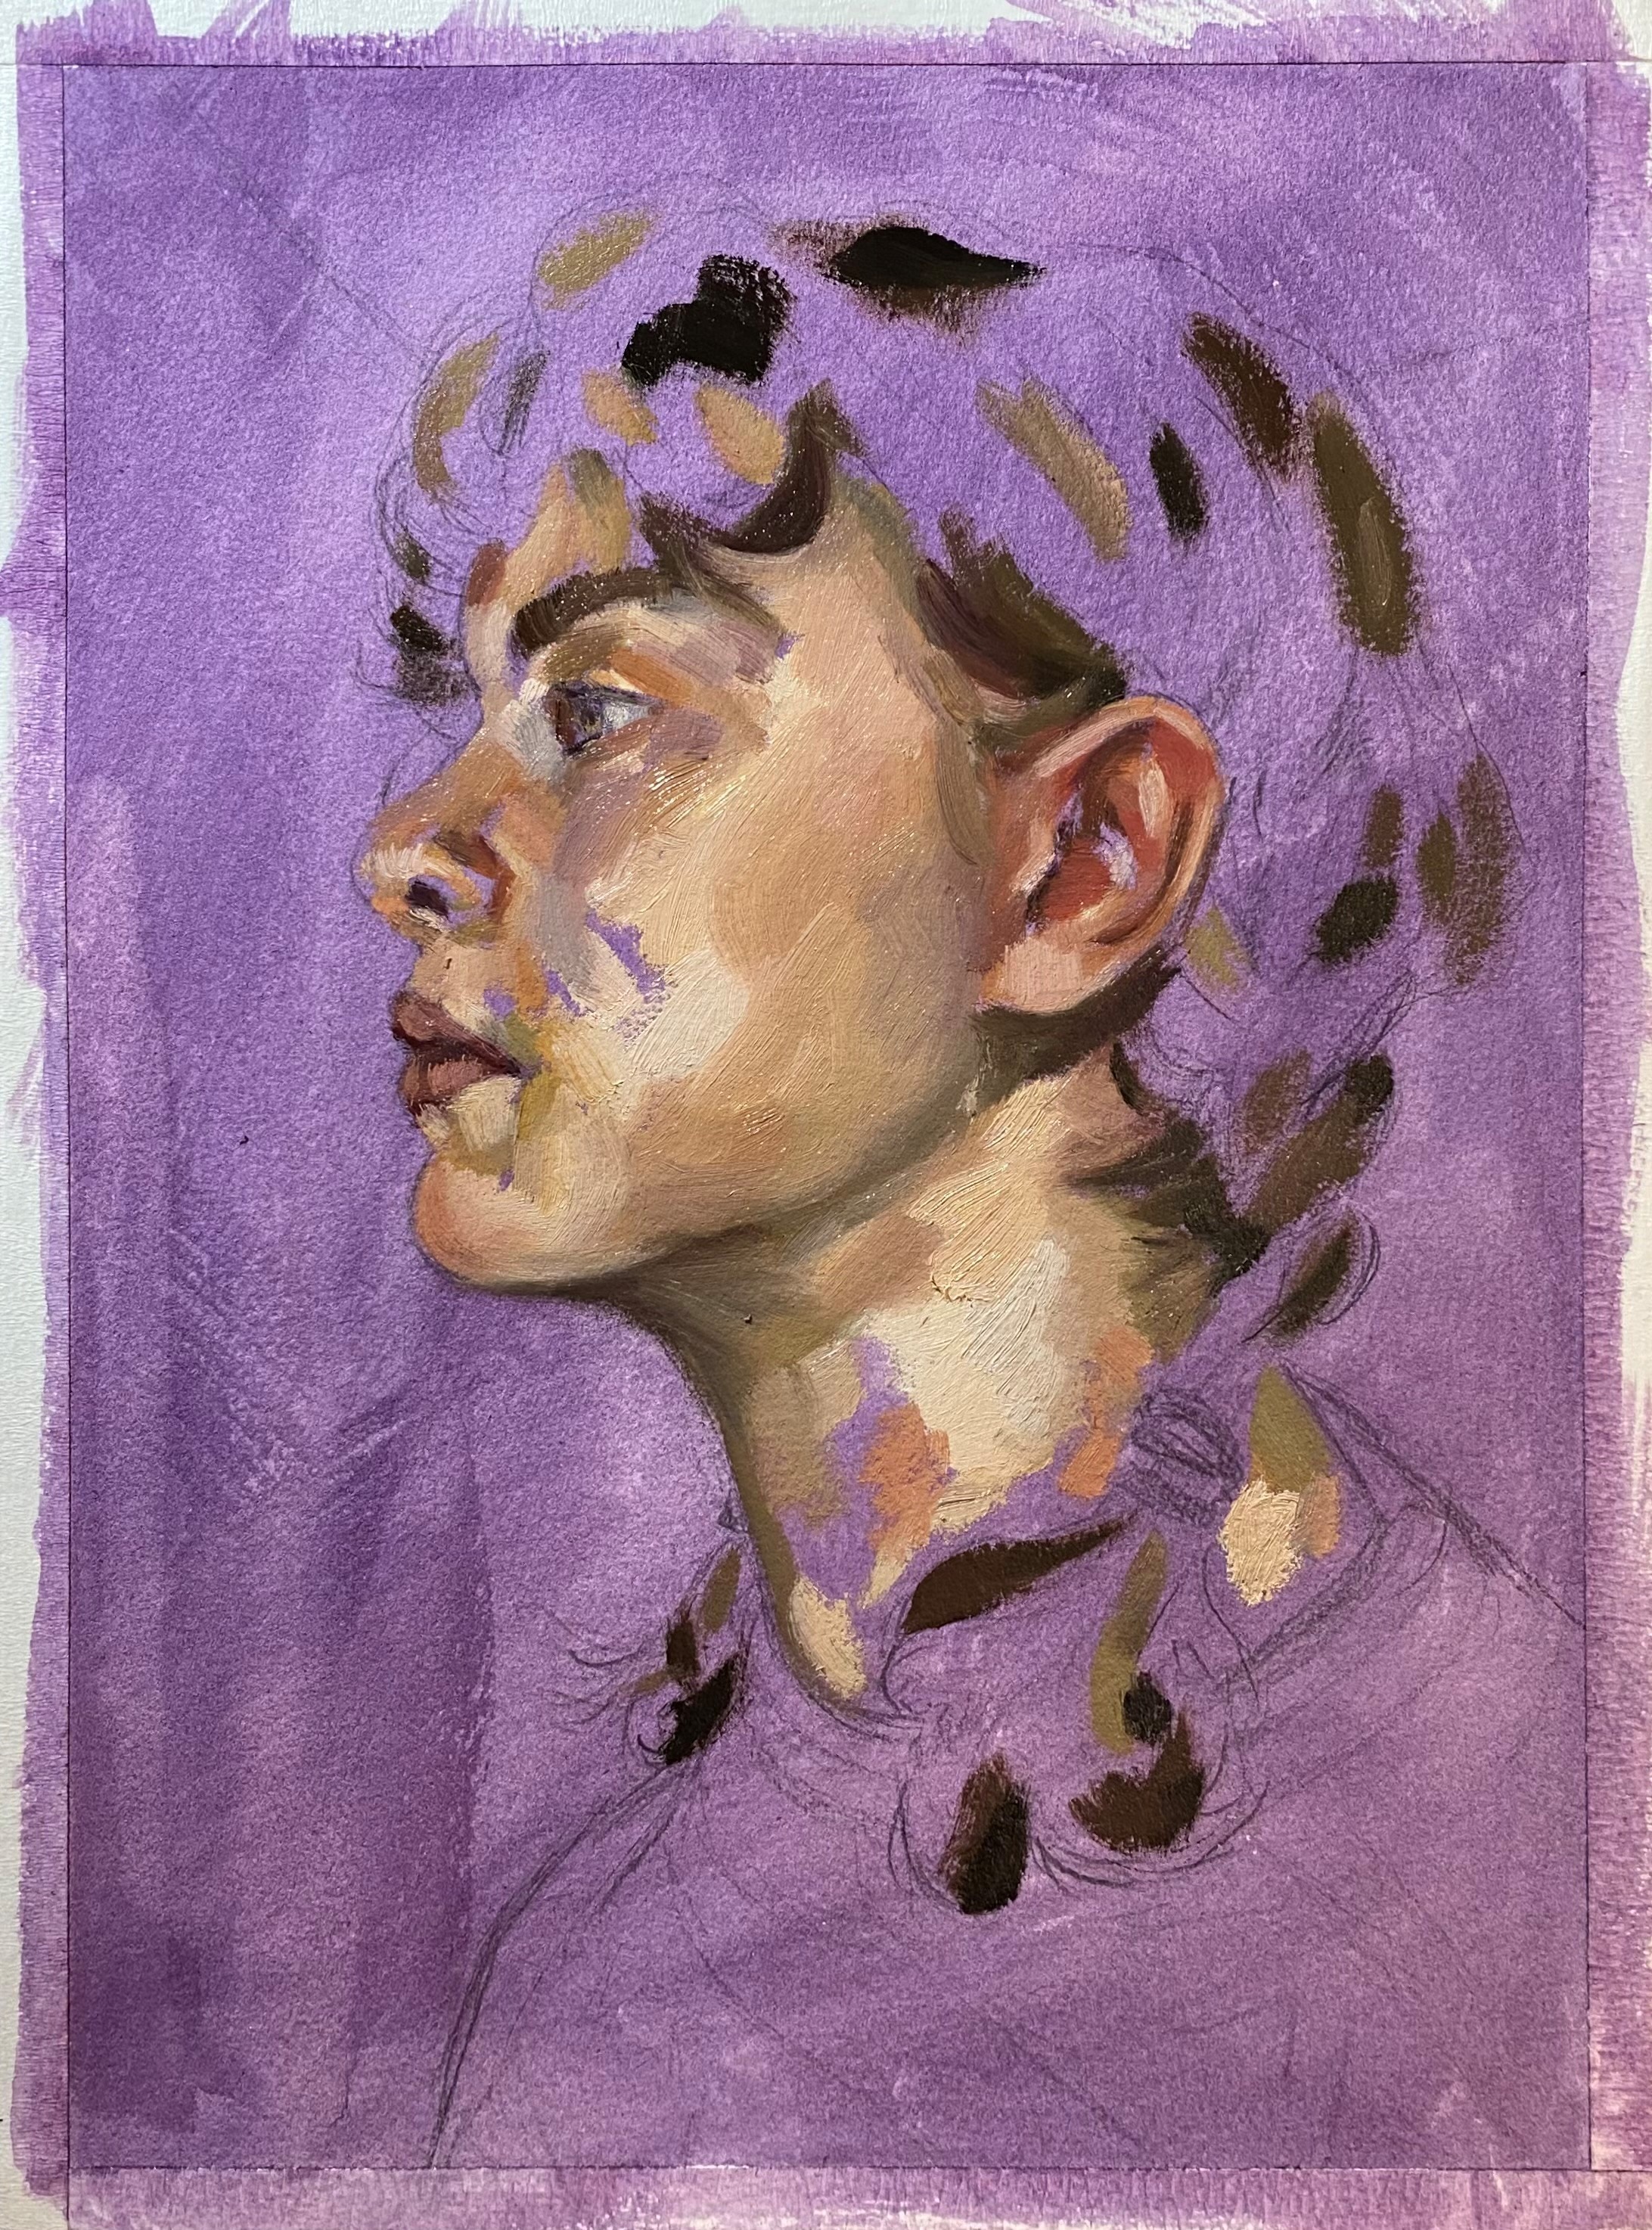
My flesh colours are mixed from Titanium White, Cadmium Red, Yellow Ochre, and Ivory Black. These are known as the Zorn Palette and are a great limited palette for portraiture. Using a palette knife, start by mixing Red and Yellow Ochre to get a base orange, before adding some White. This is the base light flesh colour which you can tint to create the colour variations found in the skin. Using your bigger brushes, block in the base colours and shapes. If you find your portrait is getting too orange, mix in more Ochre and Black. Likewise, for the rosy areas of the face, such as the lips and ears, add some Alizarin Crimson for a pinker tone. For the darks, Burnt Umber or Black tinted with some Alizarin Crimson is perfect. At this stage, it’s key to look for large areas of tone and keep the brushstrokes loose.
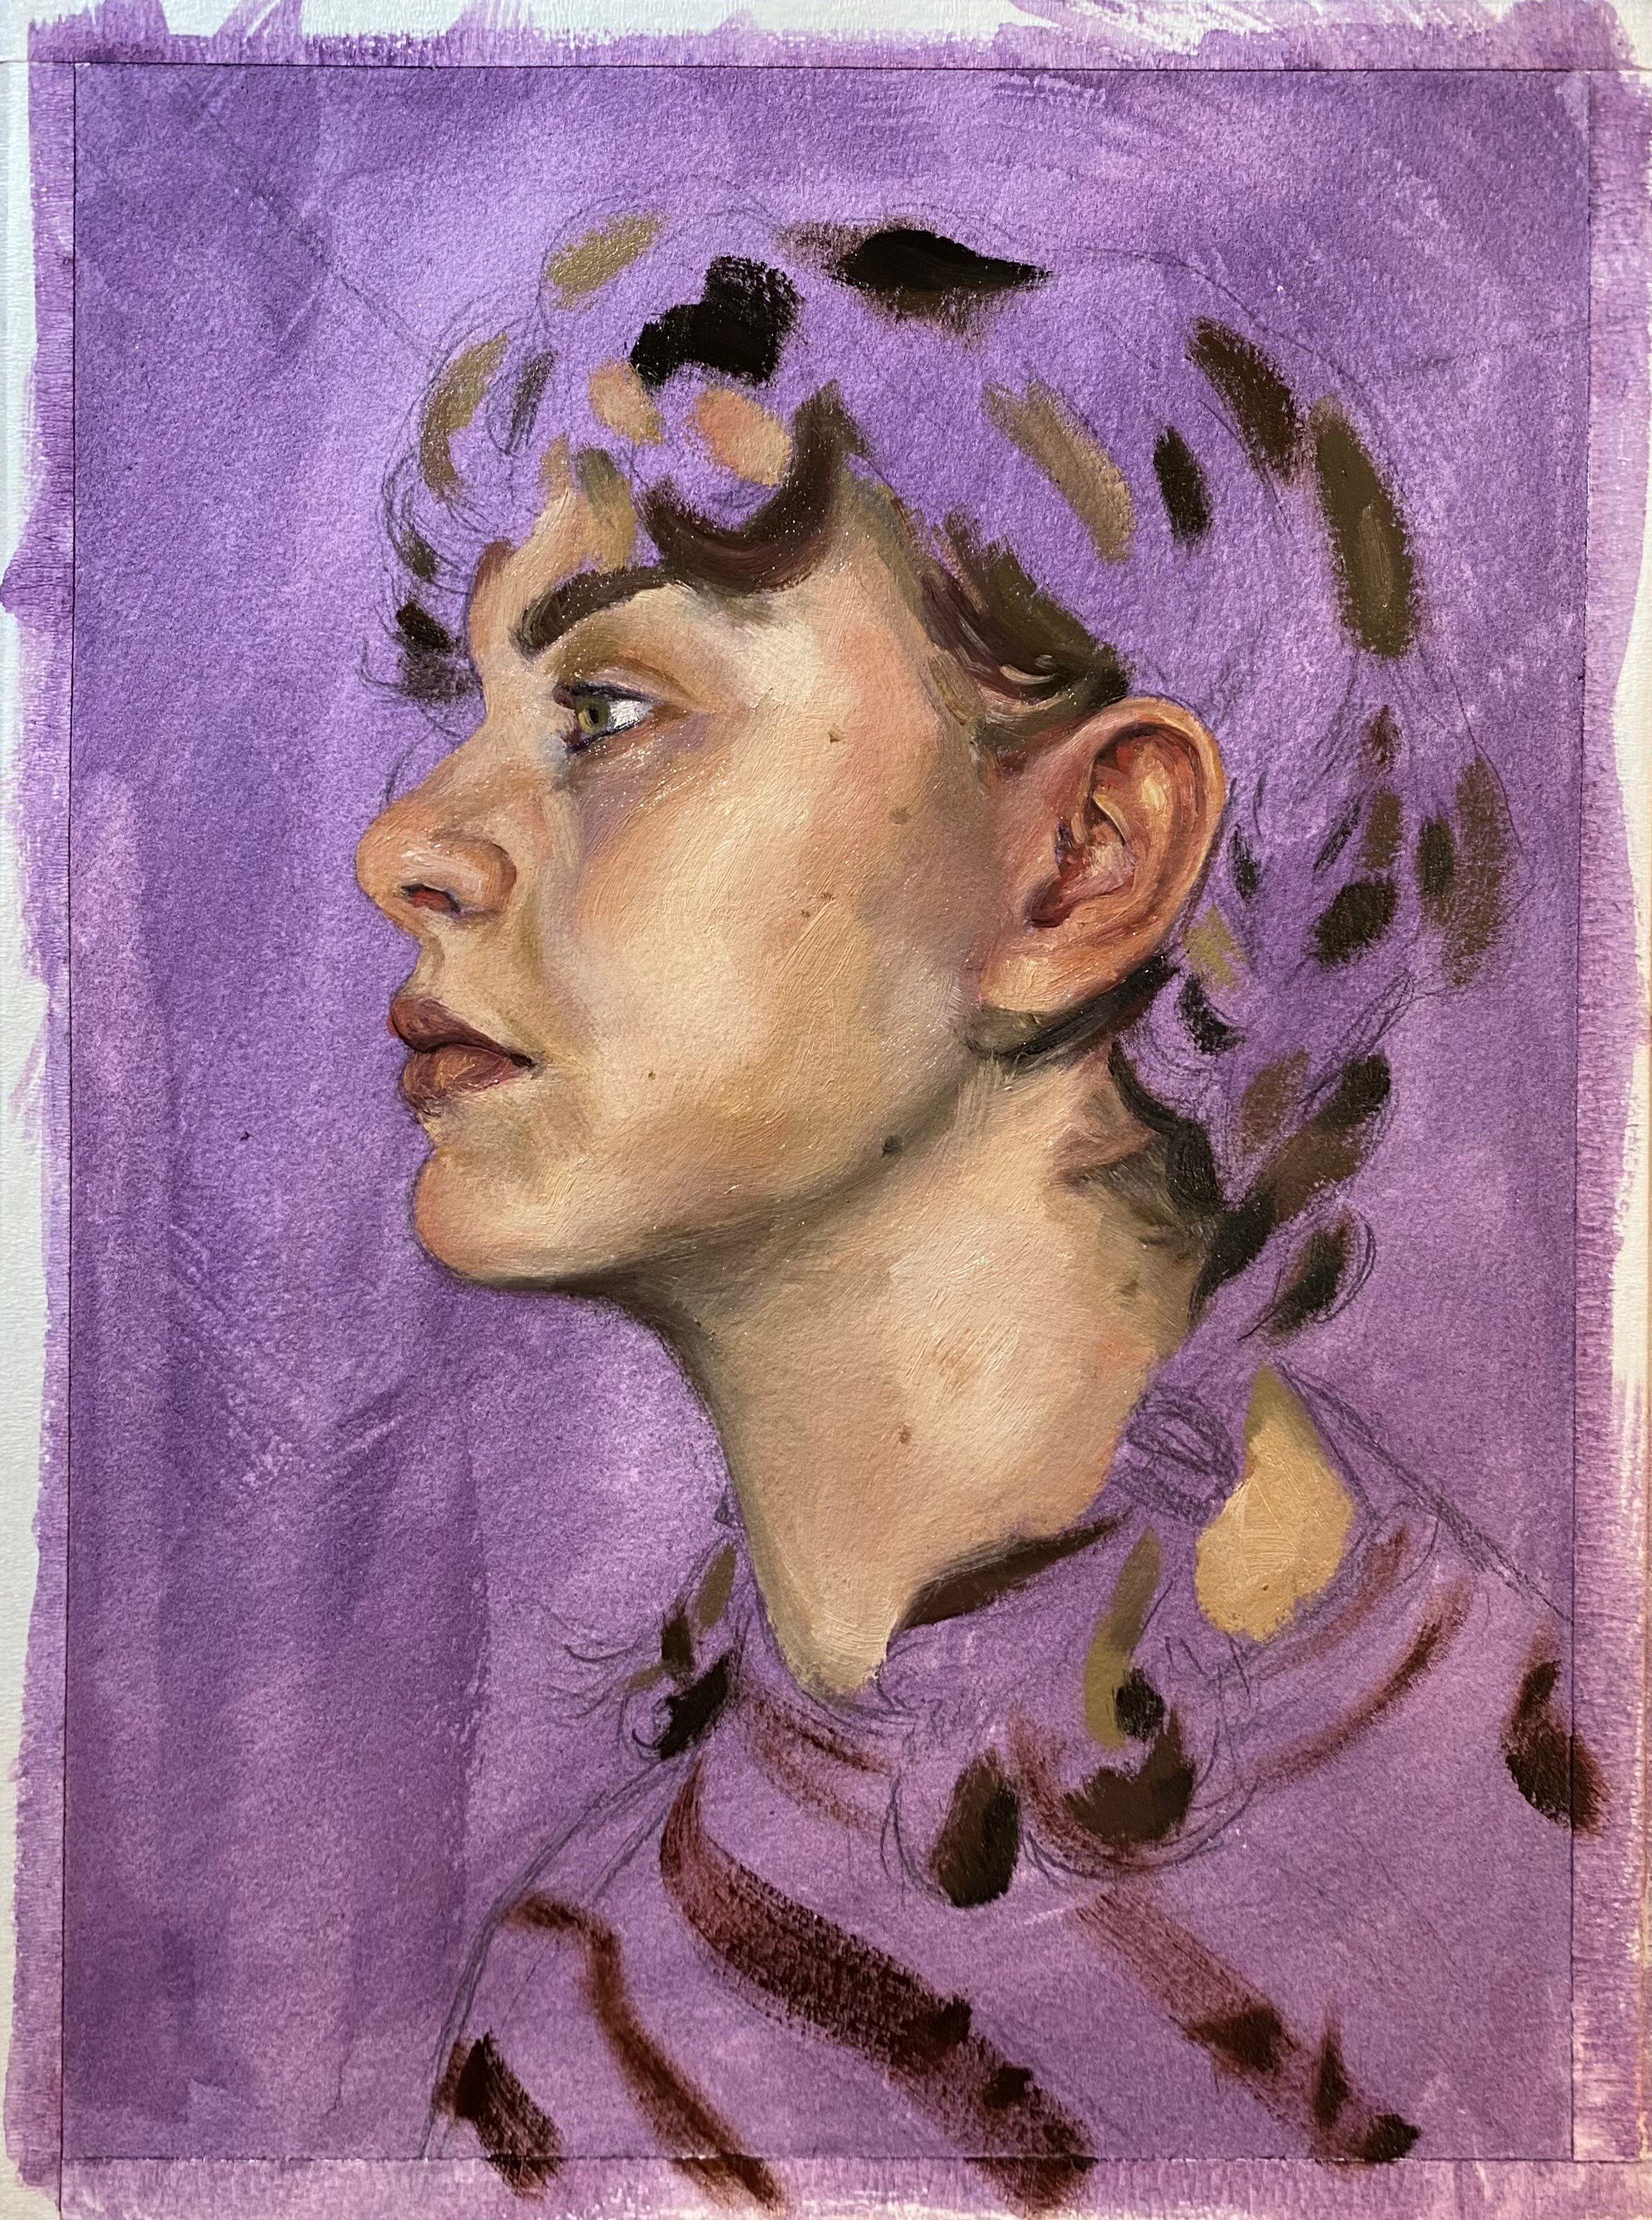
Switch to smaller hog hair brushes to detail the face. Synthetic brushes don’t hold paint in the same way as hog hair, so when you’re adding thin lines with them, have lots of paint on your brush. You can also use solvent to thin the paint and create crisper edges, such as for the lip line and pupil. Remember when painting the white of the eye that it is not actually white, but a greyed-down version of the skin tones! I like the textured finish oil paint gives, so take extra care not to flatten and blend all the thick marks you made earlier. For softer transitions between colours, overlap your brushstrokes. If your paint is beginning to get thin and tacky on your palette, use some Liquin Impasto to give it back its body.
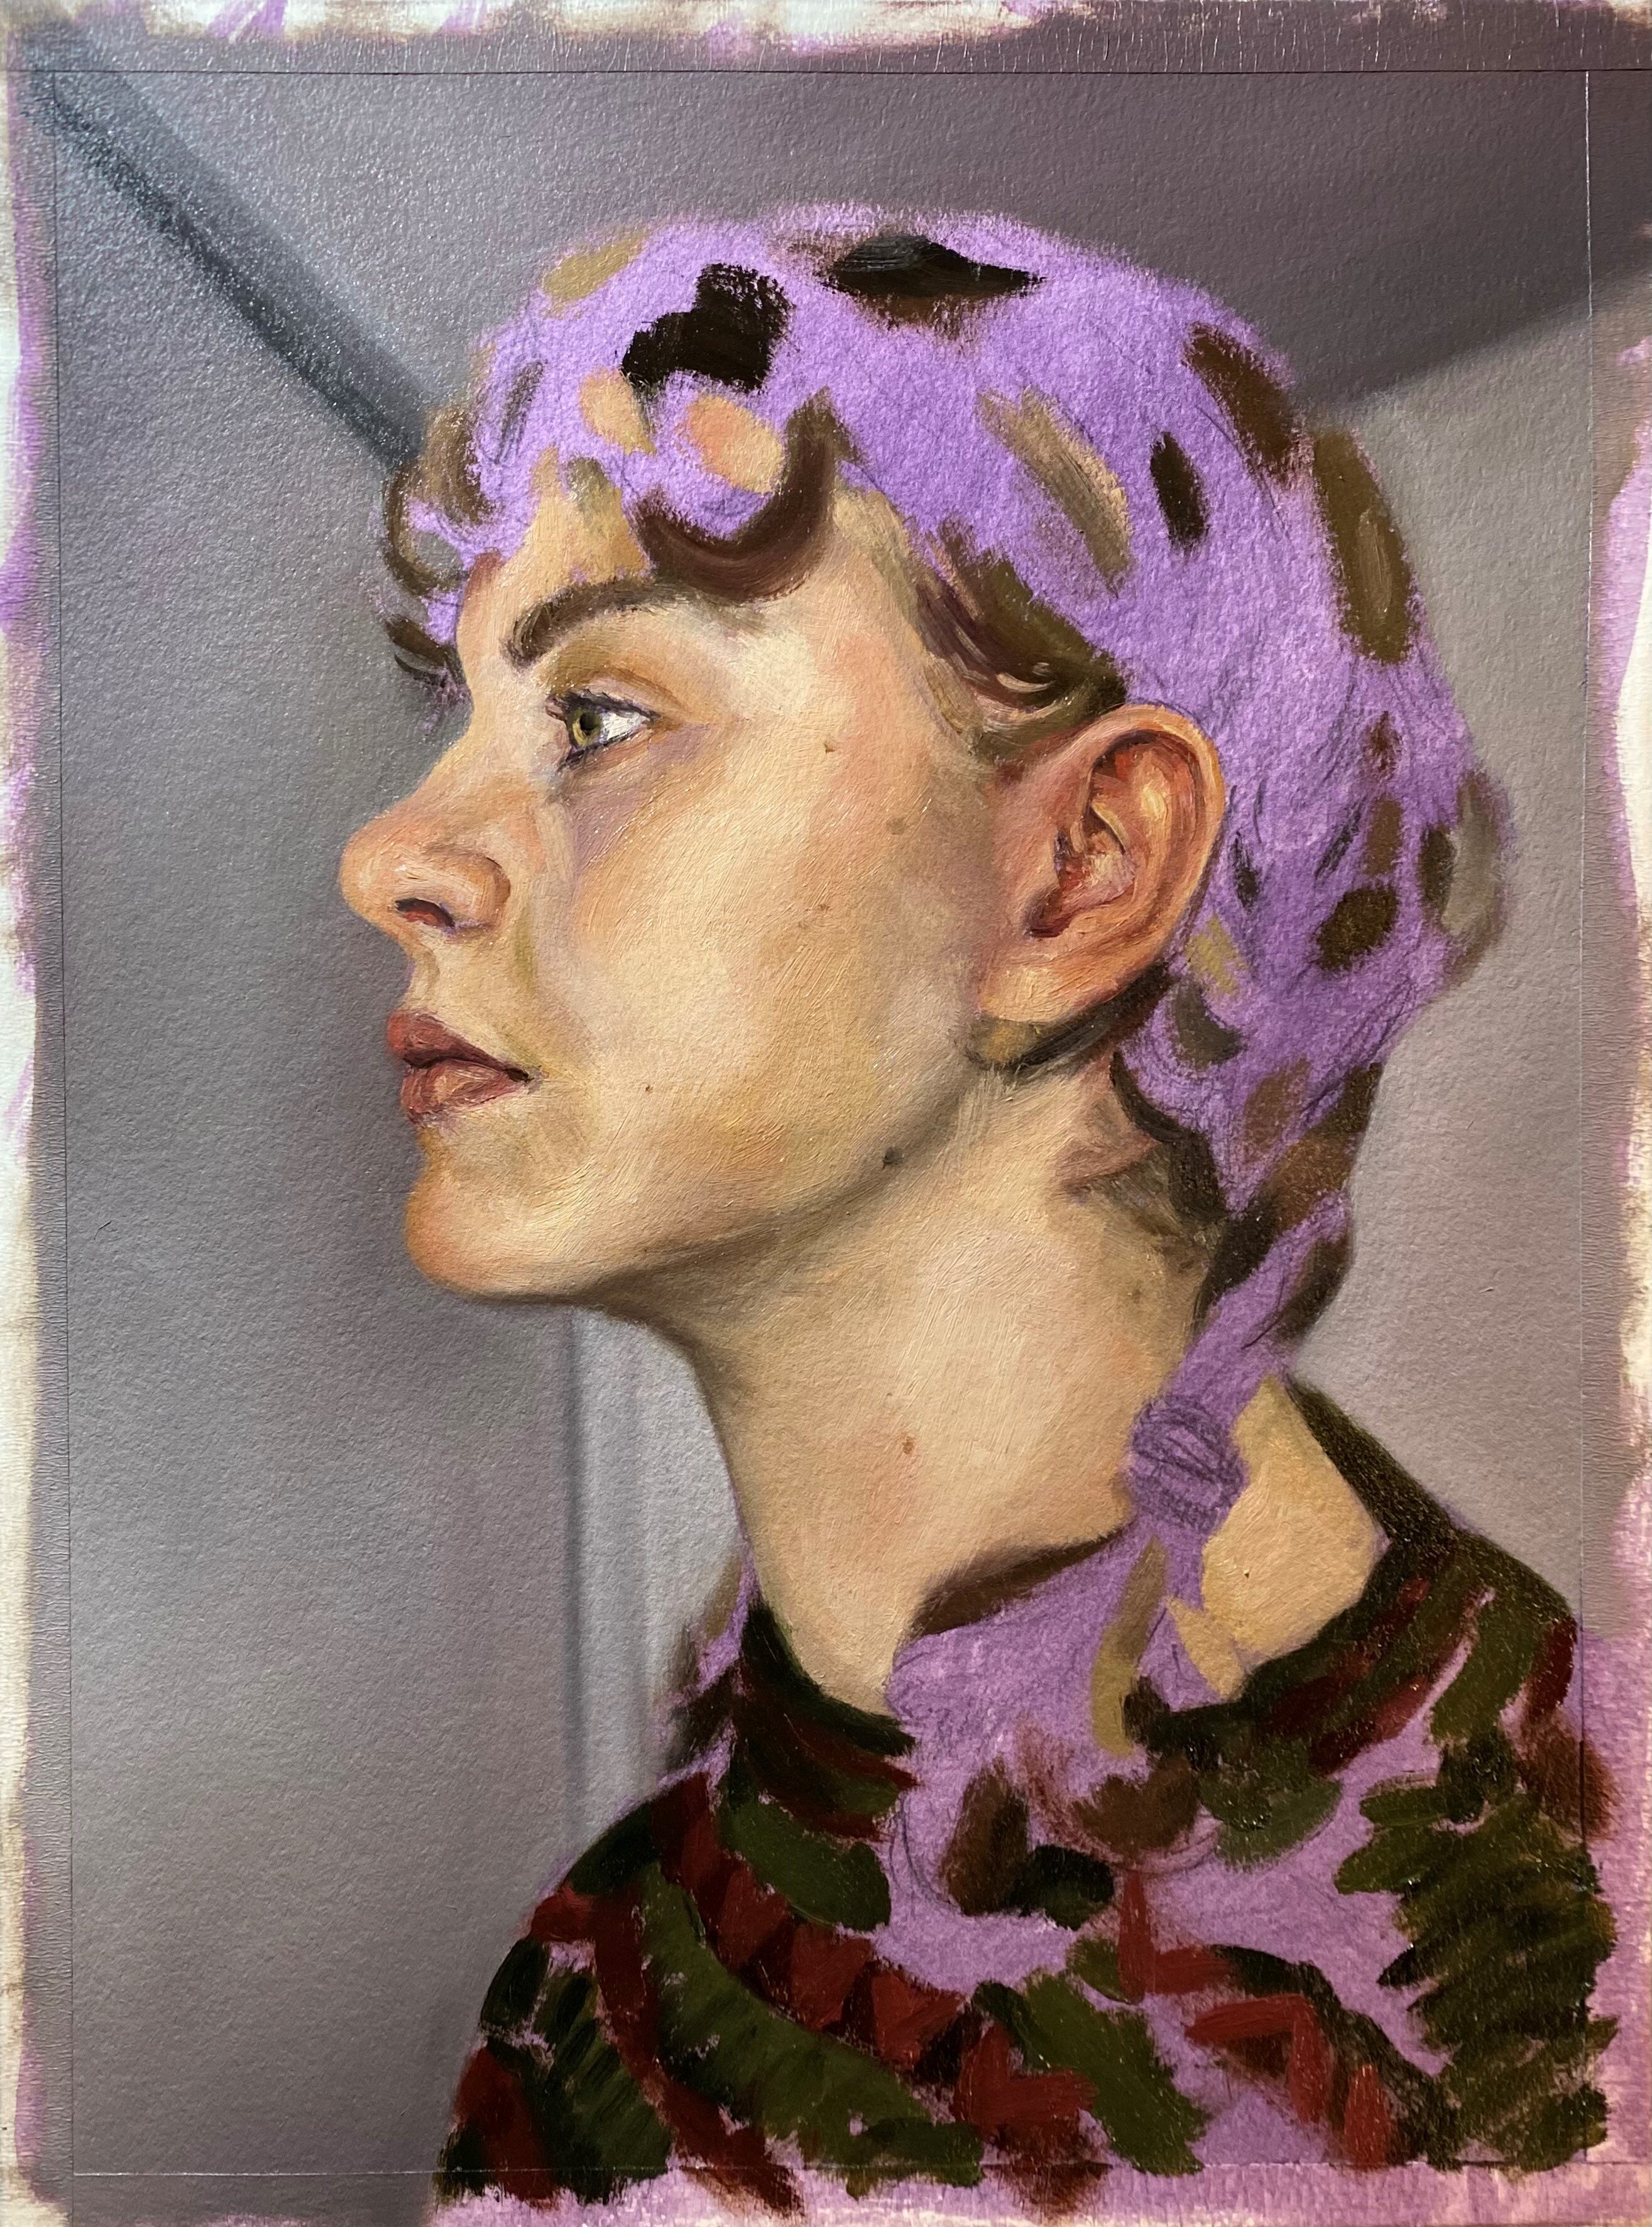
Next is the background. I like to keep this fairly thin so the focus is on the figure and we retain the illusion of distance. Add some solvent to your mixed grey paint and, using a large brush, paint in the background. If you feel it is too monotone, try mixing in some other colours, such as Yellow Ochre, to tint your mixture. Keeping the paint thin, you can introduce some colour variation by letting your underpainting peek through. The jumper is painted in the same manner as the face. Start with big brushes, looking for your basic shapes. The green you can mix from a combination of Ivory Black and Winsor Yellow, with some added Ochre and White for the lightest areas. The red areas are Ivory Black, Alizarin Crimson, and Cadmium Red.
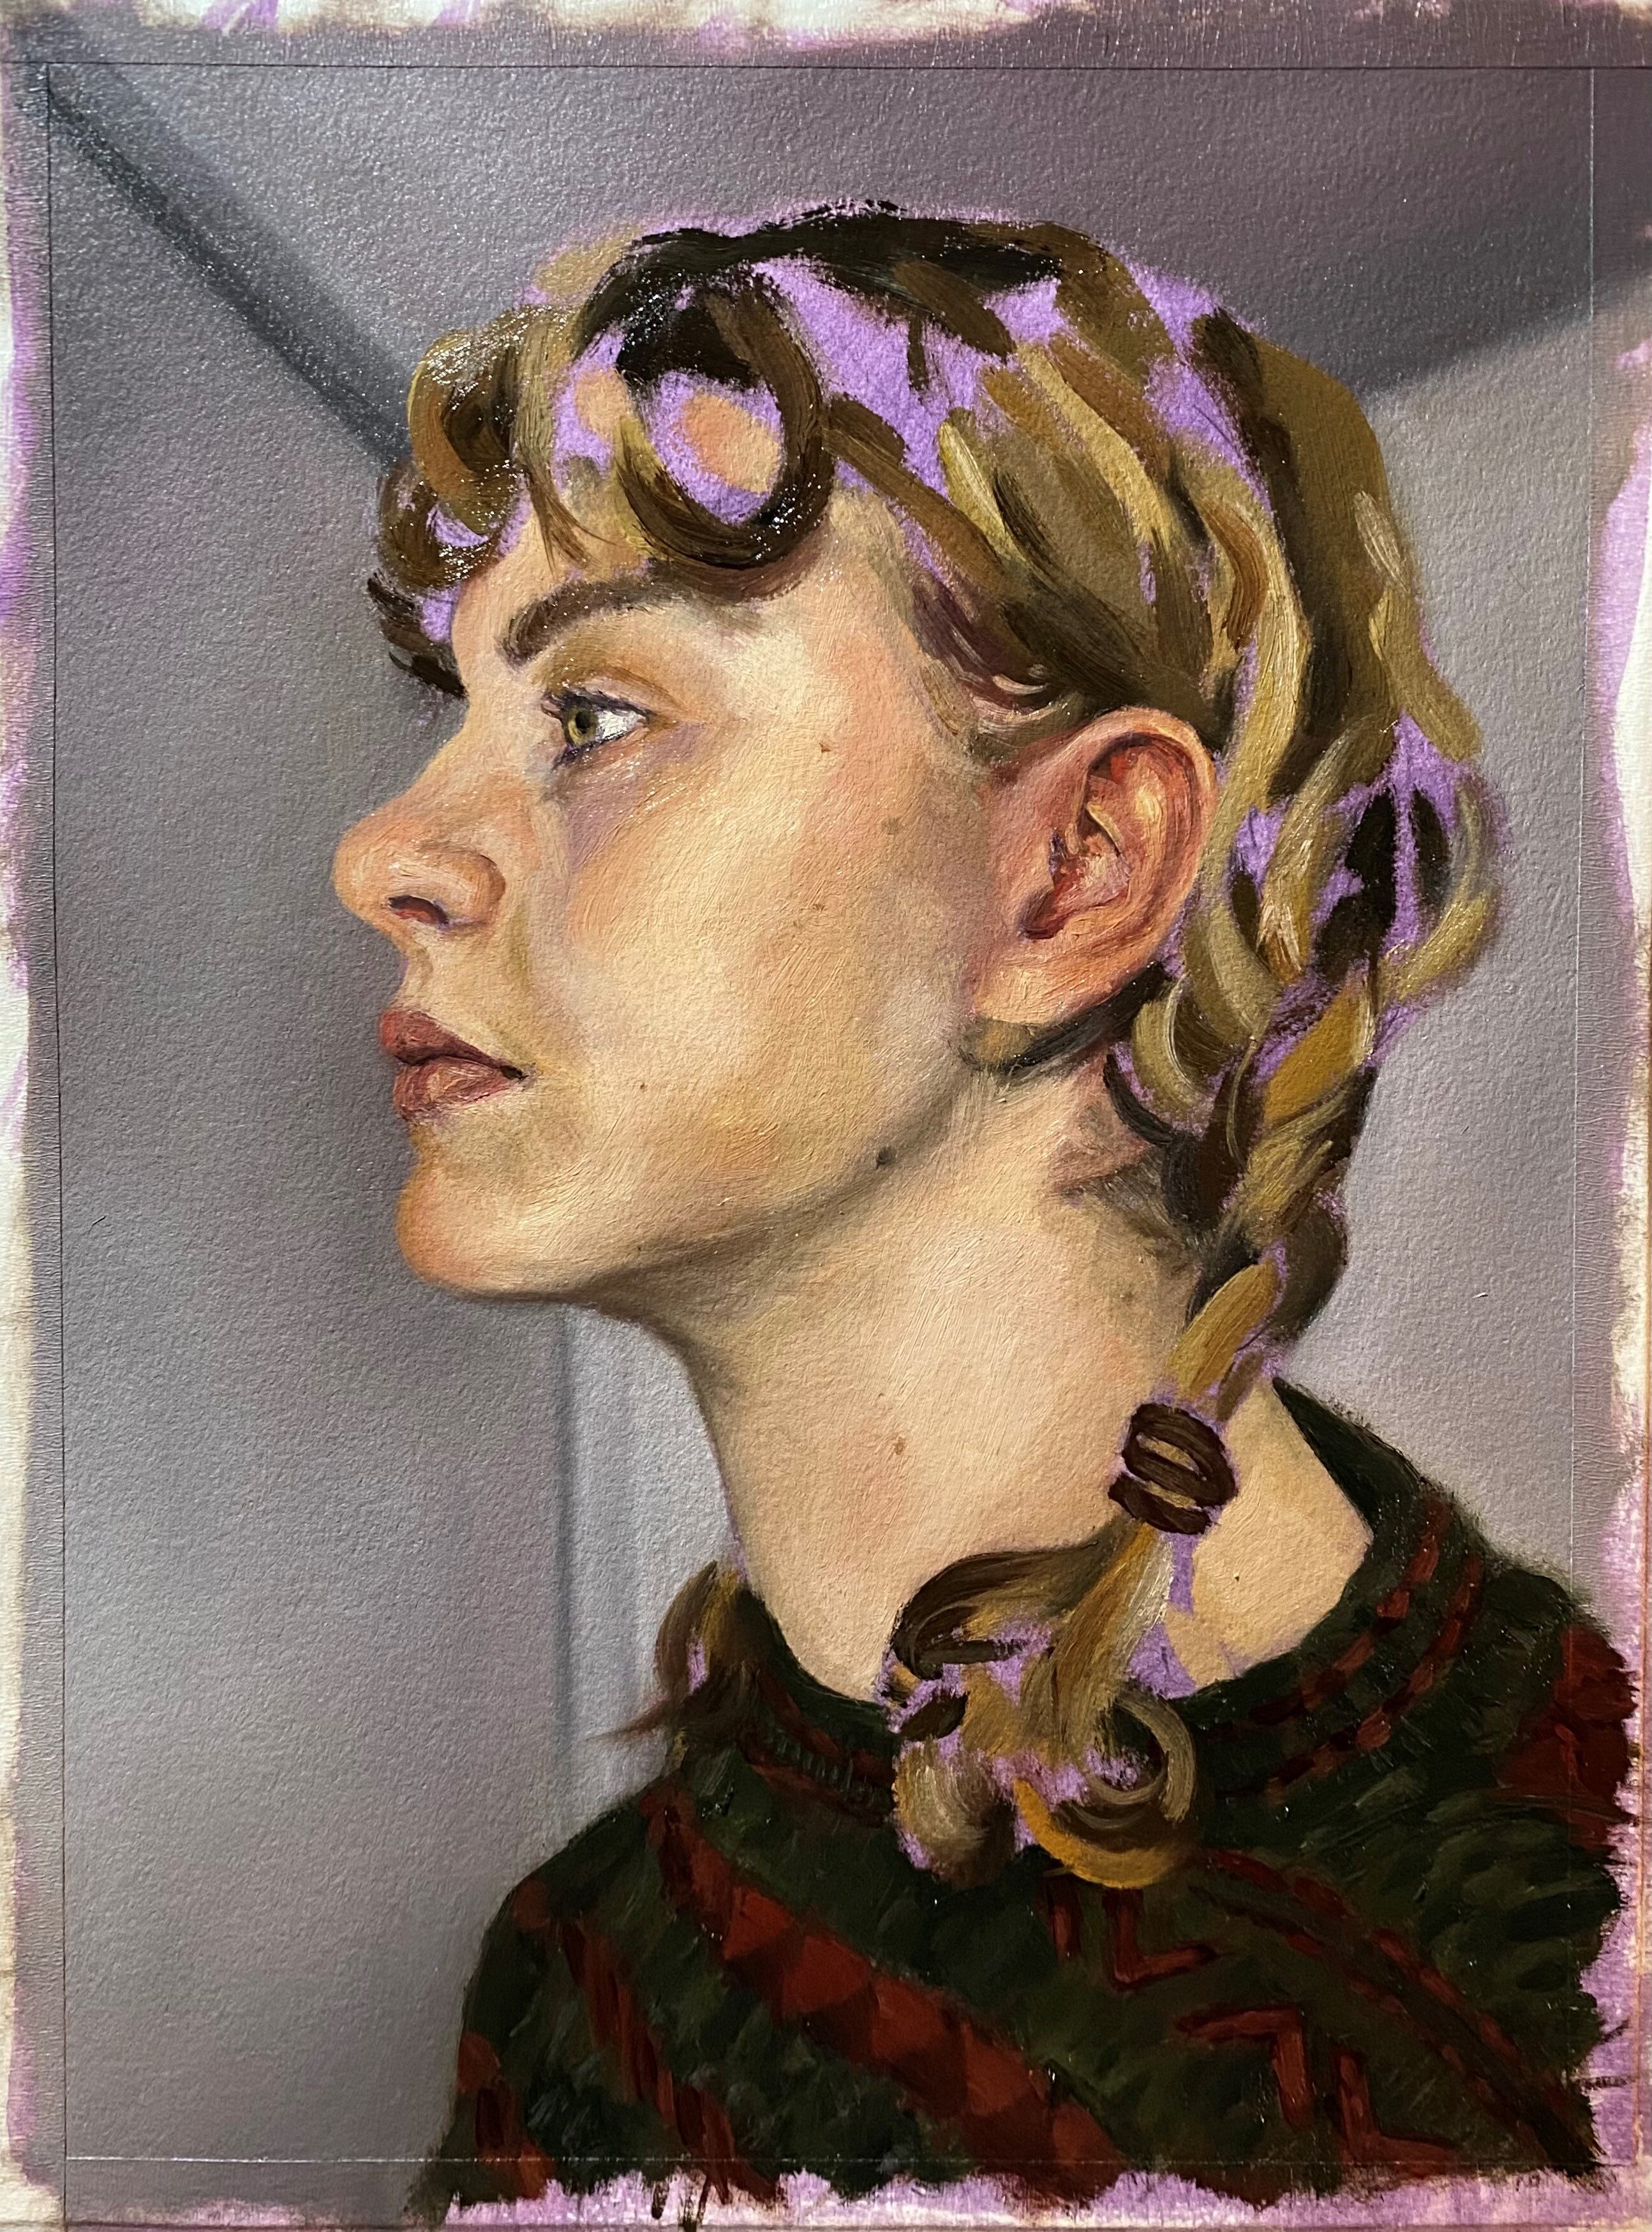
Start to block in the hair. I like to tie these colours in with the skin (or sometimes the background depending on the image). Here, the Yellow Ochre is also used in the skin, so they will sit harmoniously together. Keeping with these colours, introduce some Burnt Umber too. Don’t be afraid to get colourful: neutral greens mixed with Ivory Black and Yellow Ochre can give some great variations in light hair. Keep loose and follow the direction of the hair, picking out large shapes of dark and light. Squinting at your reference can help with this.
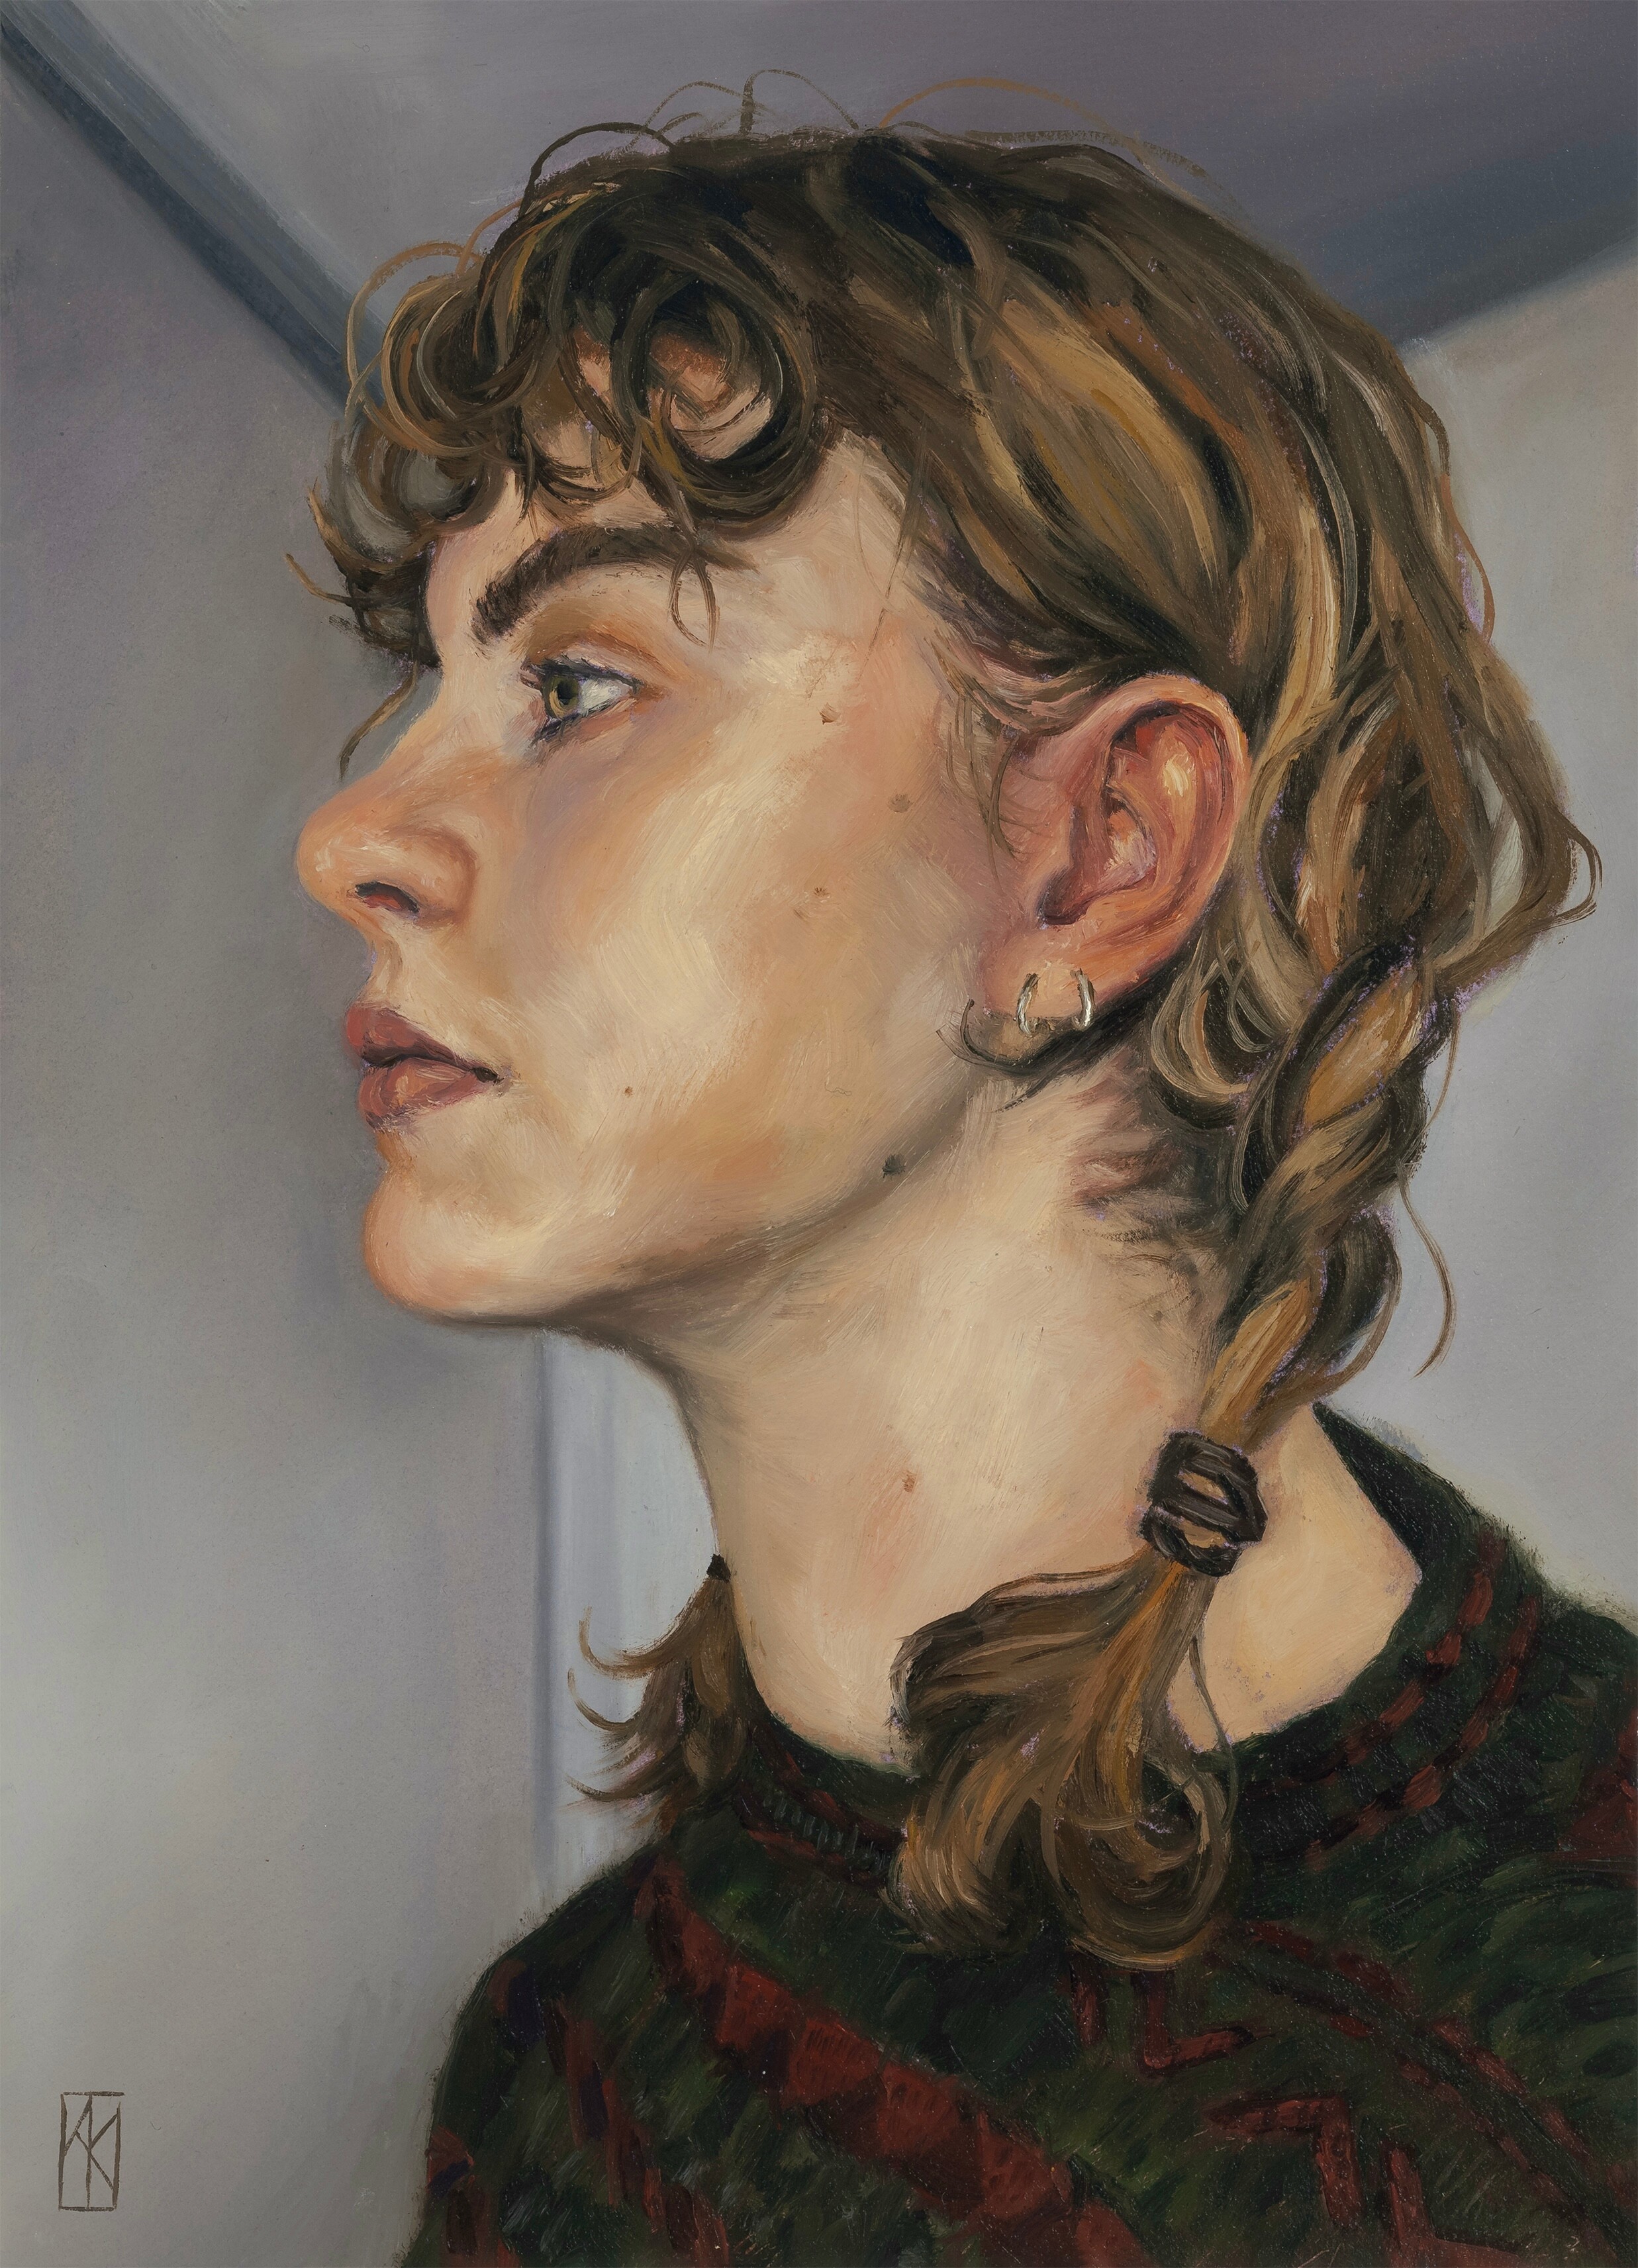
Finally, look at your painting as a whole – does it look cohesive? What areas need refining? At this stage, I switch to soft, fine brushes. A little detail goes a long way – a hint in a couple of well-positioned places will give you the illusion of detail across your whole piece while still retaining the expressiveness of your brushwork. I like to add detail to the hair to give the illusion of strands in some of the larger sections as well as taking the time to add flyaway hairs, and eyebrow strands and finally cleaning up my edges. Don’t overwork it. When you’re finished, peel off the tape, allow the painting to dry, then give it a final coat of varnish. With traditional varnishes, you need to wait six months but with some new alternatives, you can varnish as soon as the paint is firm.
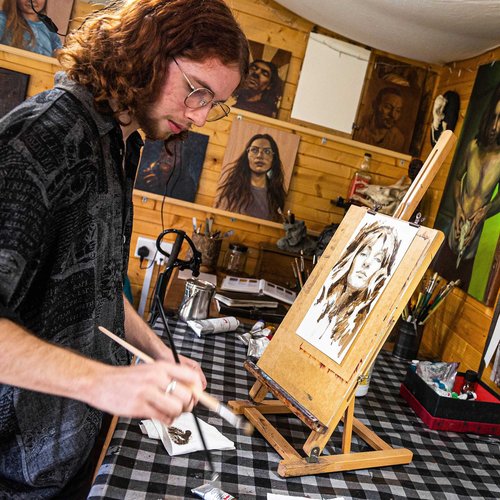 For more information about Alex, an SAA Professional Artists of the Year 2023 Finalist, and his work visit his website Alexander Kai-Artist