
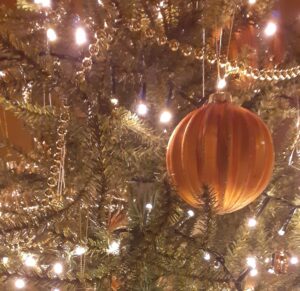
 The tradition of decorating with evergreen trees and lights dates back thousands of years, with ancient cultures using greenery to symbolise life and protection during winter festivals. By the 18th century, Germans introduced illuminated Christmas trees, and today, lights are a central part of the festive season.
Untangling Christmas lights is a festive tradition many of us remember fondly. From ancient evergreen boughs to today’s glowing LEDs, lights have always been part of holiday celebrations. This tutorial will help you capture the magic of Christmas lights in pastels, exploring soft glows, reflections, and atmospheric effects.
I began by lightly sketching the composition on a sheet of Clairefontaine Pastelmat – Anthracite. Using a white pastel pencil, I outlined the shapes and positions of the lights, removing and repositioning some to refine the layout. The textured, grey surface of the Anthracite Pastelmat provided the perfect balance; I felt a black background would have been too stark.
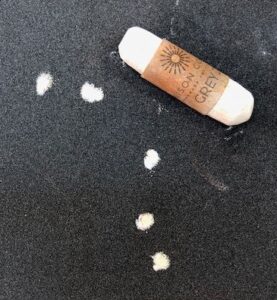
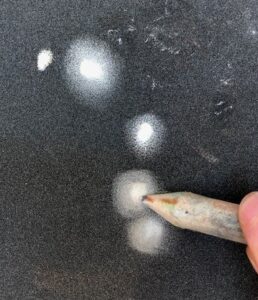
The small LED lights create a soft, atmospheric glow, easily achieved by applying small dabs of Unison Grey 27 pastel. This shade offers a gentler off-white effect compared to a harsh white. Blend out softly to create different halo effects. Keep some lights sharper and more in focus, but have others fading softly into the background to add texture and depth. I prefer to use a paper stump for blending pastel, you can see how a lovely diffuse halo effect is achieved around the main light point.
 |
 |
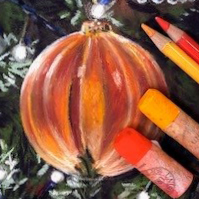
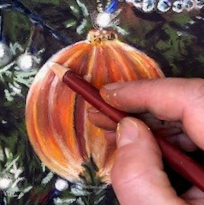
The focal point of the artwork is the orange bauble. To build its shape, I used a variety of creamy soft pastels and harder pastel pencils, layering and blending colours to adjust its tone and form. A black-and-white reference image was invaluable for identifying tonal values. The bauble’s highlights — particularly the lights reflecting at the top and bottom left — were defined with a white pastel pencil for precision.
 |
 |
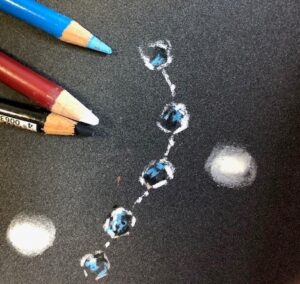 Pastel pencils are ideal for plotting out and rendering the draped strands of crystals. Their sharp edges capture the intricate play of reflected and refracted light. Short dashes and dots of white pastel pencil give shape to the crystals, while light blue and black pastel pencils add sharp edges. Allowing the background colour to show through simplifies the process, requiring just a few marks to convey form.
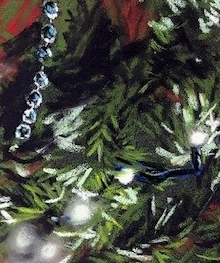 Although the background may seem complex, it can be simplified with a thoughtful combination of colours, marks, and shapes. Allowing the Anthracite surface to show through means you don’t need to fill every space with colour. A dark purple pastel creates the deepest shadows, while the edge of a soft green pastel suggests the needles of the Christmas tree. Positioning the darkest tones next to the lights brings the lights forward, enhancing their glow. Using a green pastel pencil adds more focused details to the needles.
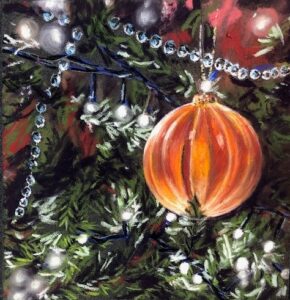 The LED lights softly illuminate the nearby tree needles. Adding touches of light green and off-white pastel helps these areas glow naturally. The beauty of pastels is their versatility—you can revisit and adjust shapes or colours as needed. The durable Pastelmat surface allows for erasing if mistakes occur. While blending can be done with your fingers, I prefer using a pastel blender for more precise control. It also spares your fingers from discomfort while pushing colour into the textured surface.
Christmas is the perfect time to explore the magic of light and reflection in your art. If you try this tutorial, share your creations on our social media channels to spread some festive cheer!