
Never one to baulk at a new creative material, Alison C. Board tries out the beautiful Himalayan Paper which contains petals of the Asara flower. Using some of her favourite brands and materials, she has created this step-by-step tutorial so you too can try this surface out to great effect!
If you’d like to see more from Alison, you can watch her as part of our VOD service by clicking here.
1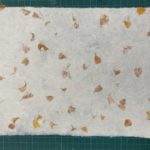 Tear the paper to the size of your image.
2 Paint thin layer of watercolour ground over the top of the whole sheet with an old brush – will make the paper go floppy but will stiffen again when dry.
3Allow to dry naturally or dry with a hairdryer front and back.
4Transfer line drawing on to the surface using Tracedown or freehand draw the composition if you prefer.
5Go back over with a pencil if you need to make it stronger.
6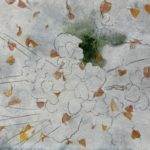 Don’t worry about leaf shapes, get a green background in (I used Green Apatite Genuine) so you have something to build on top of. The paper will react differently than you expect it to, but go with it as it’s fun to see how the paint moves.
7 Spatter for a bit of texture.
8 Allow to dry naturally or dry with a hairdryer front and back.
9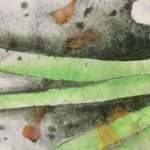 Use the Lime Green watercolour to block in the colour on the leaf shapes, this is only to determine the colour of the objects at this time.
10 Mix a little Permanent White Gouache with the Lime to create brighter shades if necessary.
11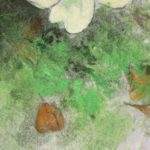 Use the texture of the paper to create loose textures as well as tighter shapes. Interpret it as you wish to, don’t feel that you have to stick rigidly to the photograph.
12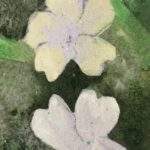 Mix together the Primrose Yellow watercolour and the Permanent White Gouache to make a fresh, bright, pale yellow and apply to the tips of the petals. Use a damp brush to pull the colour towards the centre so that it fades out.
13 Do this to all the flower heads.
14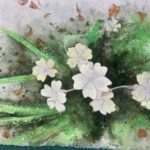 You should now be able to see where the spaces are in your composition and so you can fill the darks around the flowers, using a negative painting technique. Use the Green Apatite Genuine as dark as you can make it and the same blending technique to bring the various greens together.
15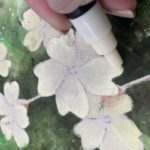 Use the Posca pens to put back any crisp edges of the petals, the Ivory colour is a great tone for the highlights. When the pen stroke is still wet on the paper, it can be blended out with a damp brush into the gouache.
16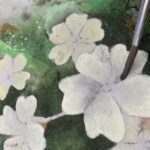 Use a very thinned out wash of the Translucent Grey to add any soft shadows to the petal shapes.
17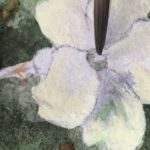 Mix a pale green and grey together for the holes in the centres.
18 Dry everything thoroughly.
19 Use the Yellow Posca pen for the extra colour in the centres along with a little of the dark green for shading.
20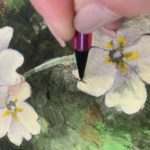 pencil to tidy up the edges or detail.
21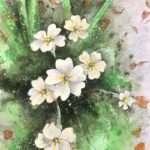 Spatter! Use any of the pale colours to break up hard edges and create a top layer of texture.